This past weekend I finally got around to putting
our Yosemite Trip into
my Project Life book. I didn't have an exact idea of how I wanted it all to look (I'm more of a figure-out-as-I-go scrapper) and it took the greater part of an evening because it just wasn't looking "right." Ever get like that? There was lots of trial and error involved but I'm pretty pleased with the end result.
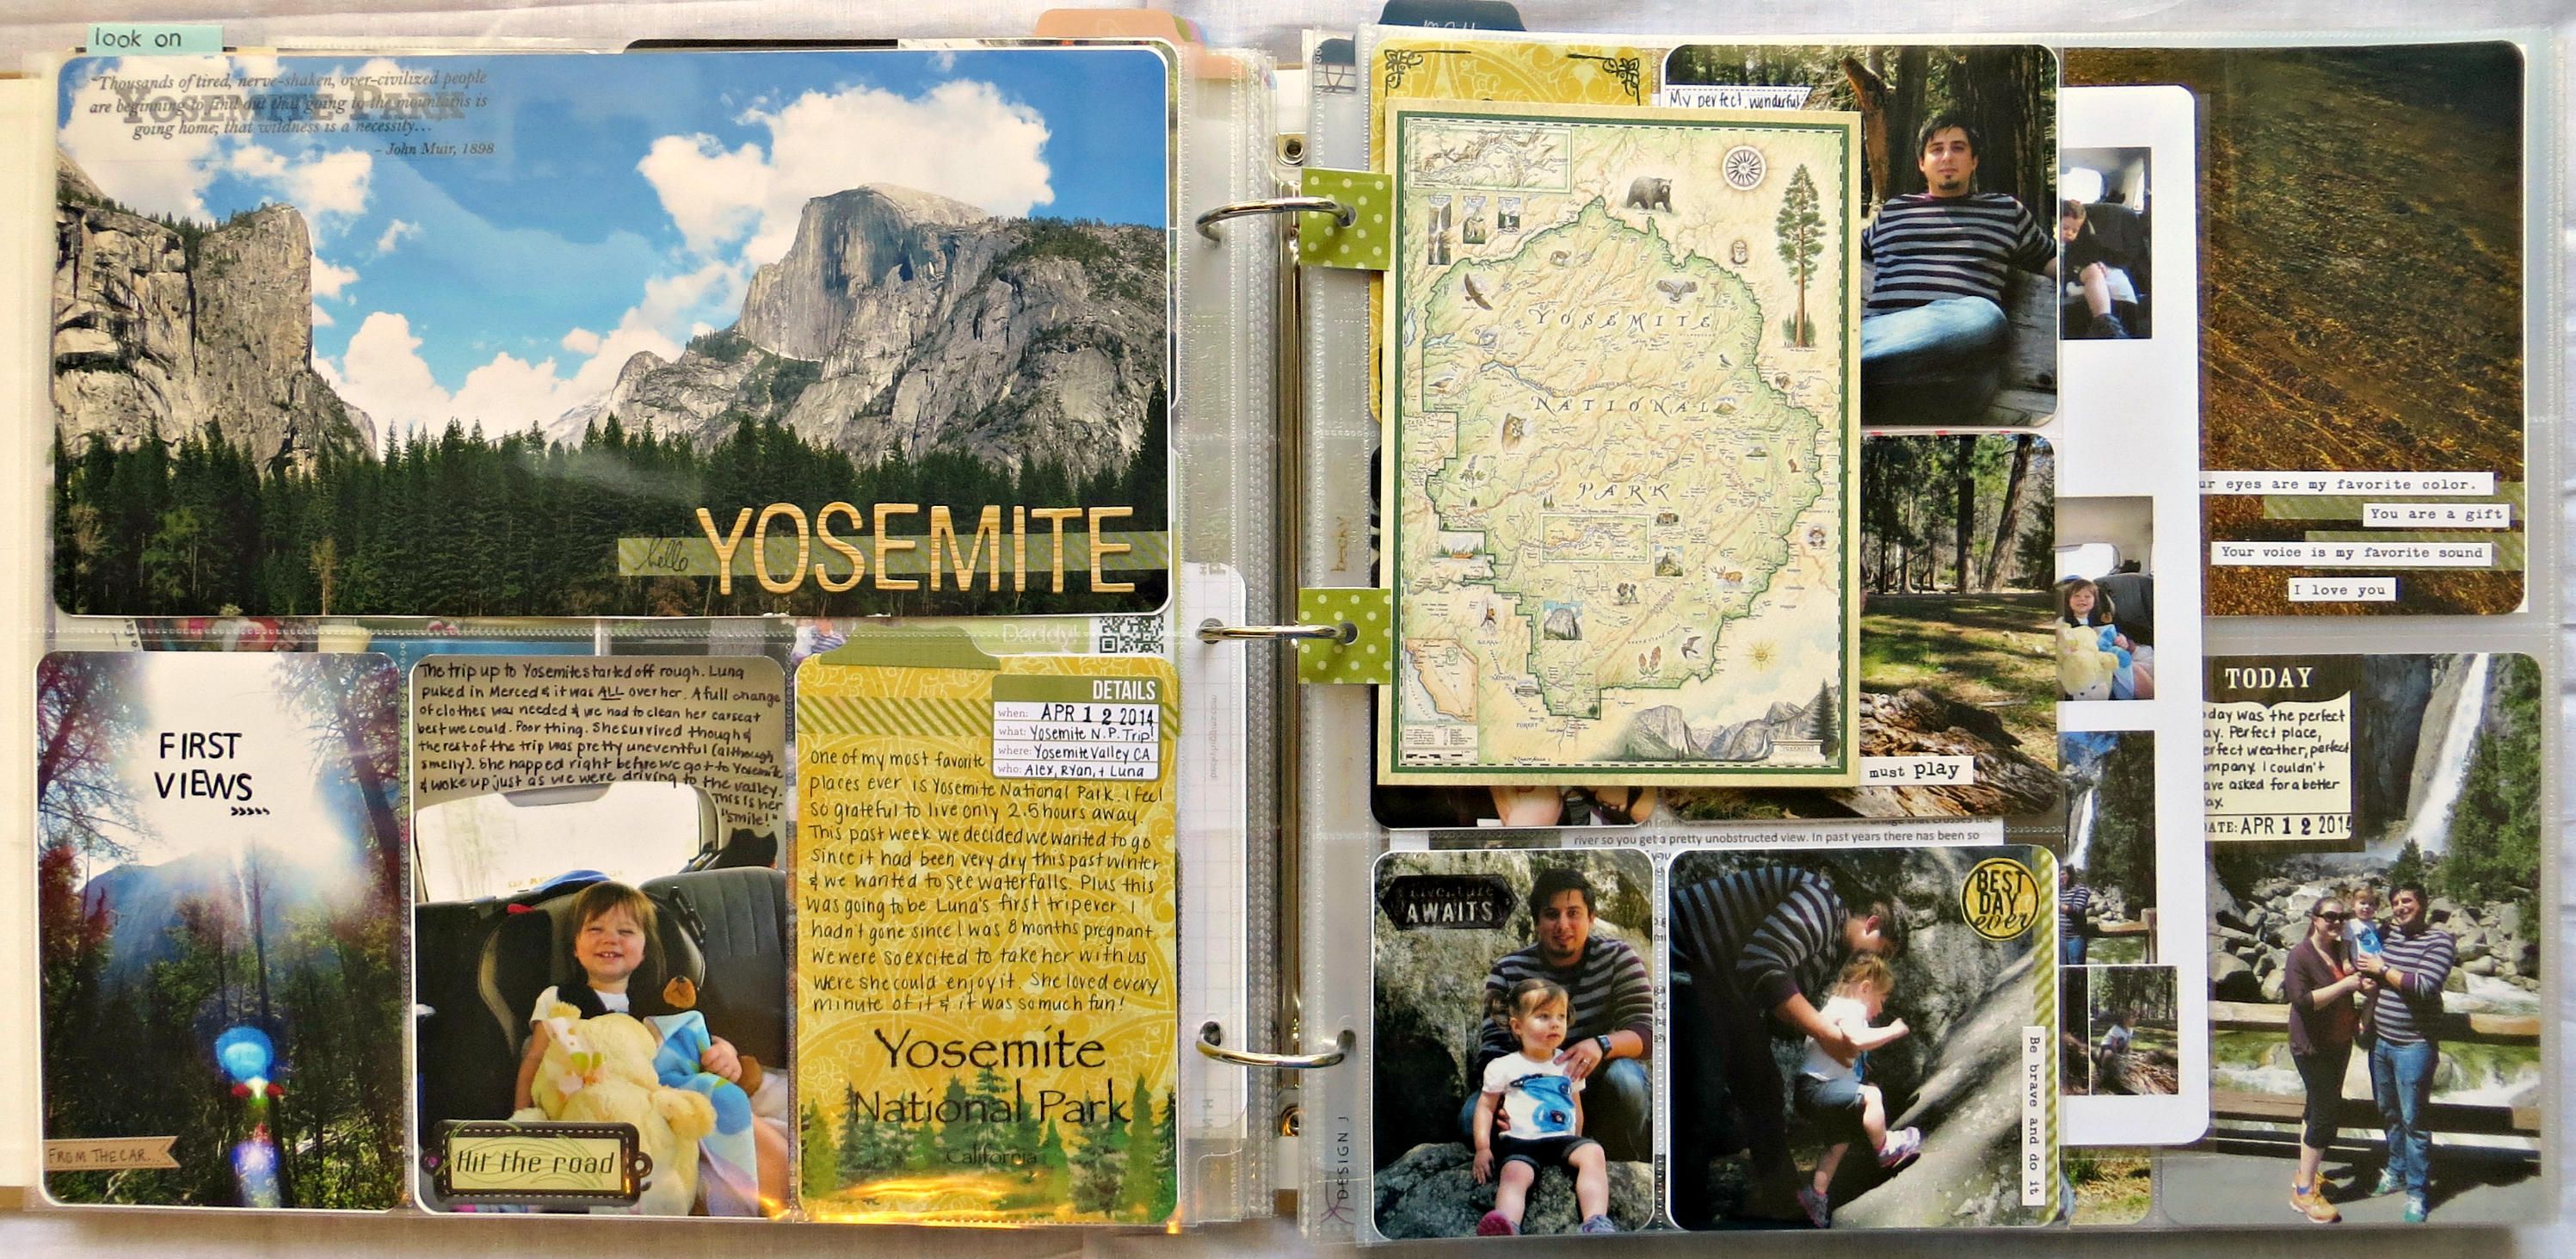
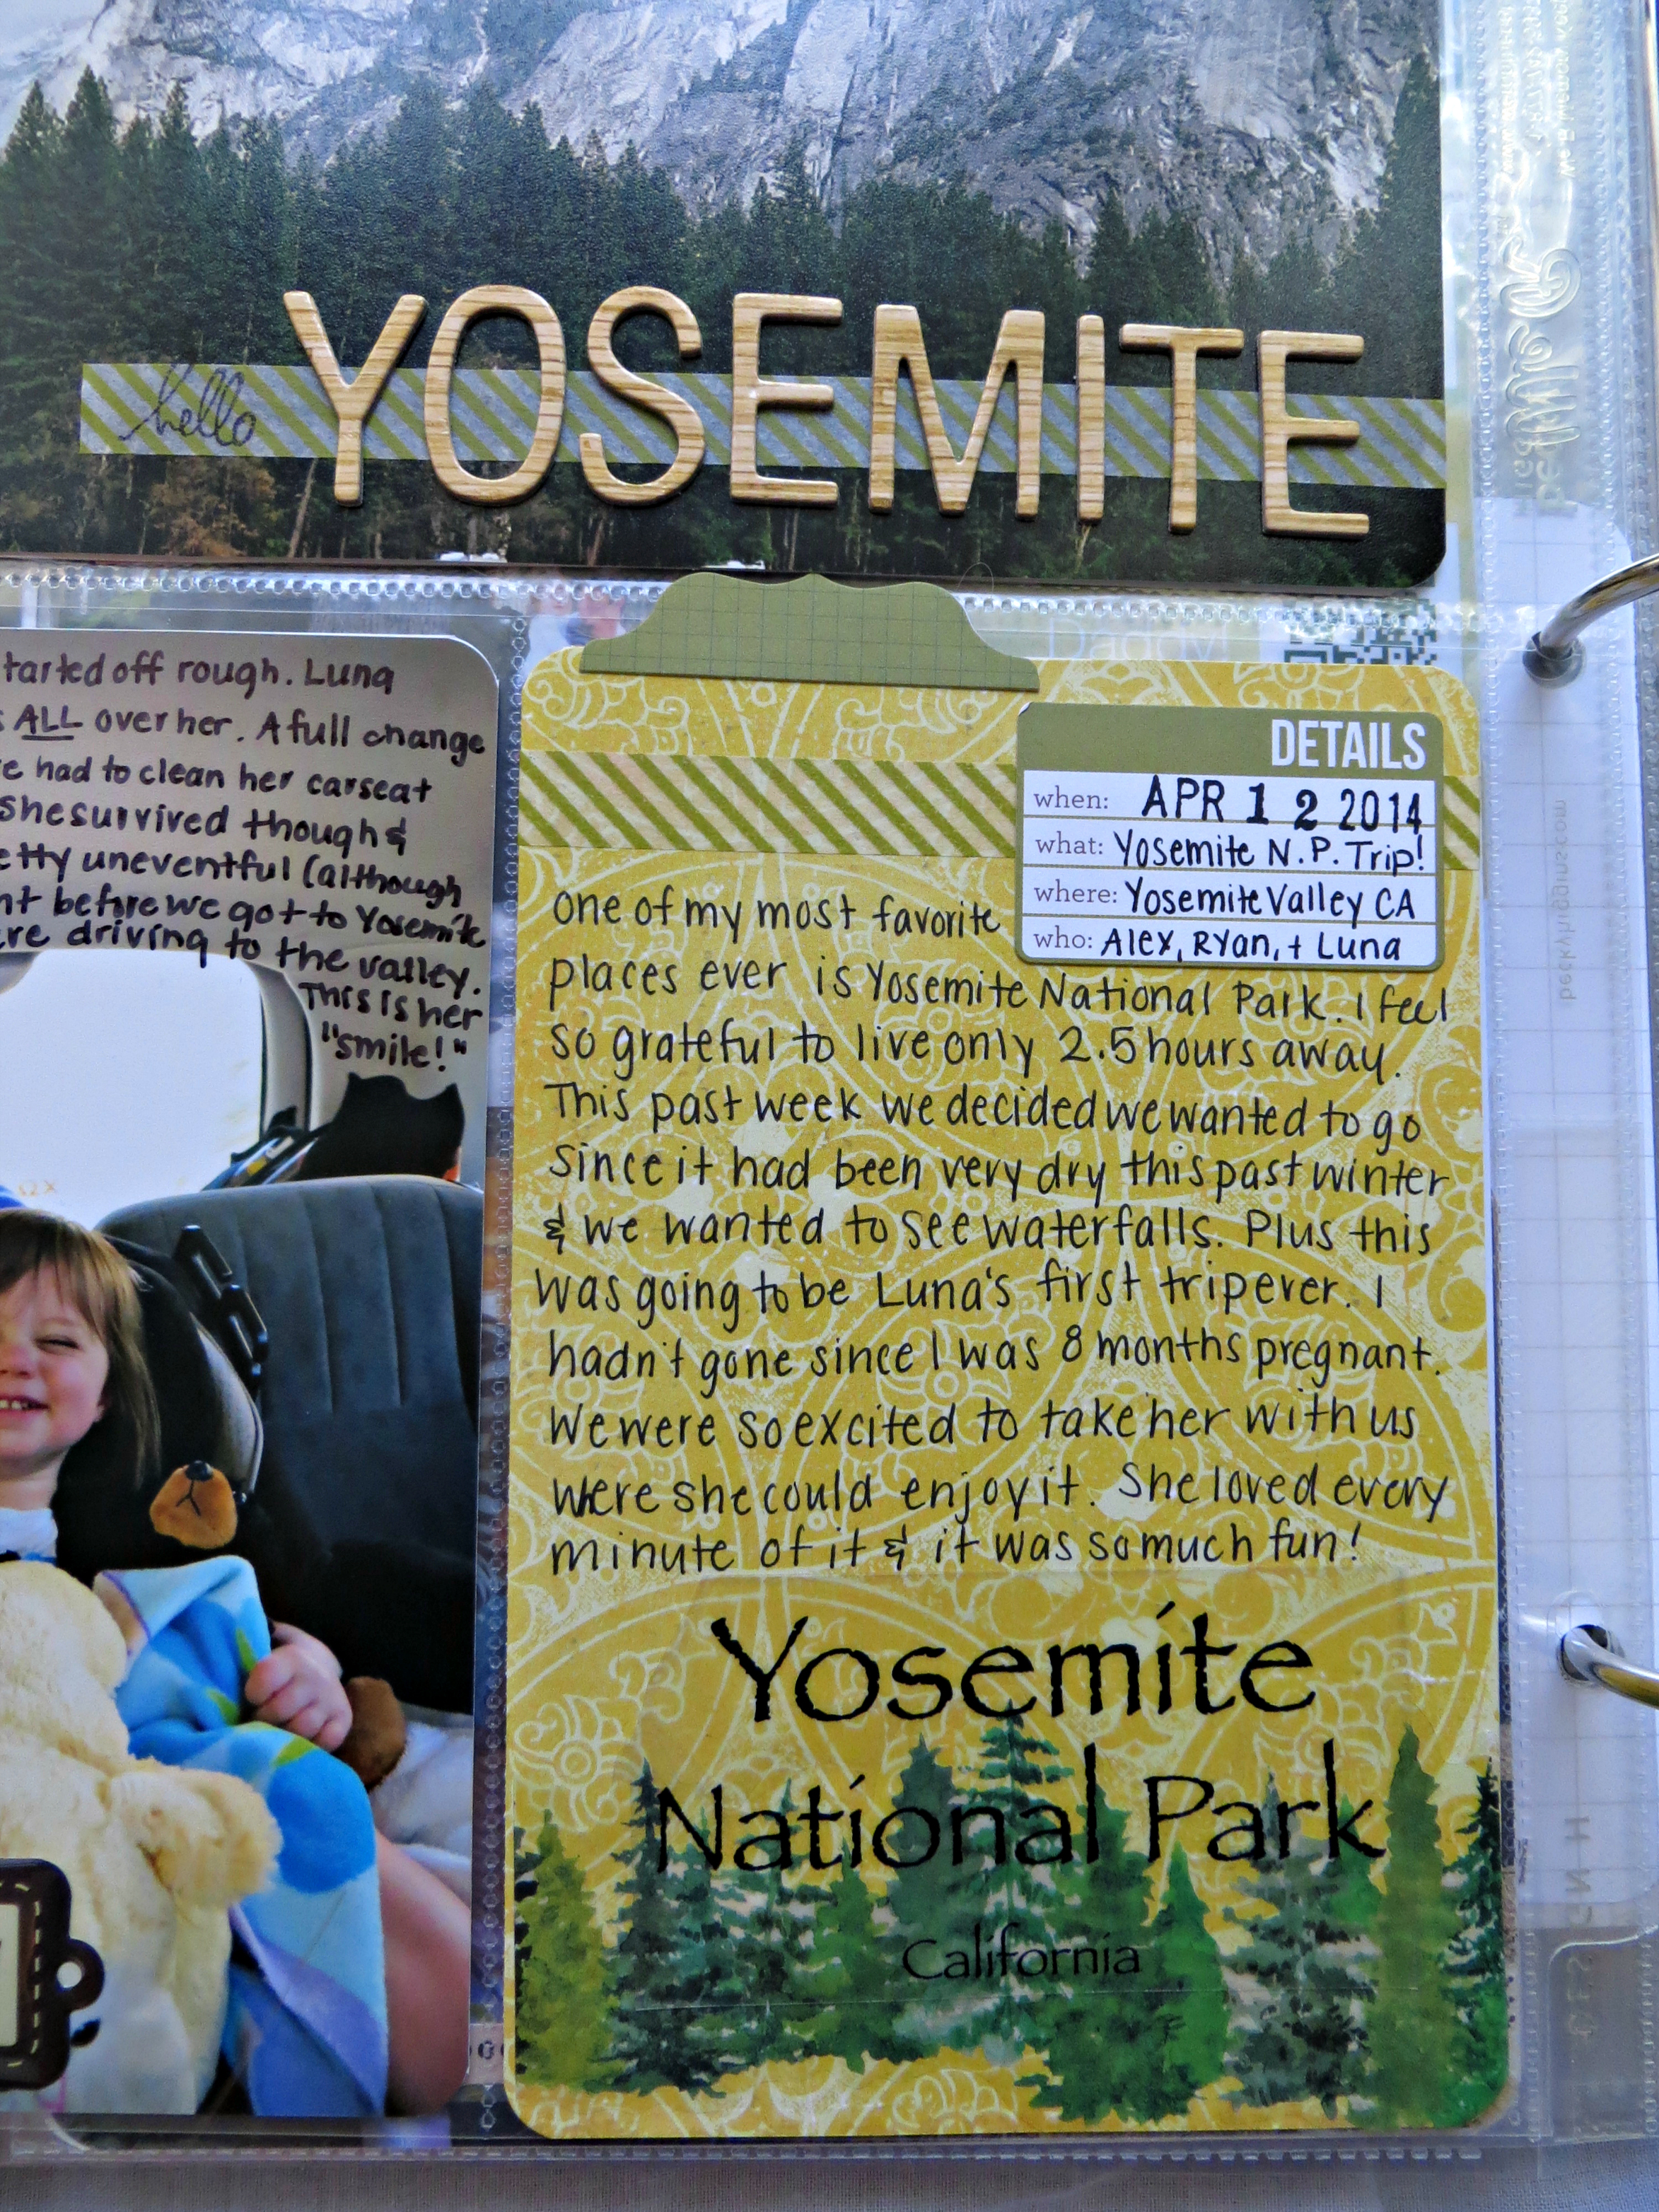
So above is the layout
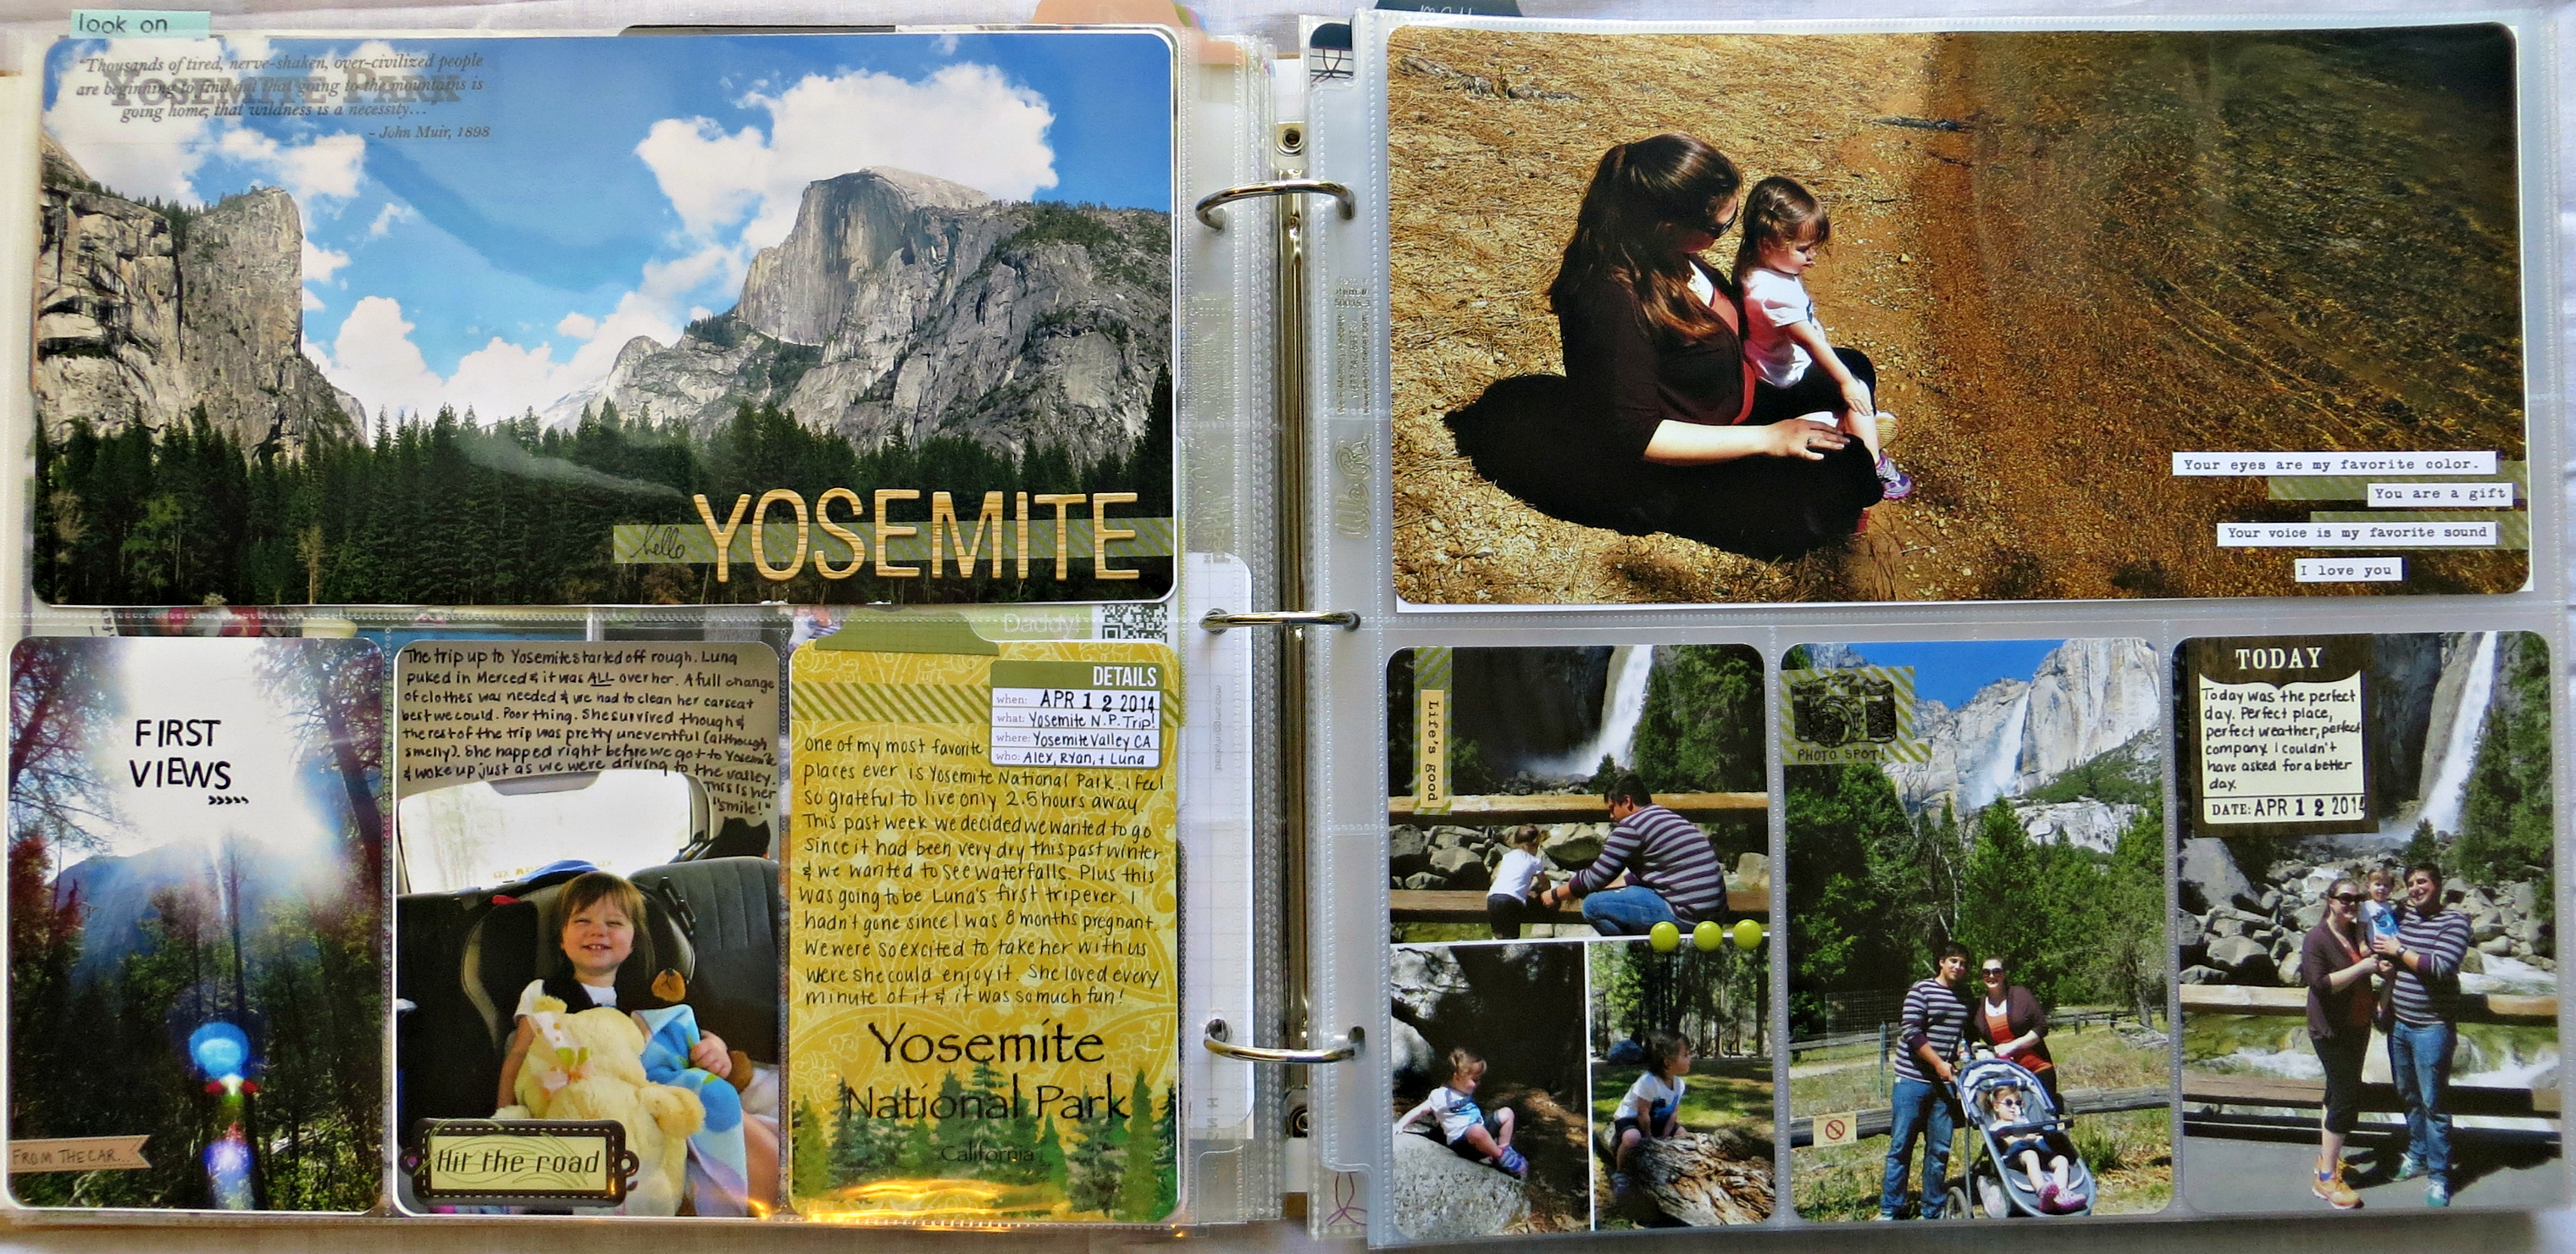
with the inserts. Below is the layout
without the inserts.
Originally I wanted that first picture to span both pages put it wasn't the right dimensions to make it that long. :( Maybe next time I take panoramas I'll make a
super long one so I have that option. The page protector comes in a
10 pack from We R Memory Keepers
.
.
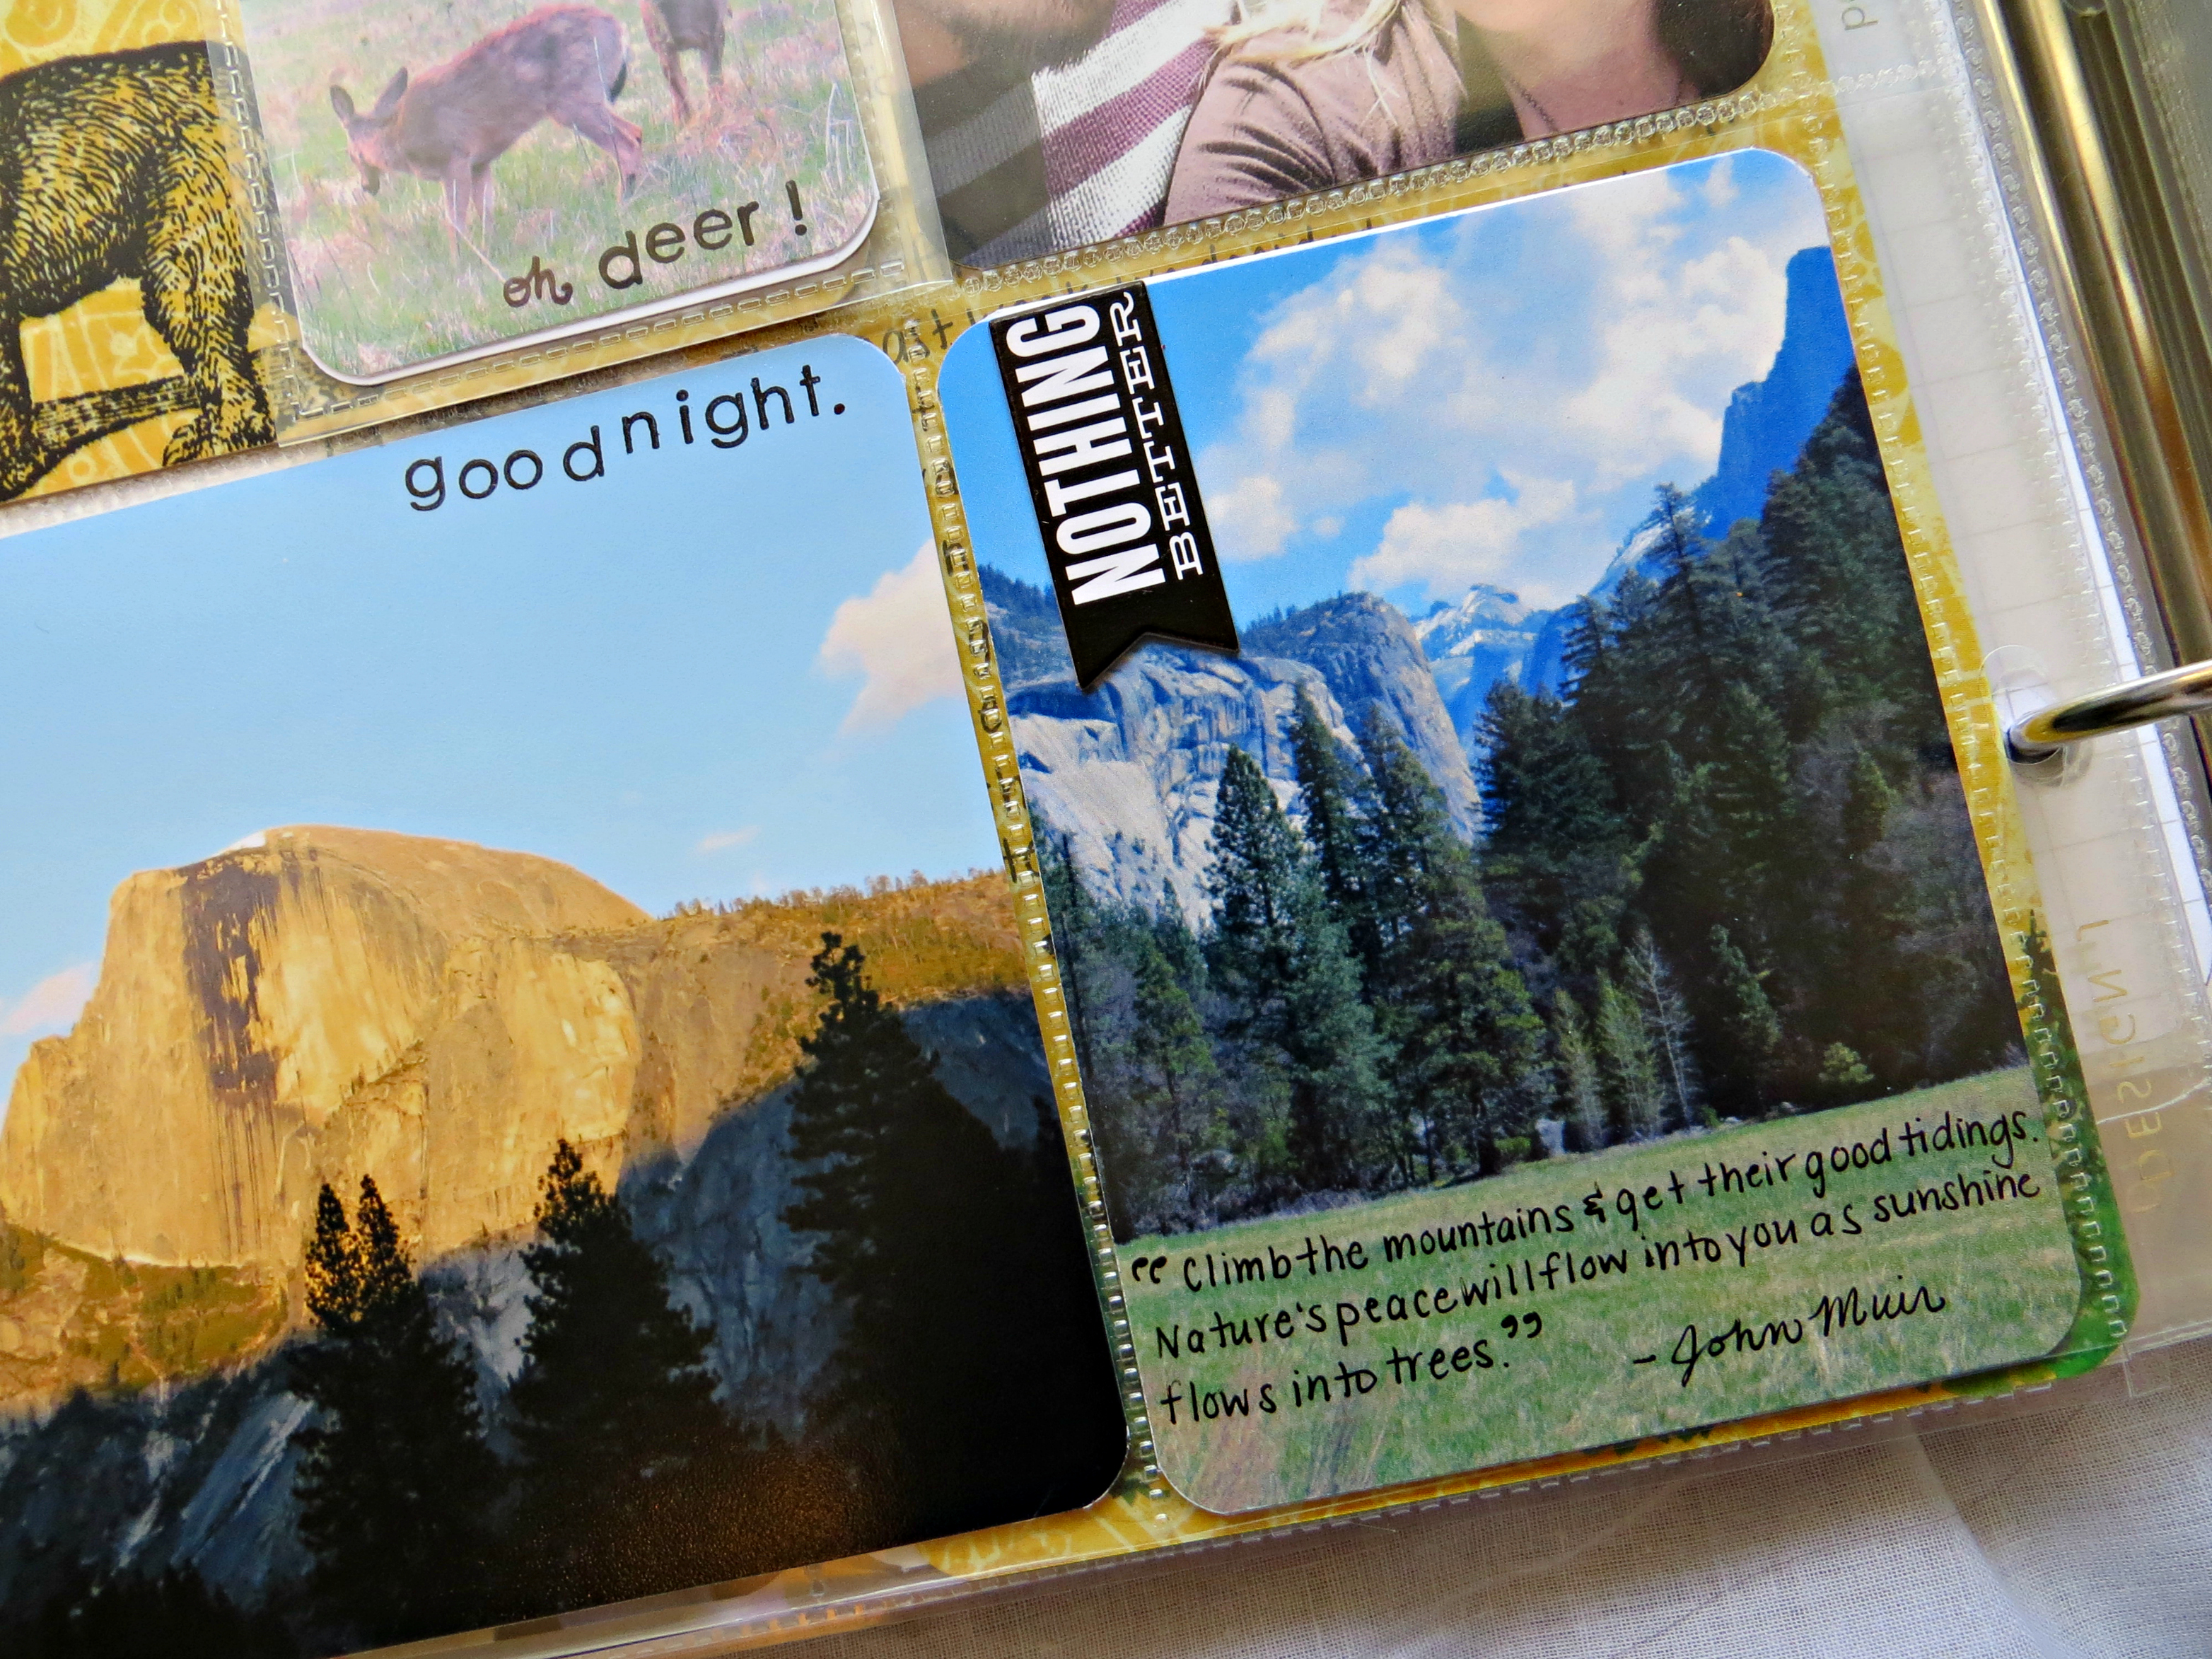
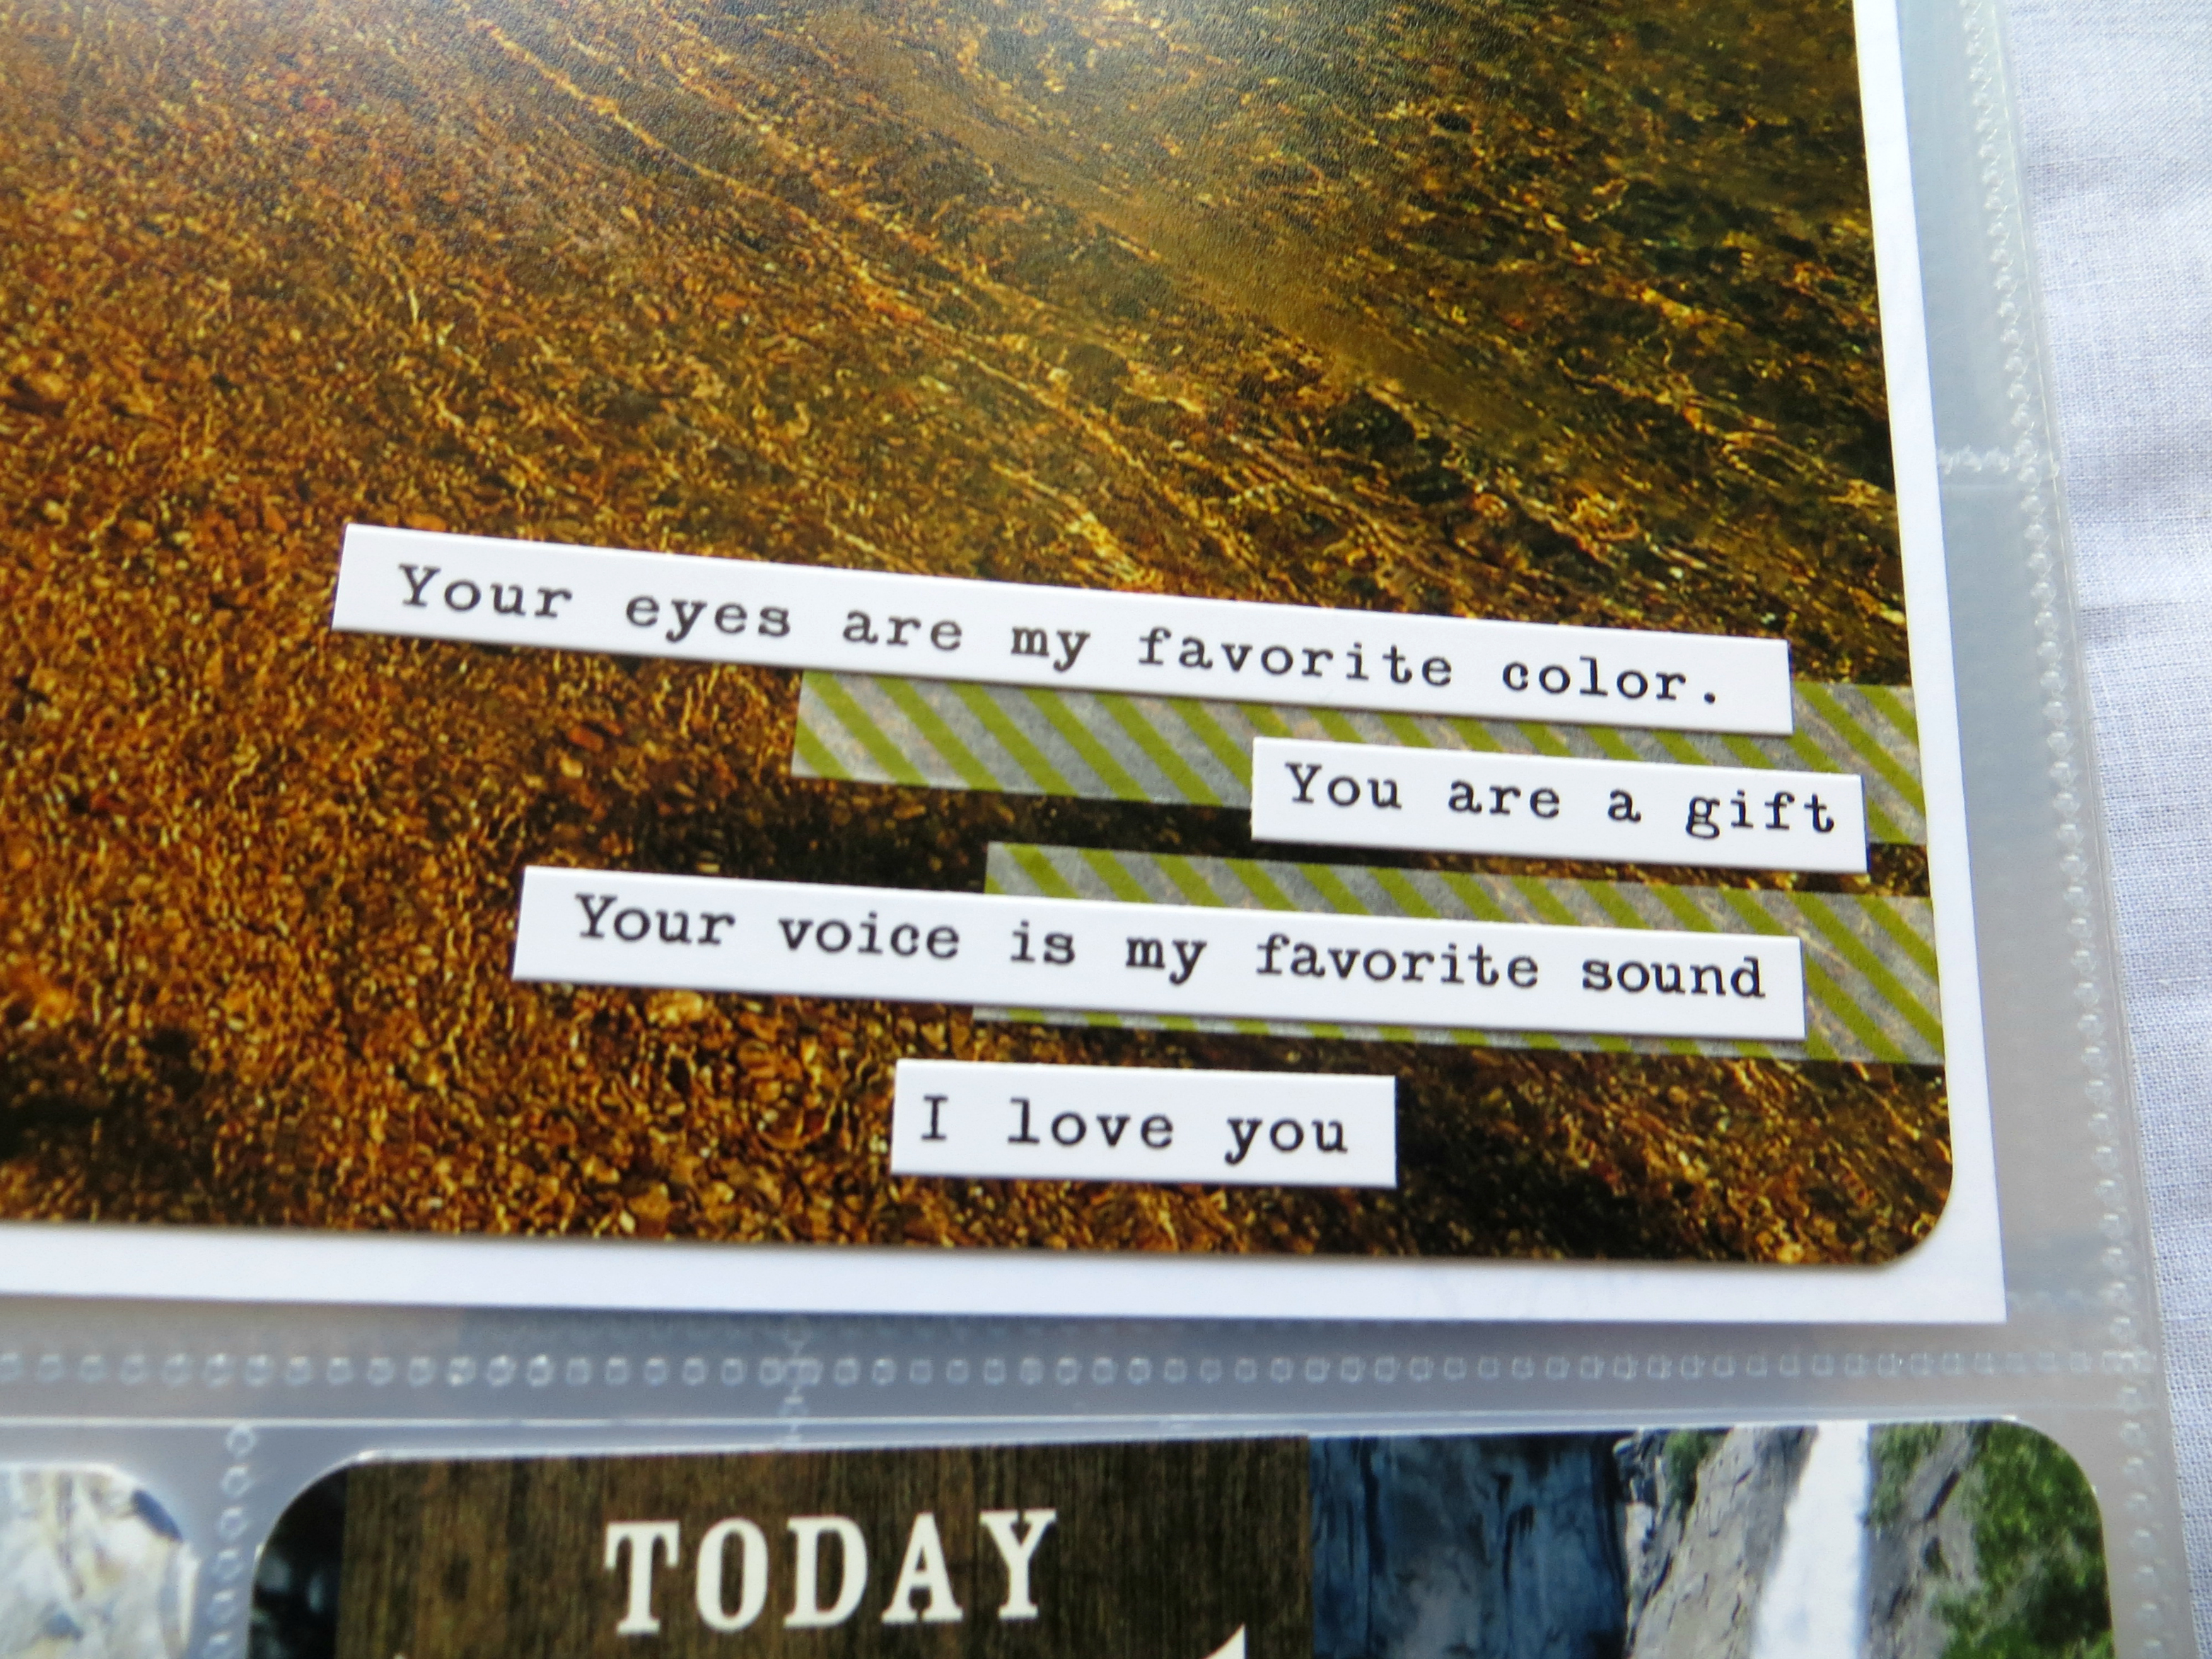
This quote sums up our nature trips perfectly. Sometimes you just have to head to the mountains.
The clear Yosemite quote sticker above was actually taken from this Yosemite scrapbooking sticker pictured below. When we were at one of the gift shops I found it on a little sidecap and of course had to buy it. (I thought it was multiple stickers when I bought it but it was actually one giant one so I cut it up and used it as I pleased.)
Below are some shots from the car ride there. I wanted to journal something about the road trip on the way there and as I was working on the layout I yelled to Ryan:
"Hey, was there any interesting I can journal about the car ride there?"
"Wasn't that the ride where Luna puked every where?!"
This trip was only a month and a half ago. Isn't it funny how quickly we forgot little details and stories? That's one reason I'm definitely glad I am doing Project Life. I don't want to forget anything. Even Luna's first real puking experience.
Ahhh...journaling cards. I originally was going to go with plain white
Becky Higgins Grid Cards
and dress them up. I started to do that but it just looked
so out of place. All these nature-y pictures and -- BAM! Bright white in-your-face! It didn't look right. None of the cards I had looked right. I looked through my 6x6 and 12x12 scrapbook paper - none of the greens/browns worked quite right. I finally settled on this yellow patterned paper and accented it with green. Honestly, it's still not my favorite, but it does the job I think.
A little bit about supplies:
- The "YOSEMITE" is spelled out using these Amy Tangerine Woodgrain Thickers
 (which you may recognize from my current blog header! Also, I got them from Joann's with a coupon which is MUCH cheaper than the listed price on Amazon).
- The little green tab and "Details" sticker is from Sn@p labels, purchased from Michaels.
- The "Yosemite National Park" is from that random sticker I found in the gift shop.
- The trees sticker is cut from these Sandy Lion tree border stickers.
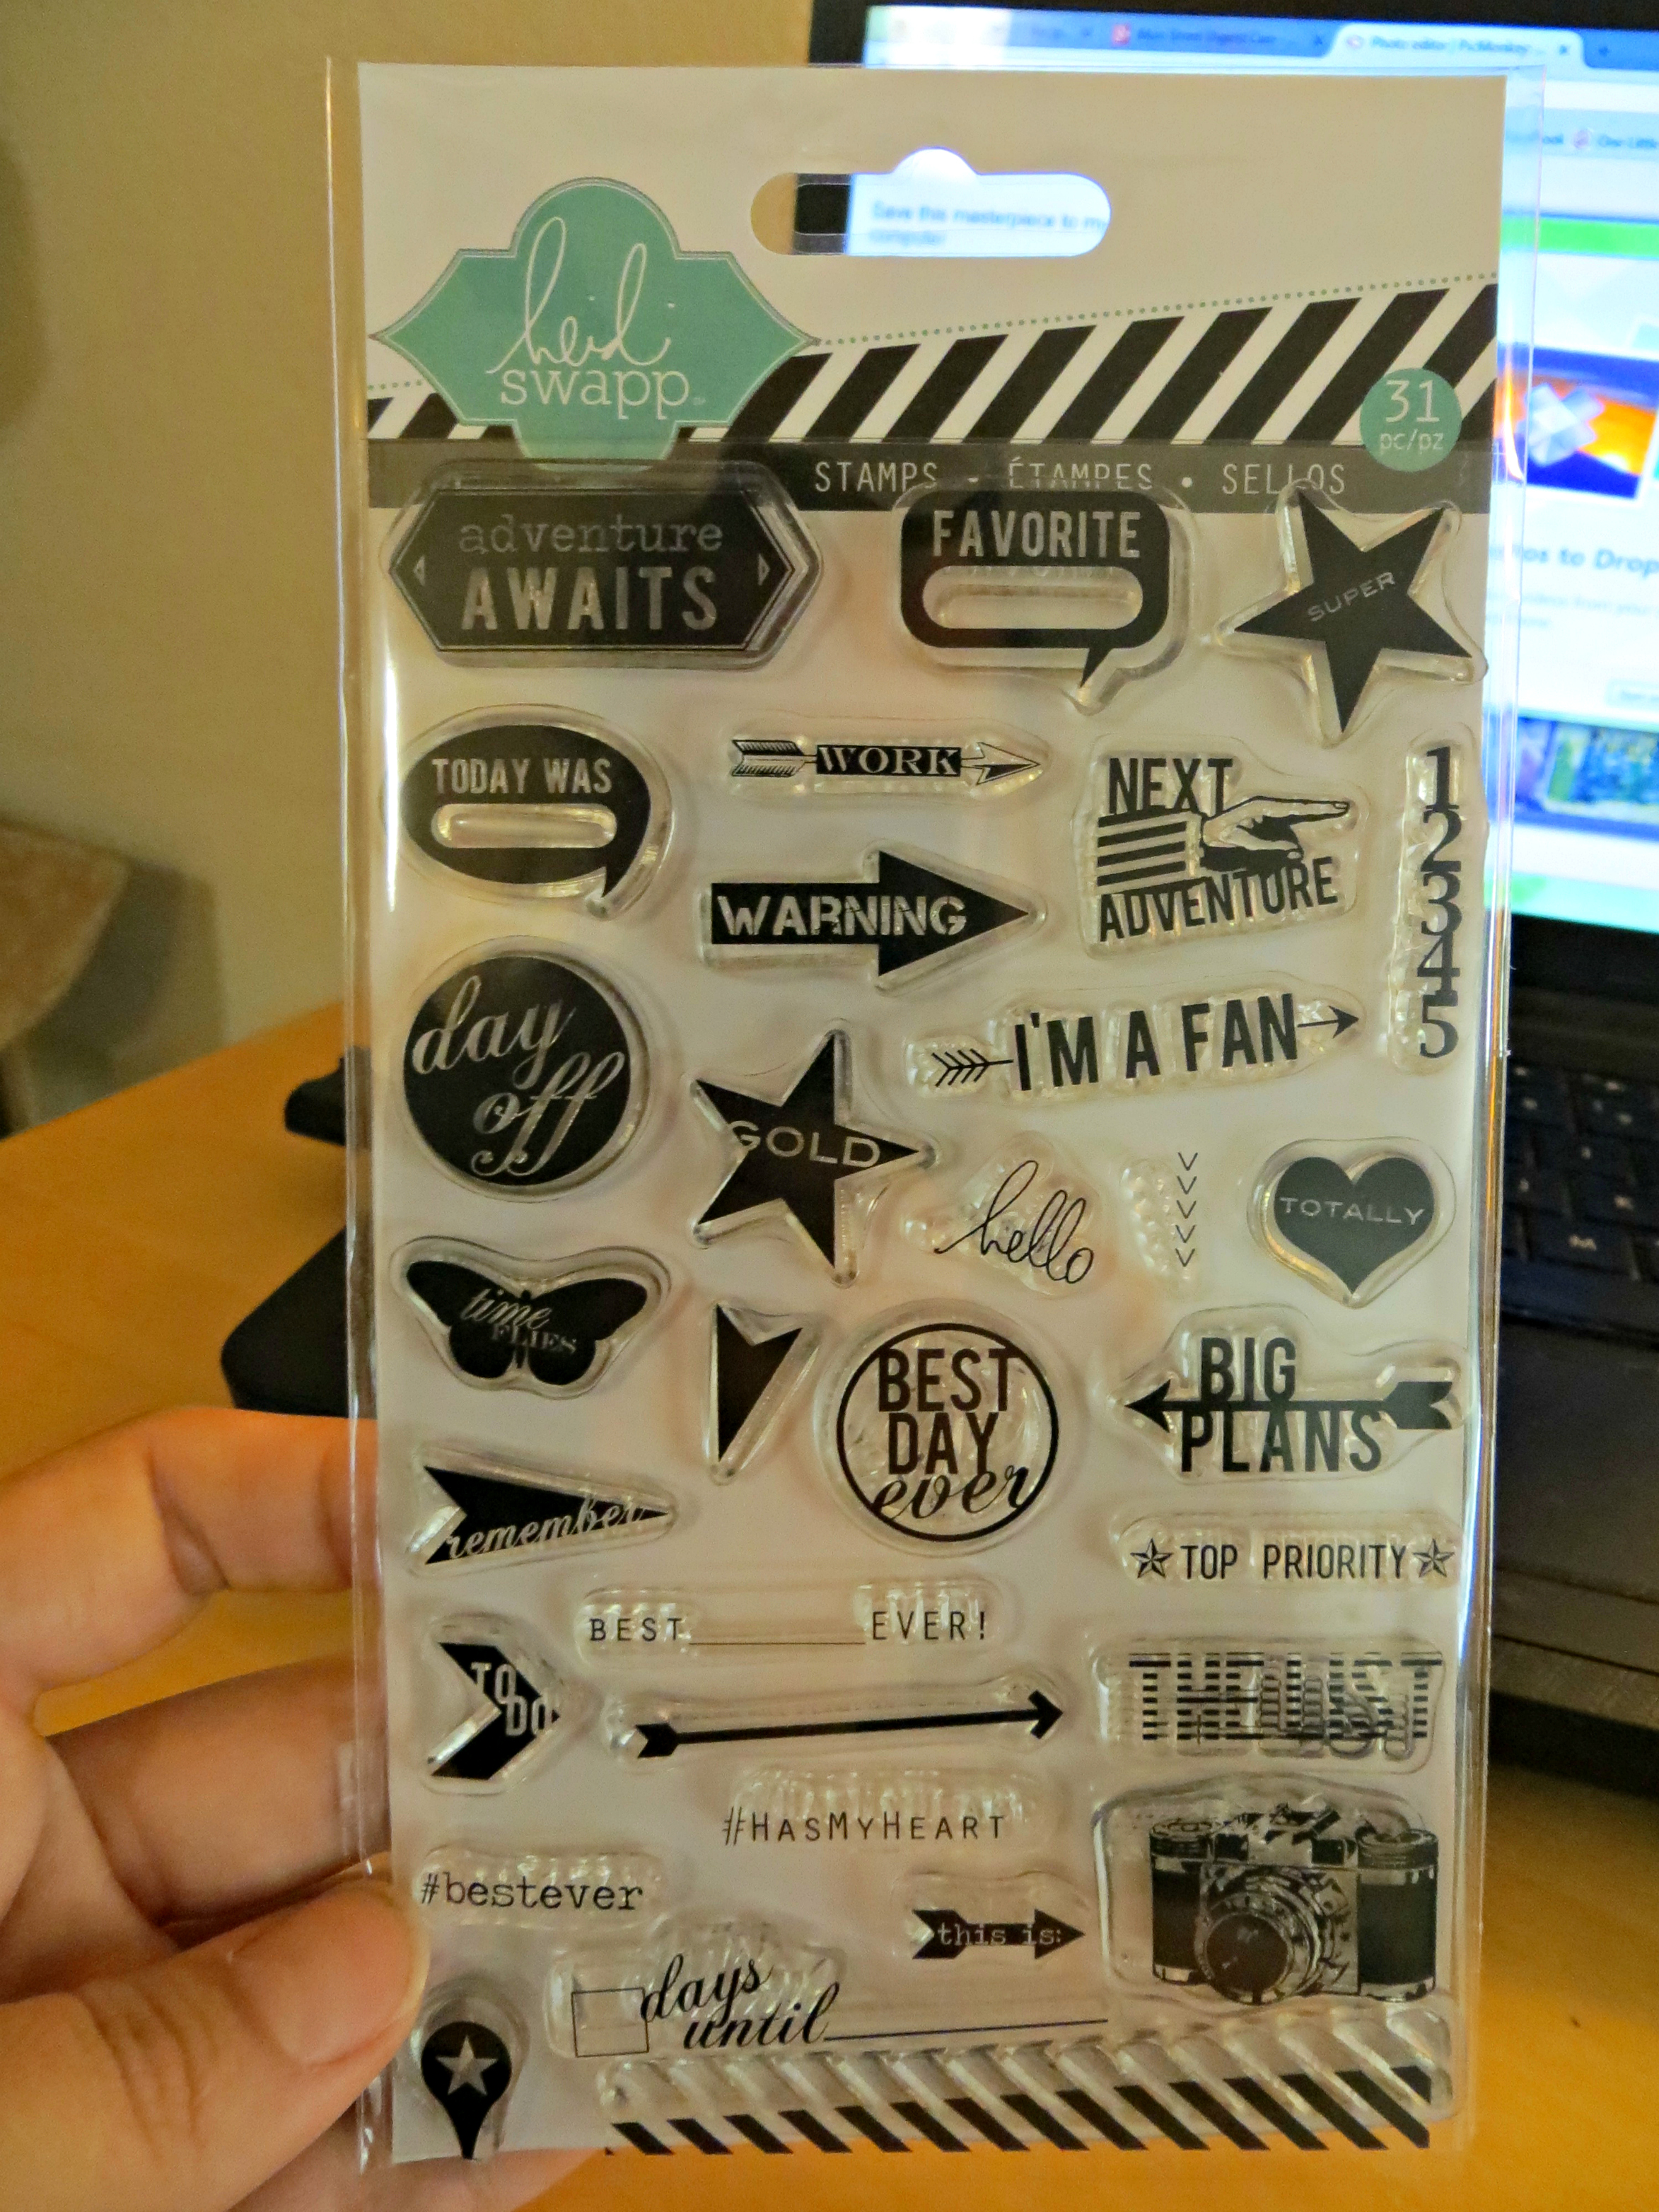
- And finally....do you see that little "hello" cursive stamp beside the Yosemite title....
It's from this Heidi Swapp stamp pack which I have officially fallen in love with. It's perfect for Project Life. And ended up only being around $6 at Michaels with a coupon. (Sadly couldn't find a link for you. Leave a comment if you know where to find them online!) Be prepared to see more use of these stamps in the near future. :)
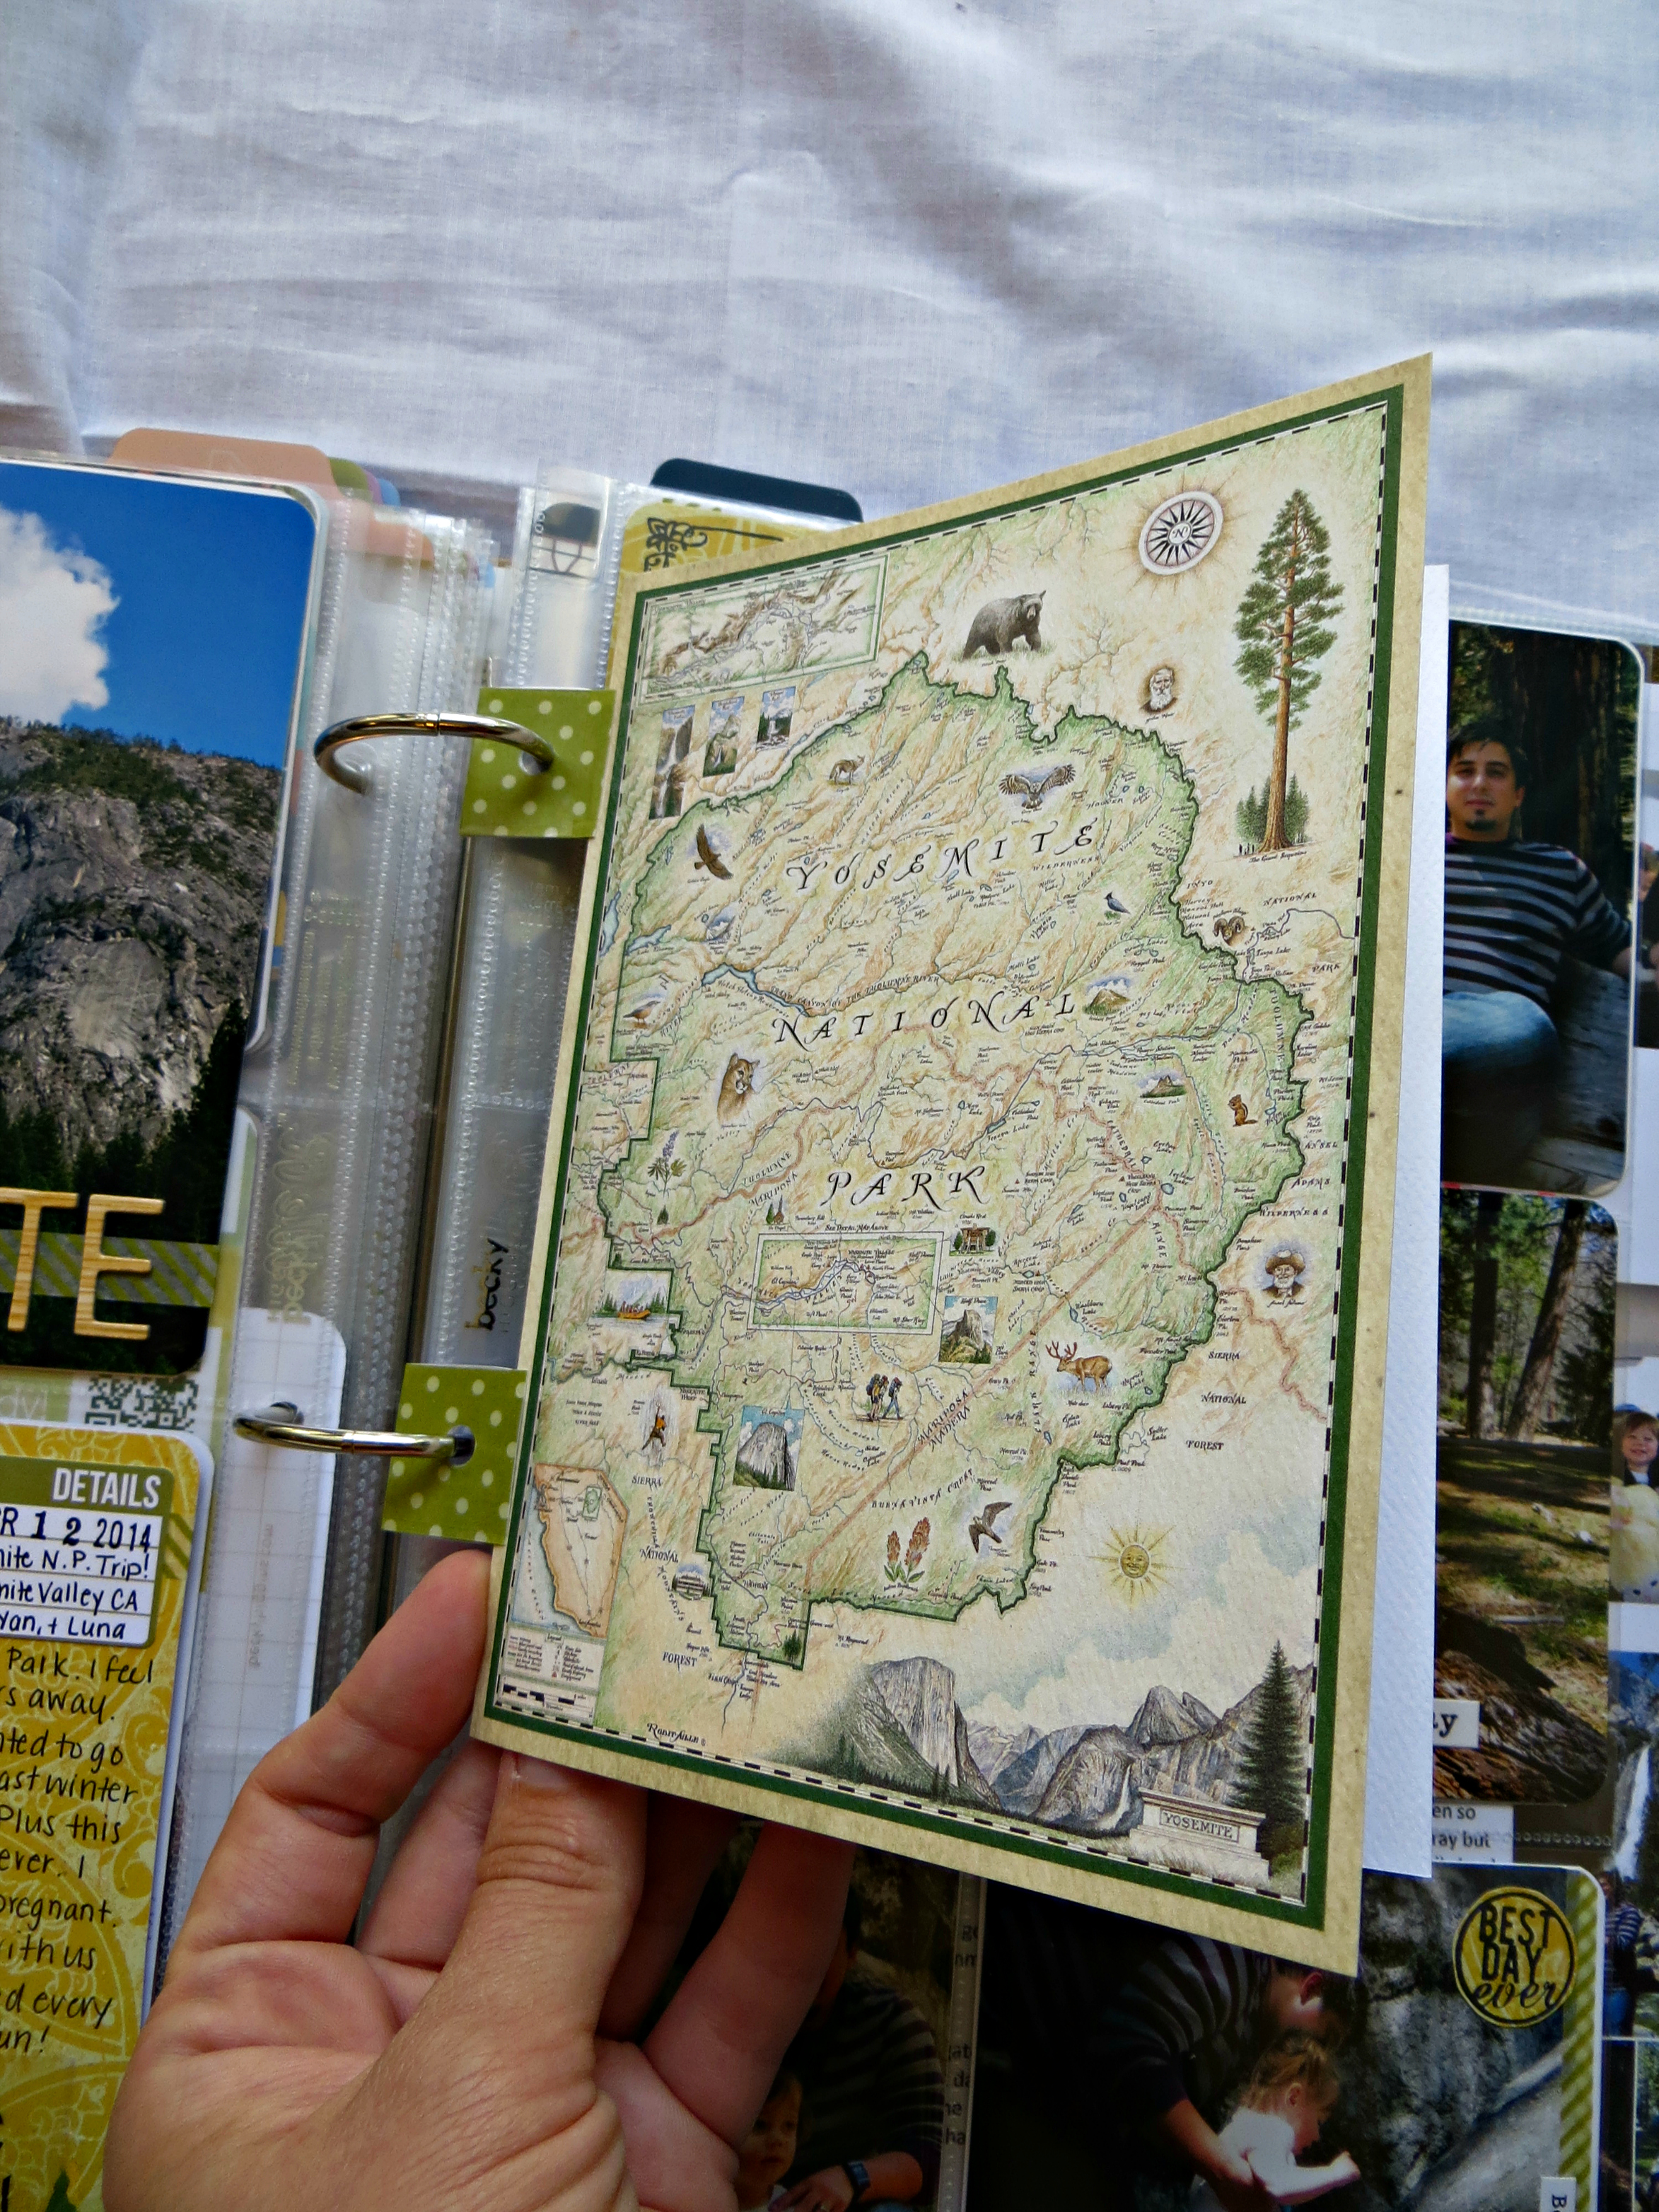
Next up is this gorgeous Yosemite map card I picked up at one of the gift shops. I didn't have exact plans for it when I bought it but I loved it. I didn't want to "mess it up" but punching holes directly in it so I made some little makeshift tabs to put it in the binder. (The pokadot green - it's just patterned cardstock folded in half, attached with scotch tape, and punched with a hole.)
If I had more to say about the trip I would have journaled inside the card but I didn't so I left it blank for now.
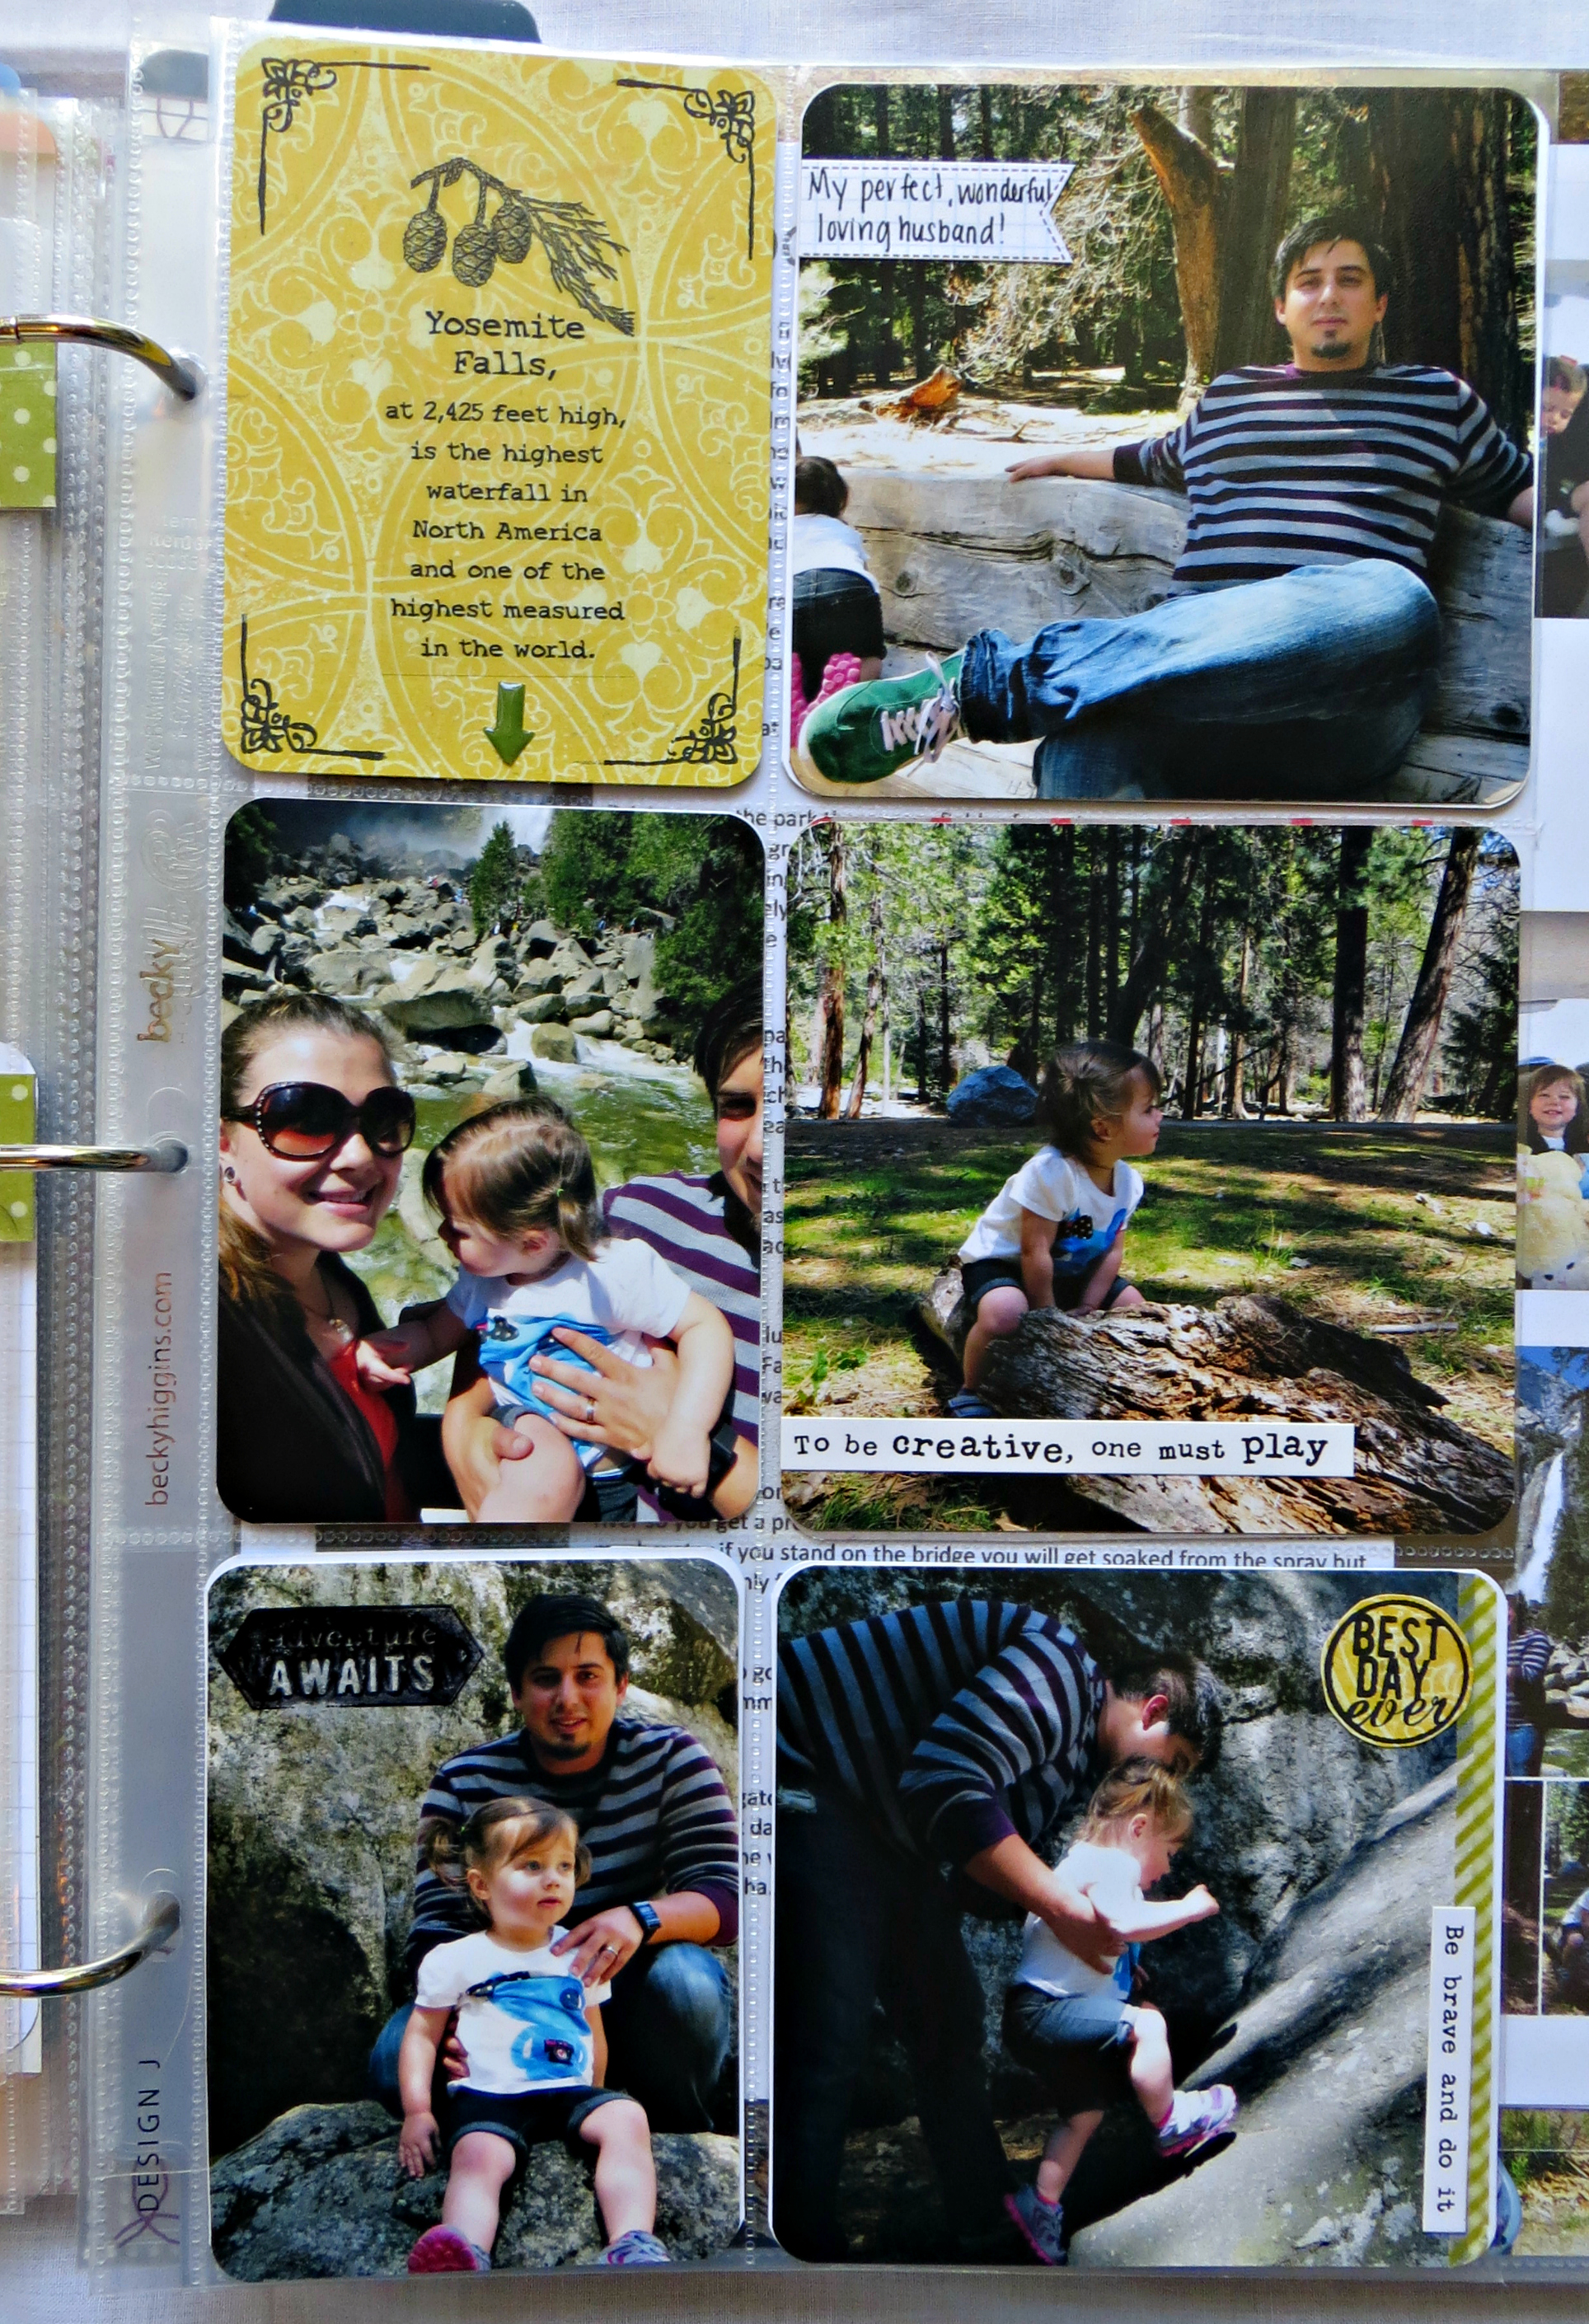
The next insert below is a
Becky Higgins Design J
insert. I like how it includes 4x4's to break up the whole 4x6 and 3x4 business that's always going on. (If you click on the link you can check out over ten different page protector layouts as well!)
The yellow paper is back! Even when I'm not using a kit to coordinate (which I never do anyway) I like my pages from one event to have
some sort of cohesiveness. My "theme" for the Yosemite trip was black stamps, that yellow paper, and some of that green stripy washi tape I love so much.
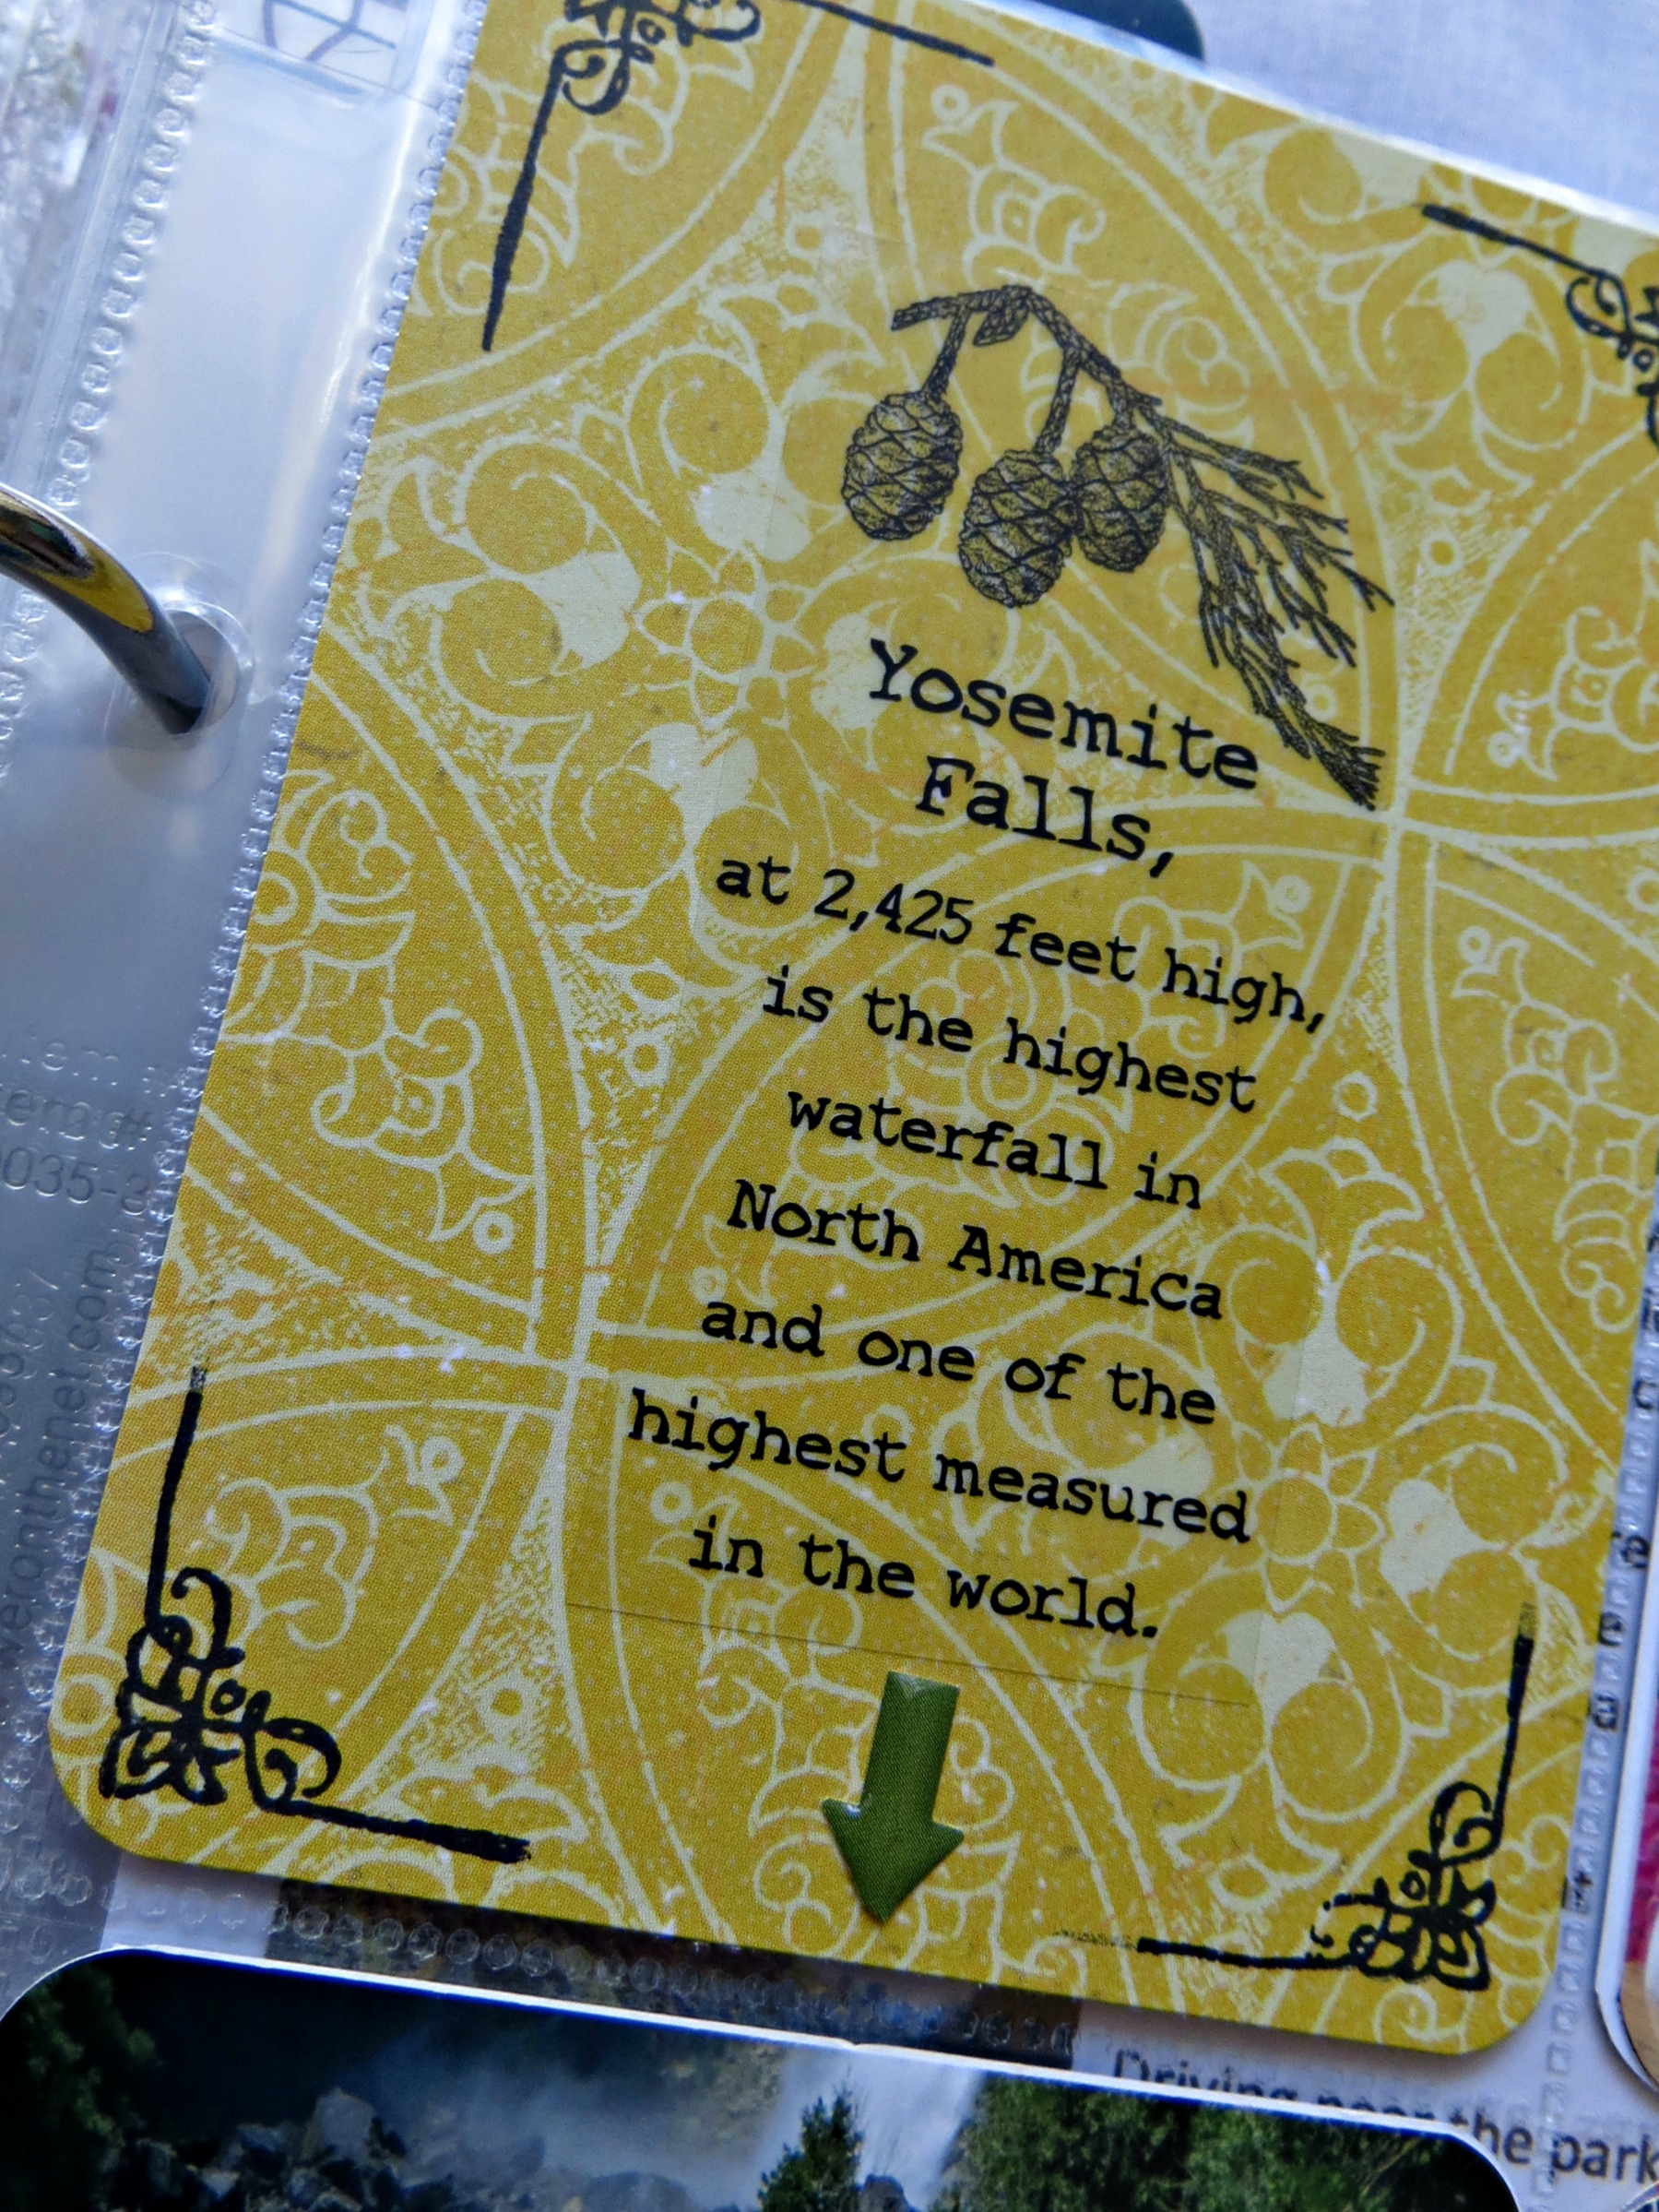
The card below was cut from 12x12 scrapbook paper. The Yosemite sticker came from the gift shop and I had a little square frame type stamp that I only inked the corners of so I could embellish the corners of the card.
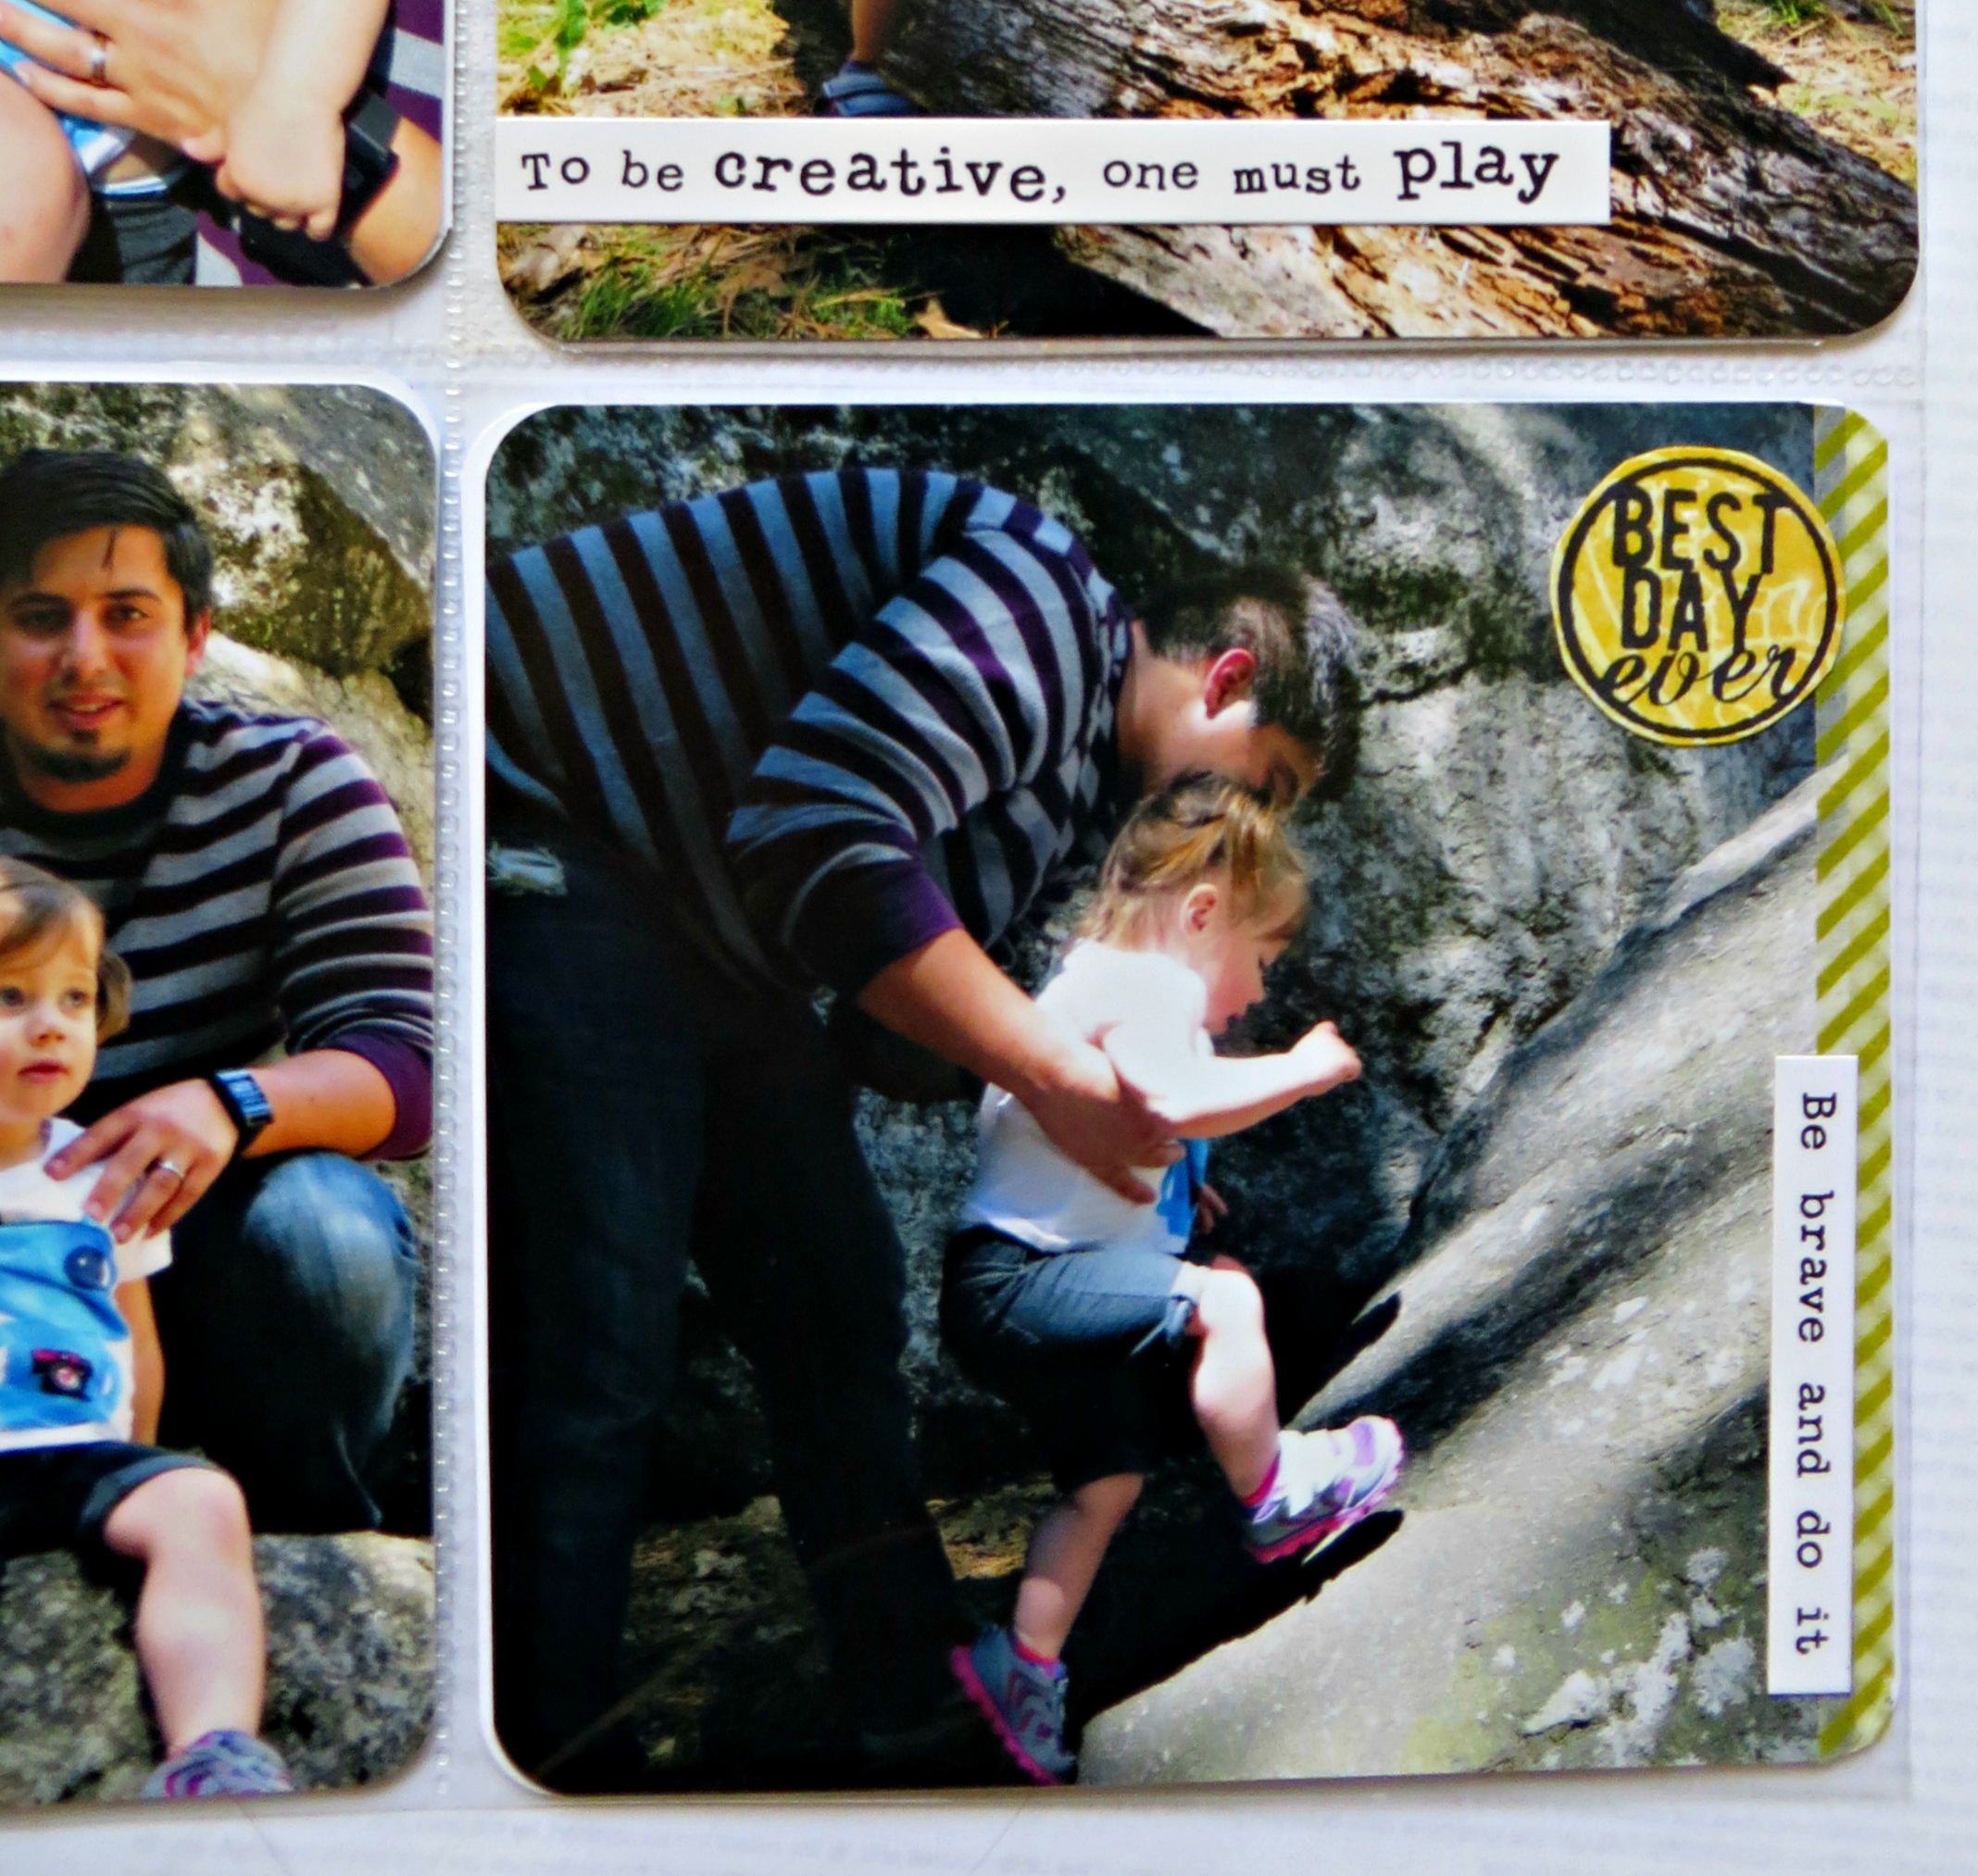
I'm a bit proud of the picture below. See the washi tape on the side? Yea...that was my solution for accidentally cropping the picture way too much. Add some coordinating washi tape - problem solved! And to continue the yellow to the bottom of the insert, I stamped one of the Heidi Swapp stamps onto the yellow paper and cut it out, glued it on.
The "be brave and do it" is from one of my current favorite embellishment items,
Cosmo Cricket "Just Because" Tiny Text Stickers
. I just freaking love them. The "To be creative, one must play" is from
"Life Story"
sticker pack.
Here's the back of the insert in it's entirety:
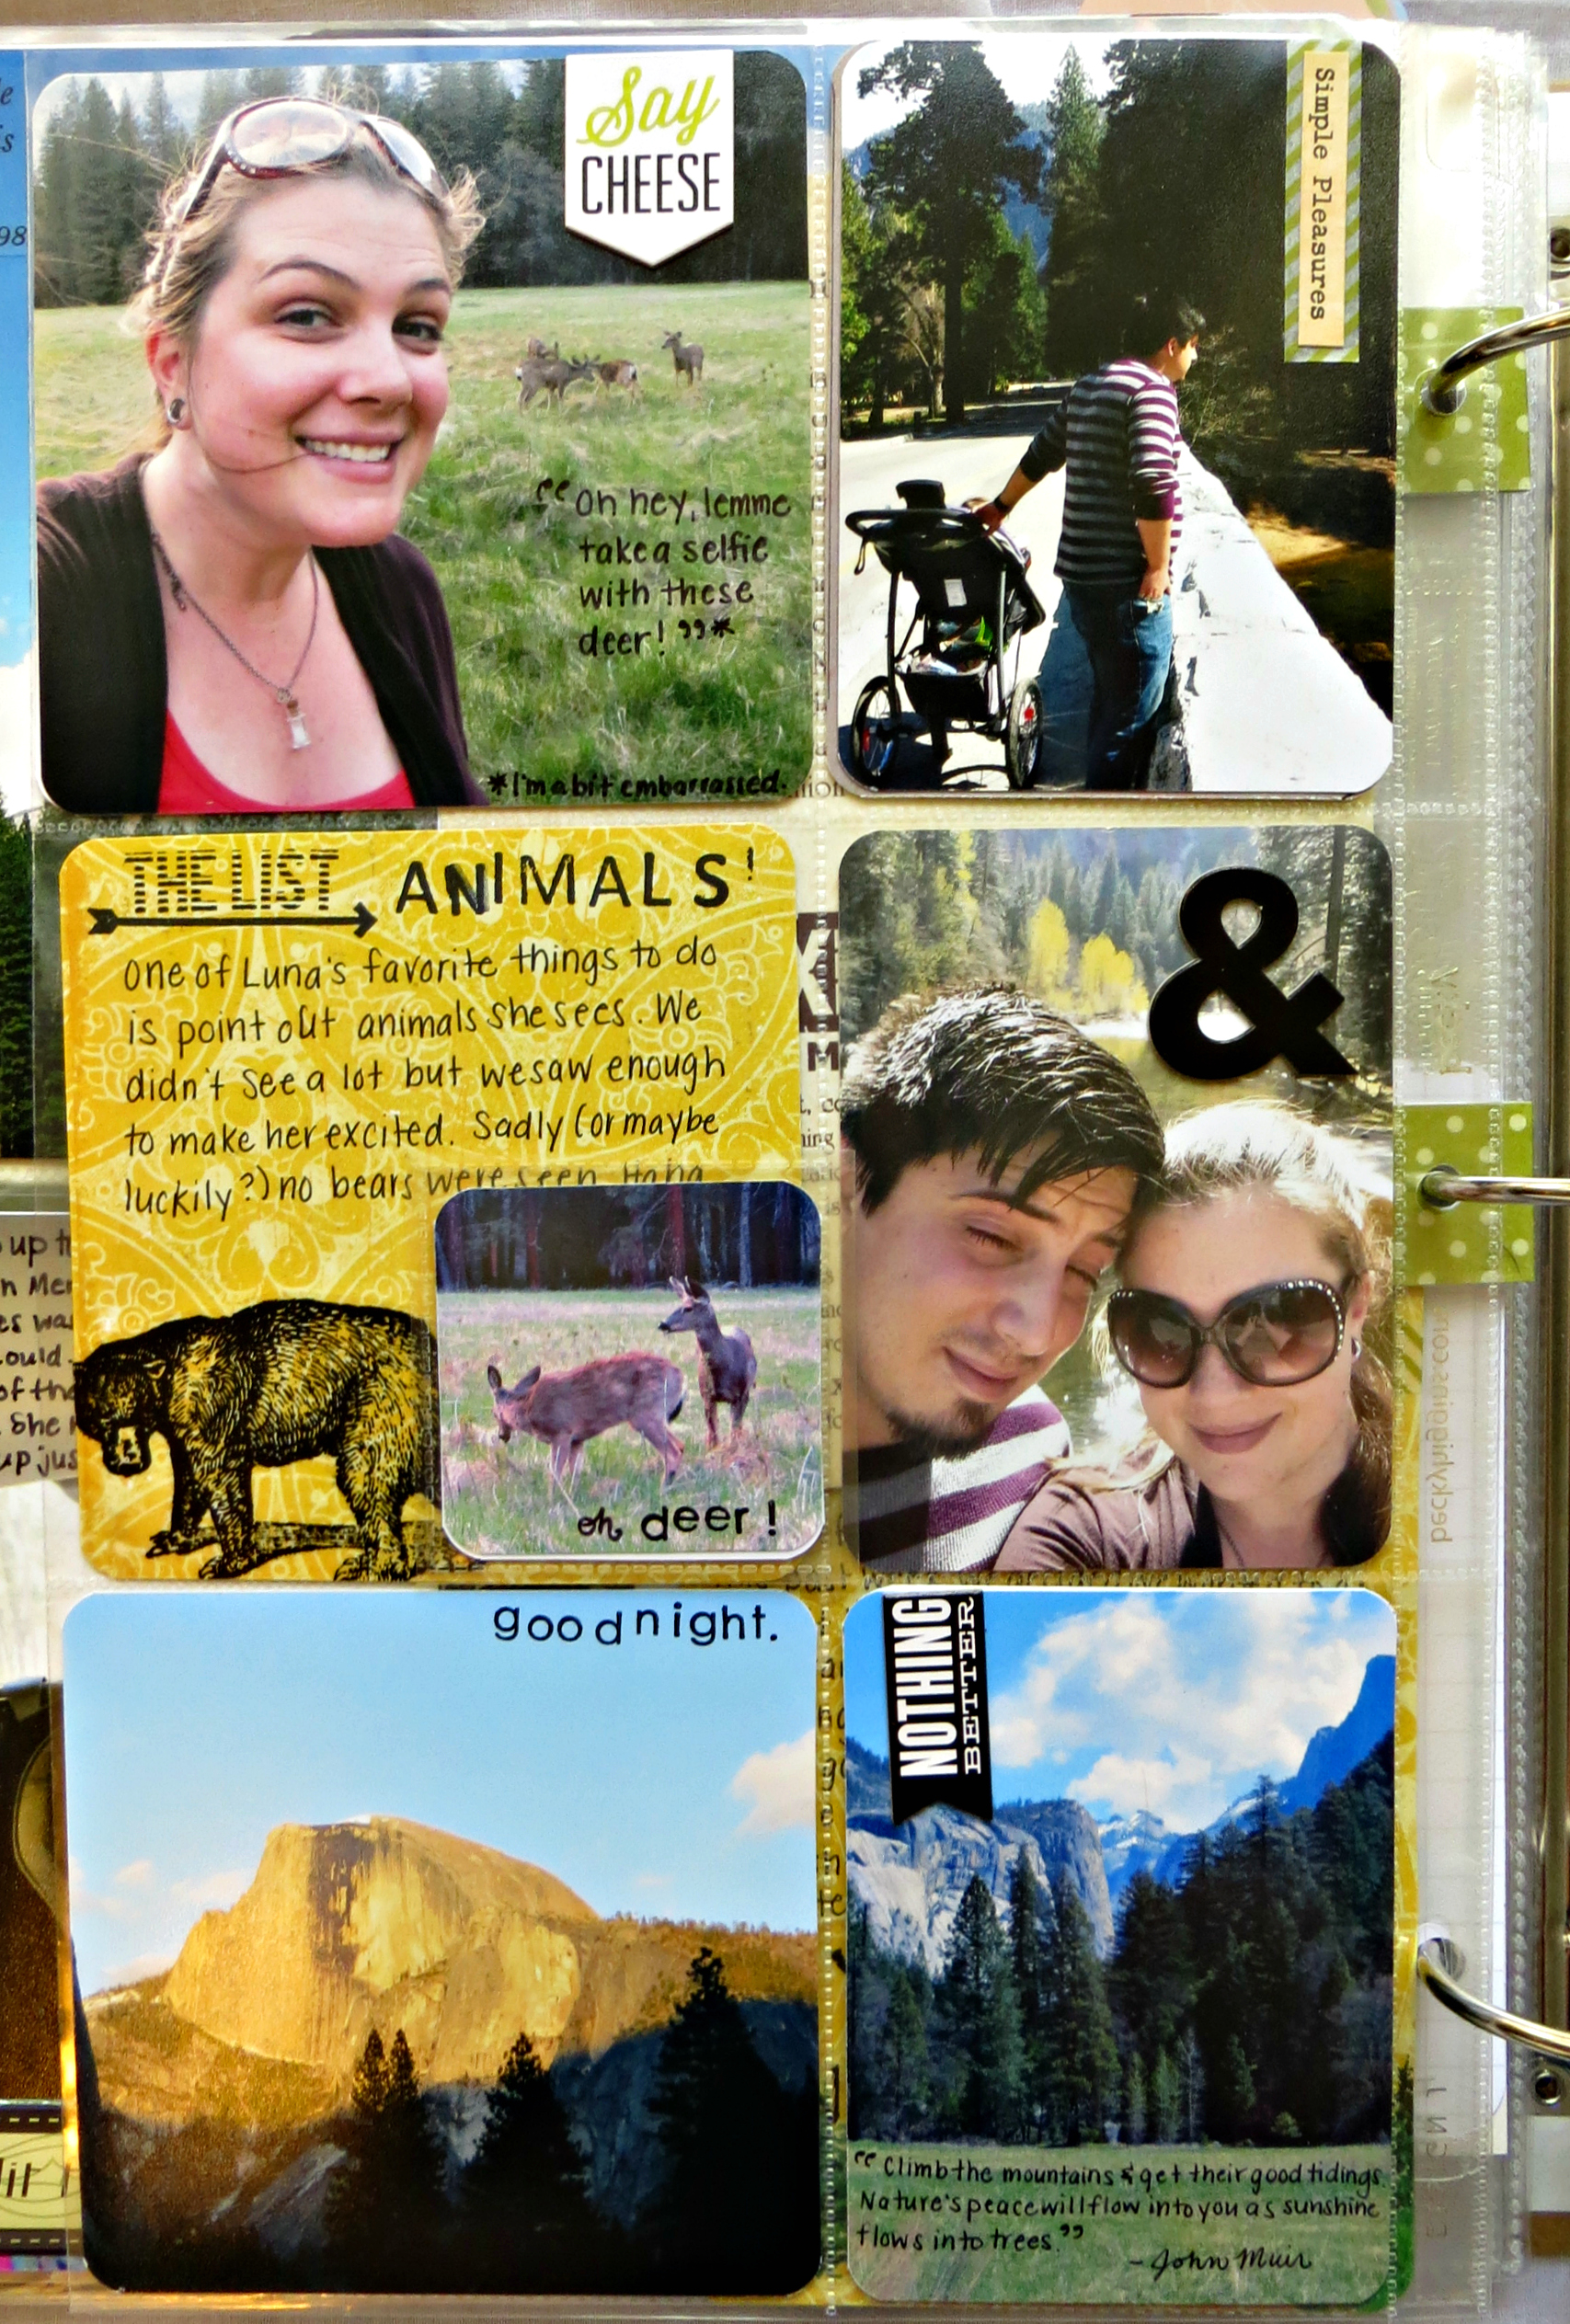
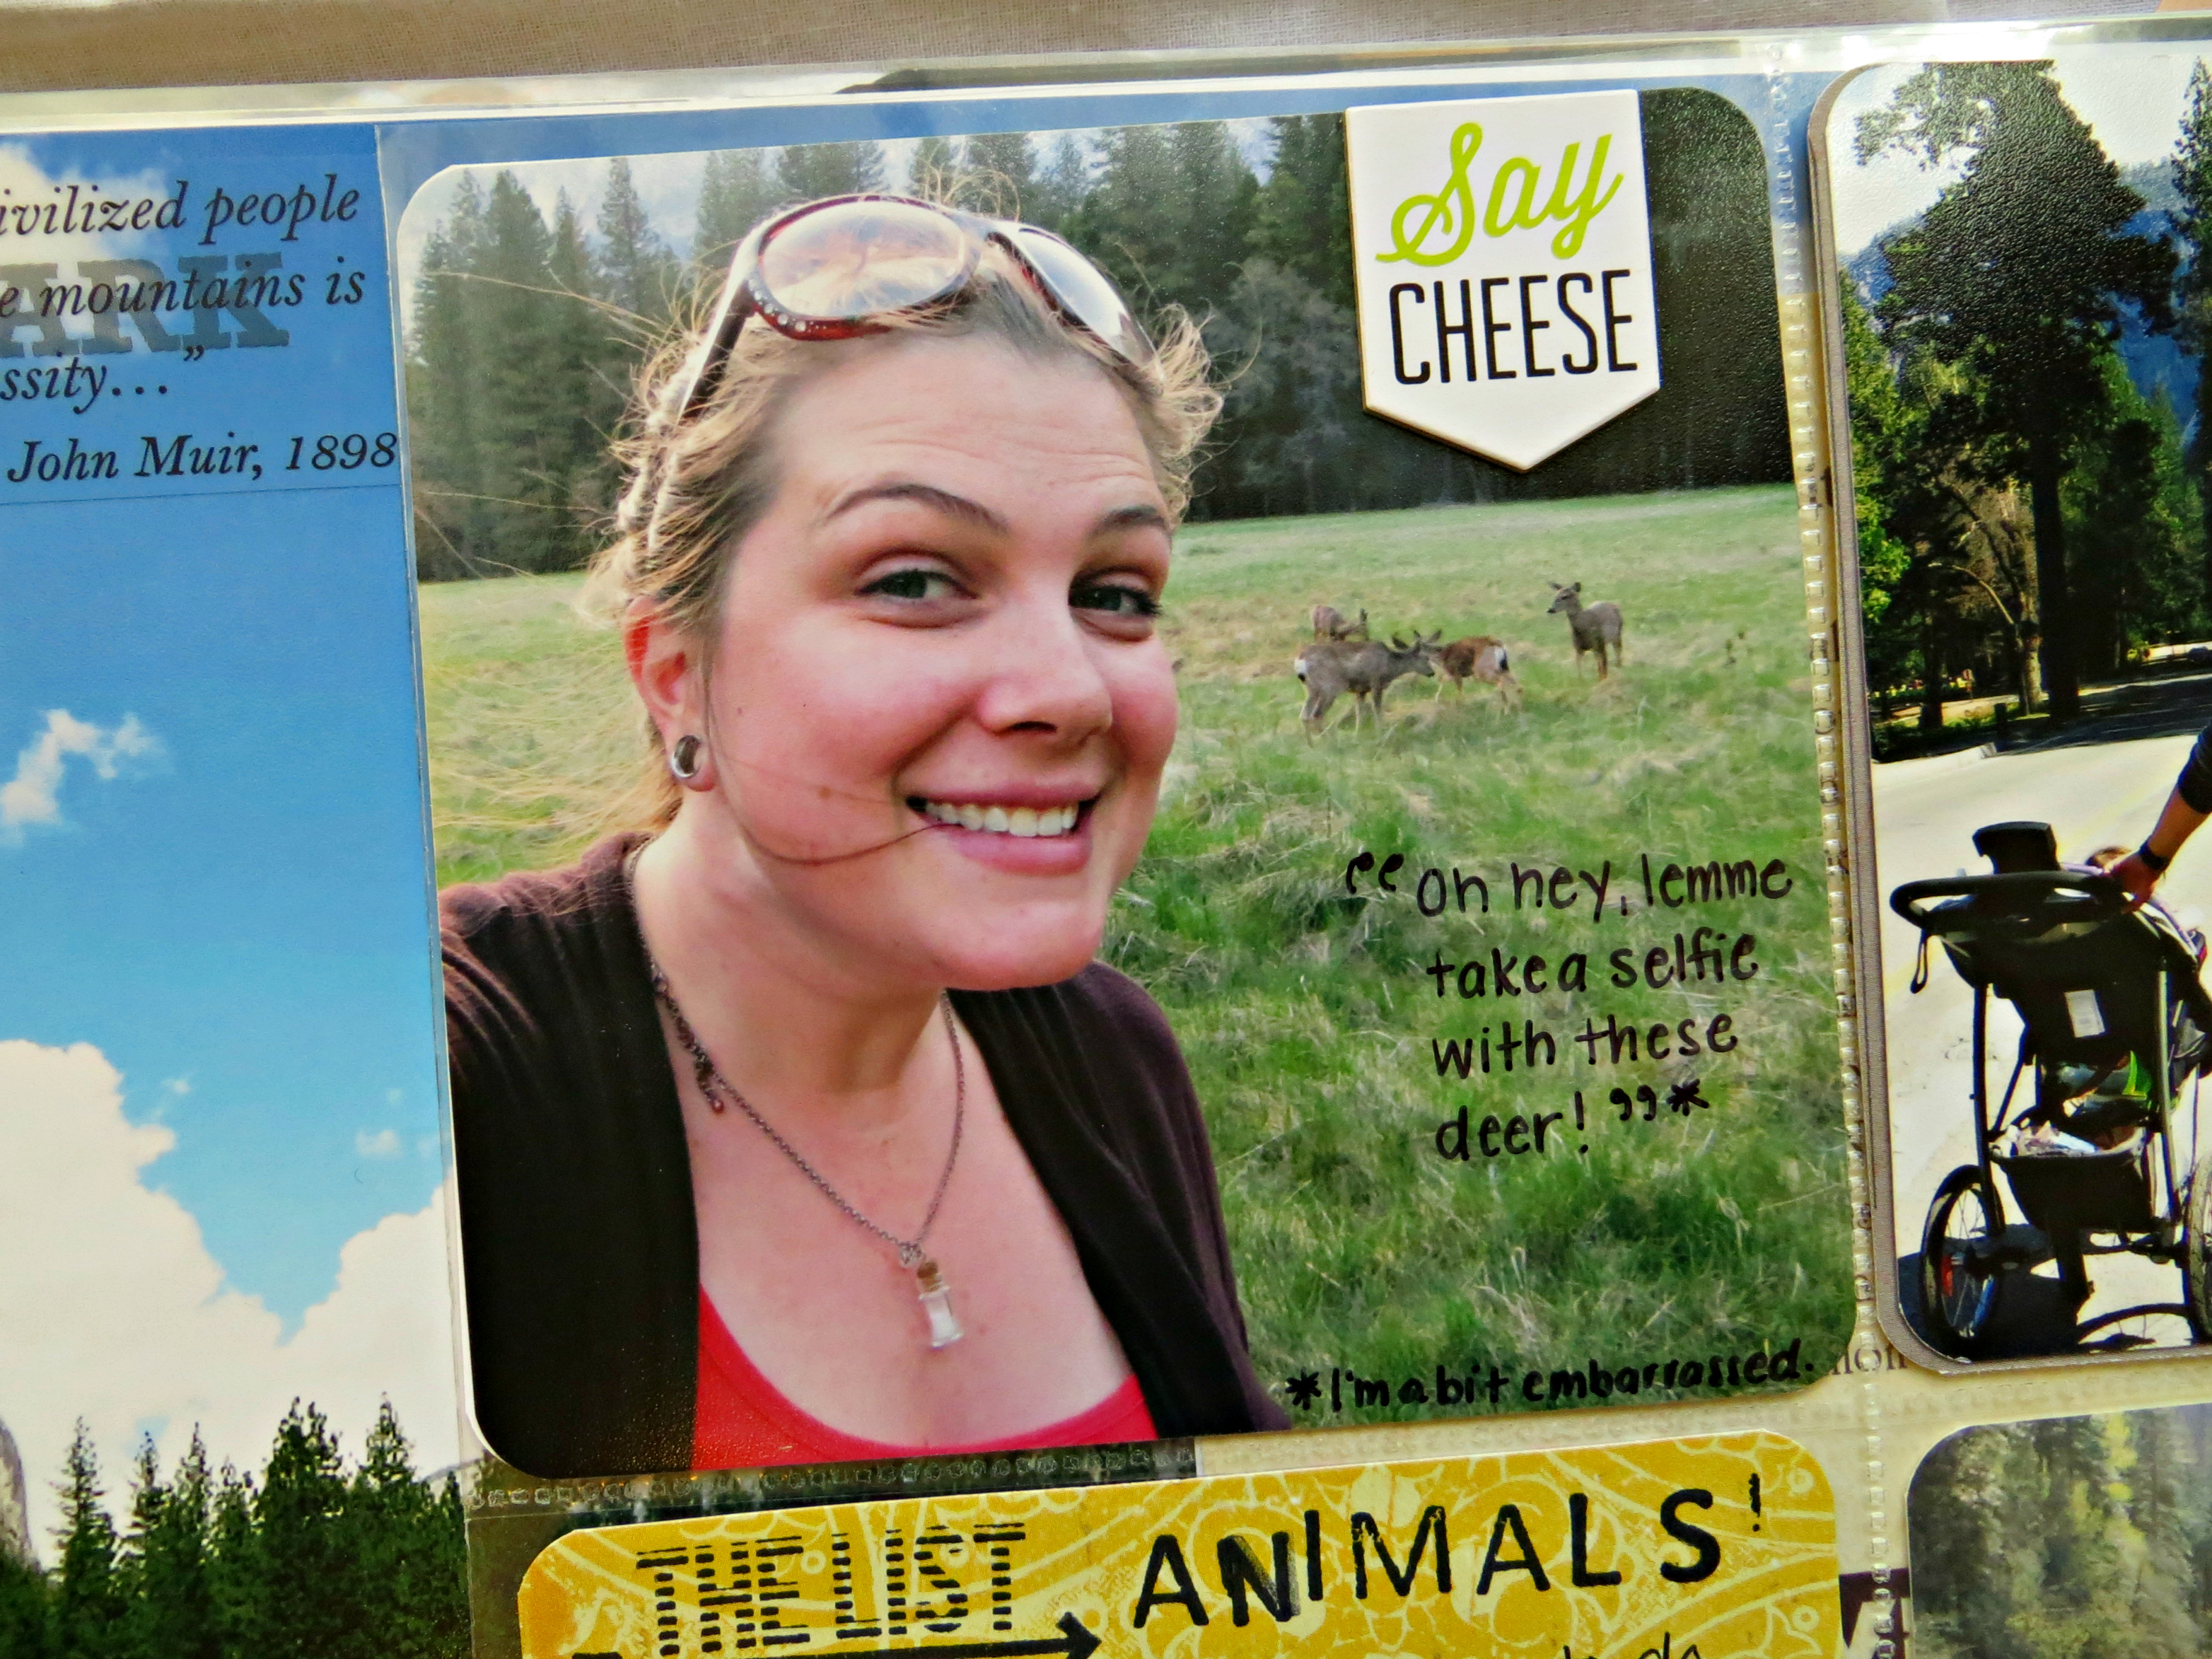
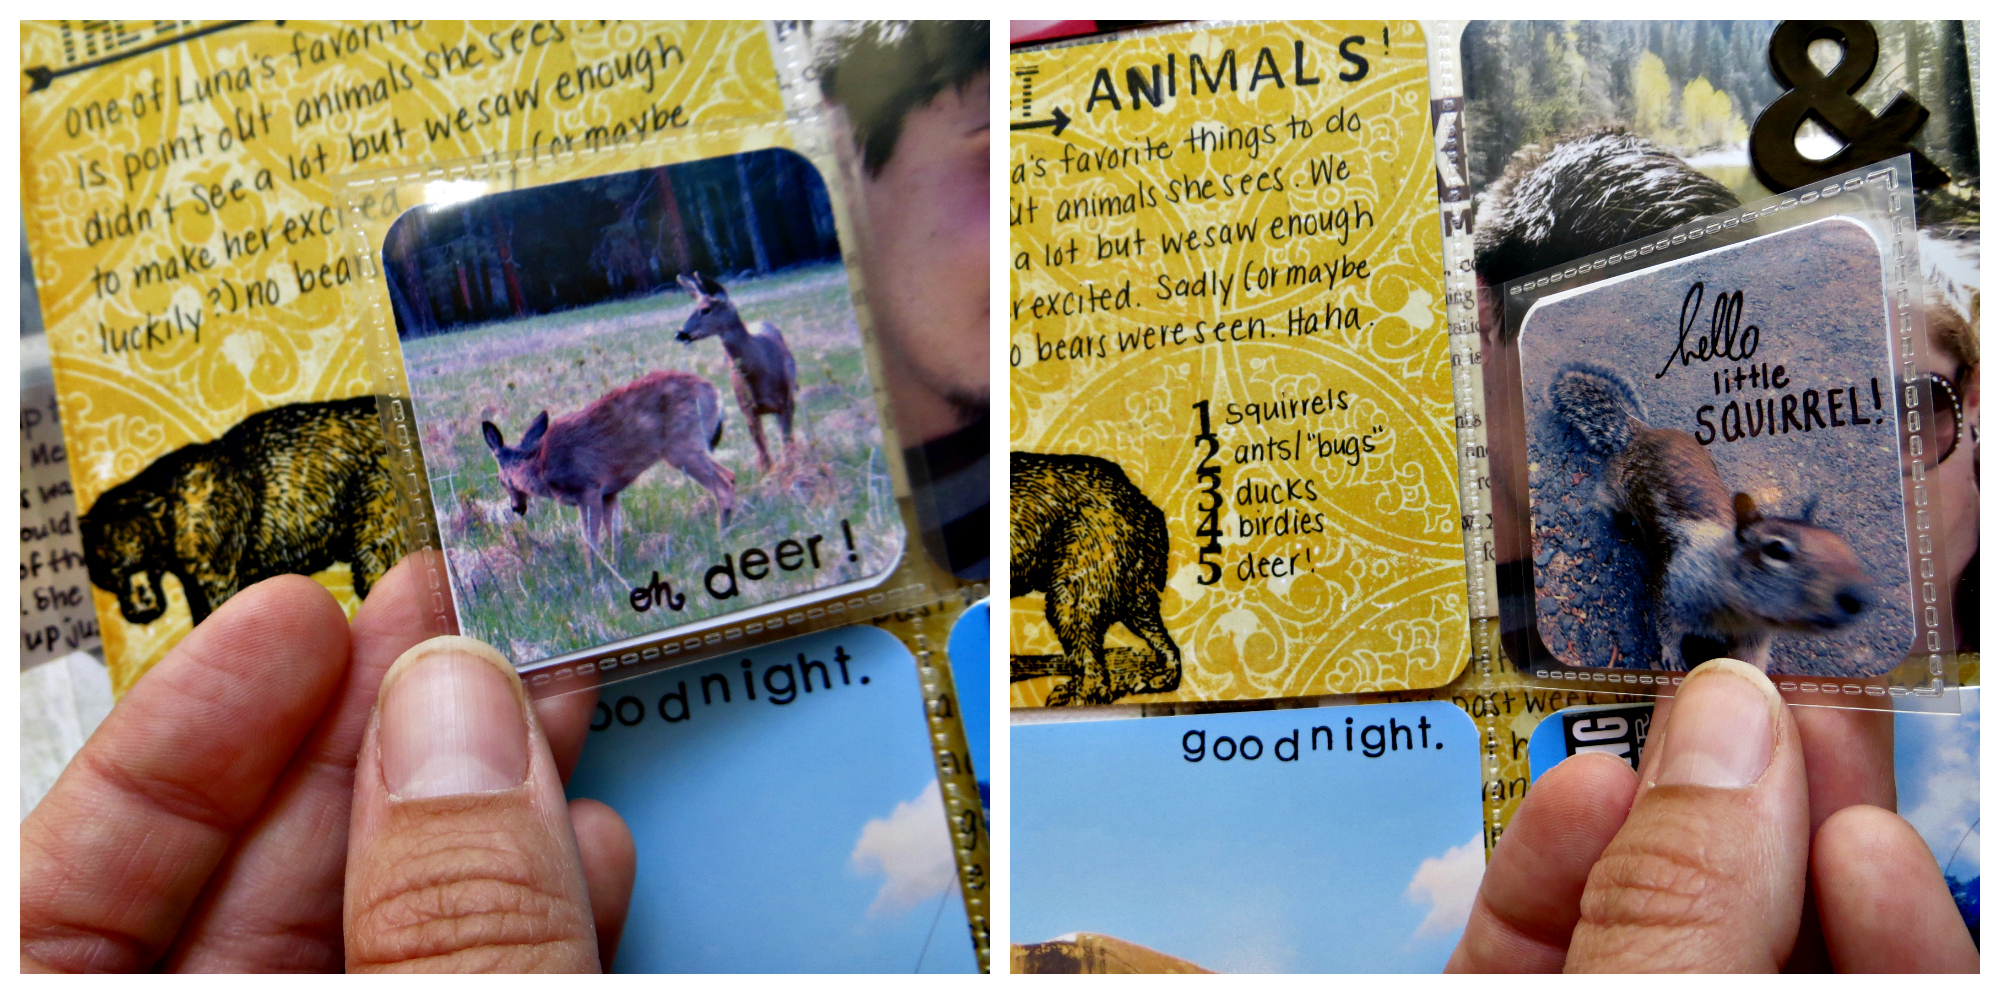
Yep. Was taking pictures of deer in a field and embarrassingly decided it would be sooo cool to take a selfie with the deer. Journal about it. Document your silliness. Own it. ("Say Cheese" embellishment is from one of those 4 page MAMBI chip sets you can get from Michaels.)
OH-EM-GEE! My new favorite thing! Flip Flaps! This one was a 2x2 included in this small mix set by CTMH but you can find similar
photo flip pages like this
from sn@p! as well.
The yellow 4x4 card is one I made listing the animals Luna picked out on our adventure. I always love doing little lists like this. I especially love the little mix of stamps and handwriting on the tiny animal pictures. Gah! How cute! (Are you allowed to ooh and ahh over your own layouts? I think yes! It's part of the fun! Be proud of what you come up with!)
Bottom row of the insert. So beautiful. I love Yosemite!
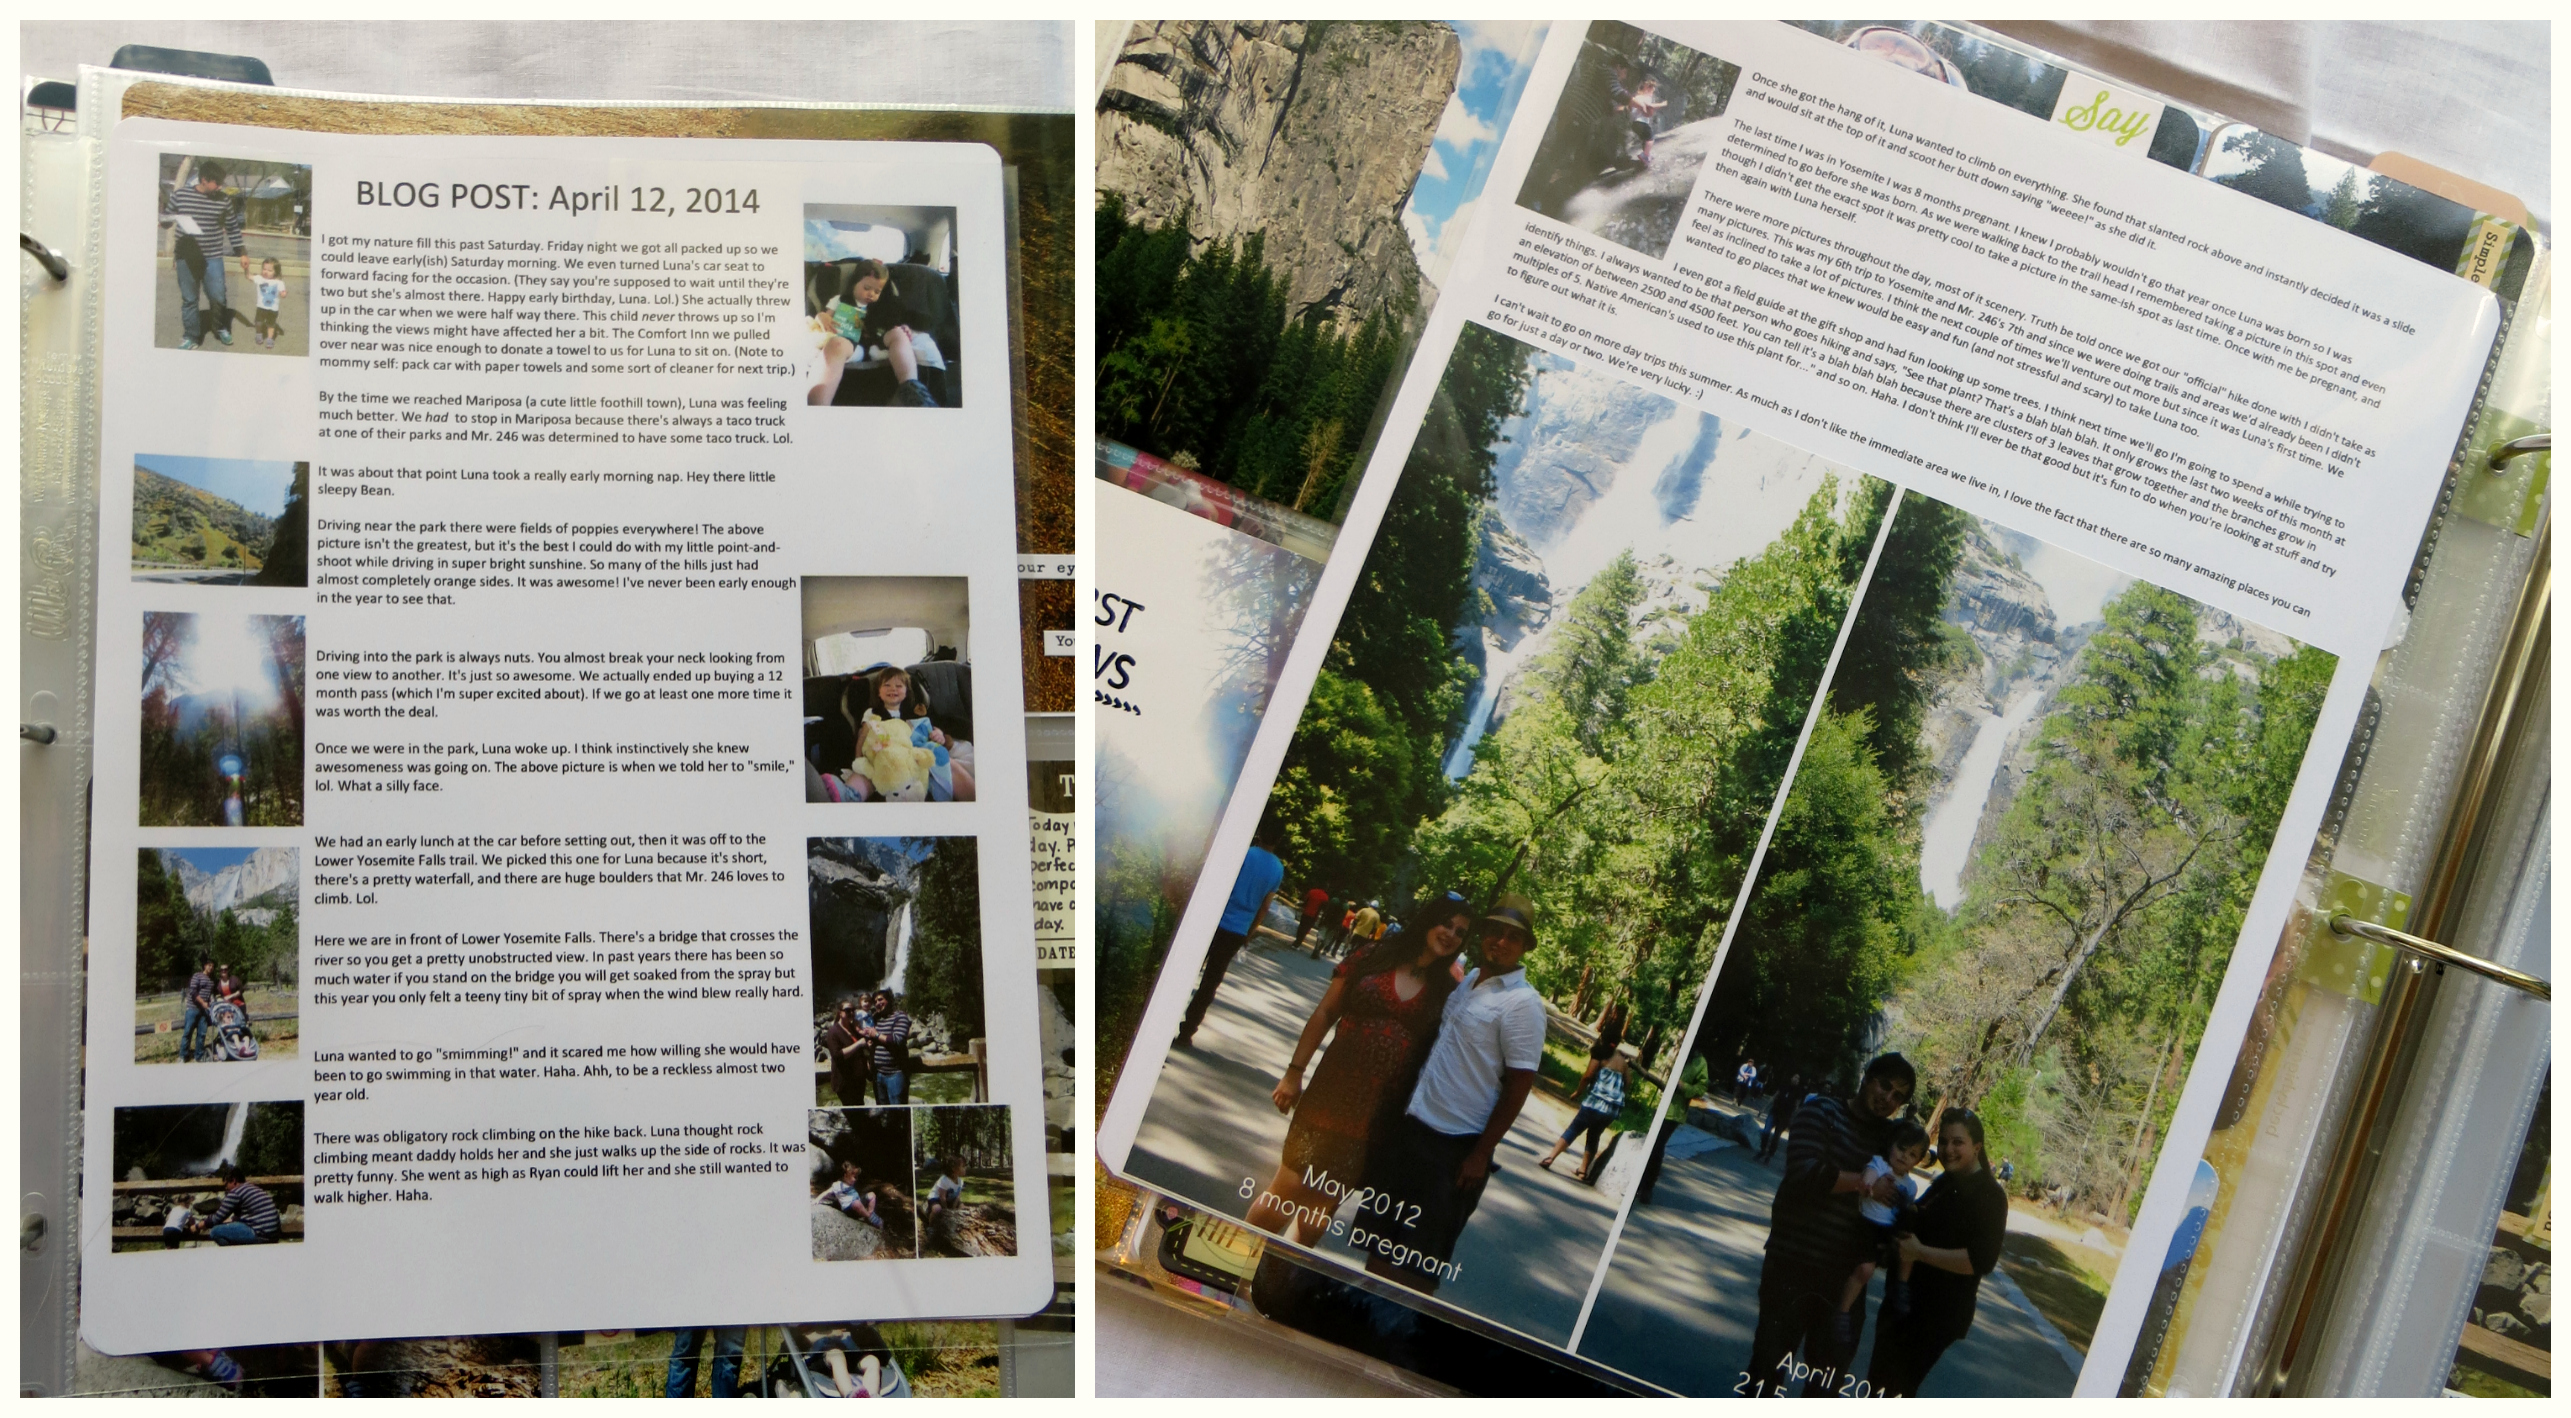
Next insert: Blog Post! In my PL binder?! Yes...that's right. I already outlined most of the trip in a blog post. What's the point of writing it out
again in a journal card? So I copy/pasted, fiddled with the margins/pictures and printed out the blog post on 8.5x11 white cardstock. I think it's kind of neat to include a blog post every now and then.
You can read
my post about our Yosemite trip here. On the second page I had blown up and glued in the 8x8 picture of "Then & Now." In one picture I am 8 months pregnant, the next we have Luna at 21.5 months old at almost the same exact spot in front of Lower Yosemite Falls.
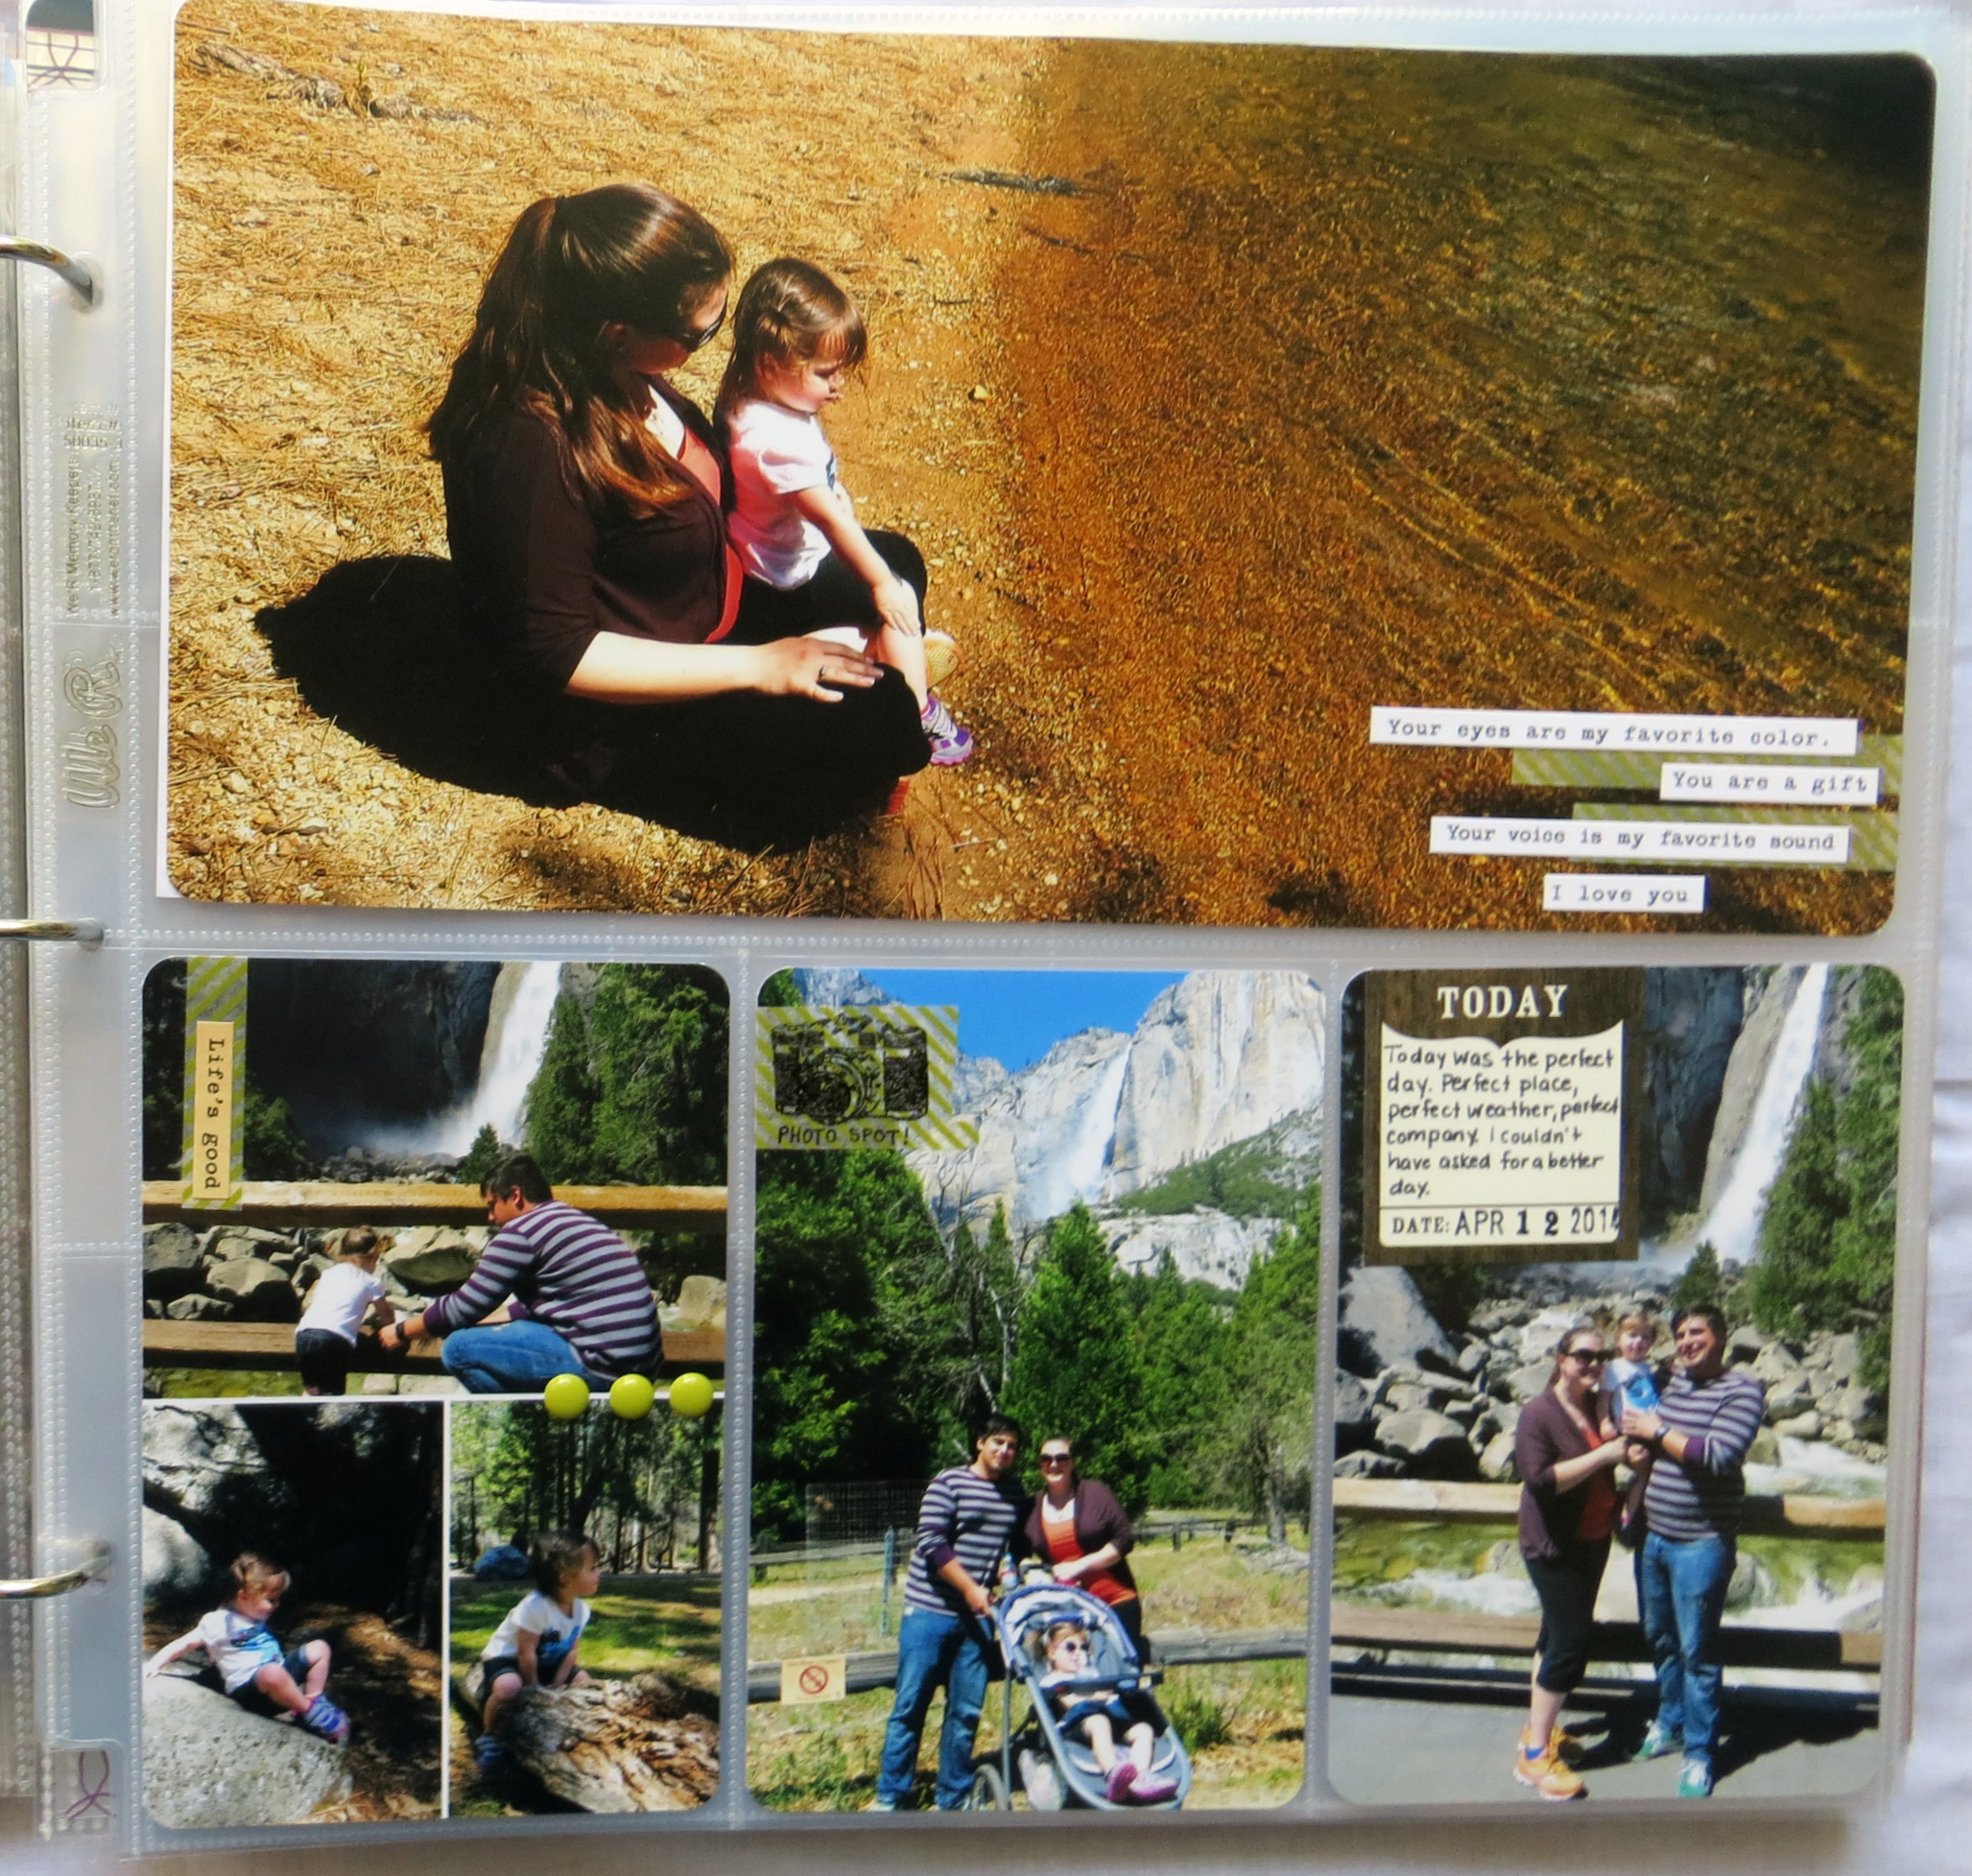
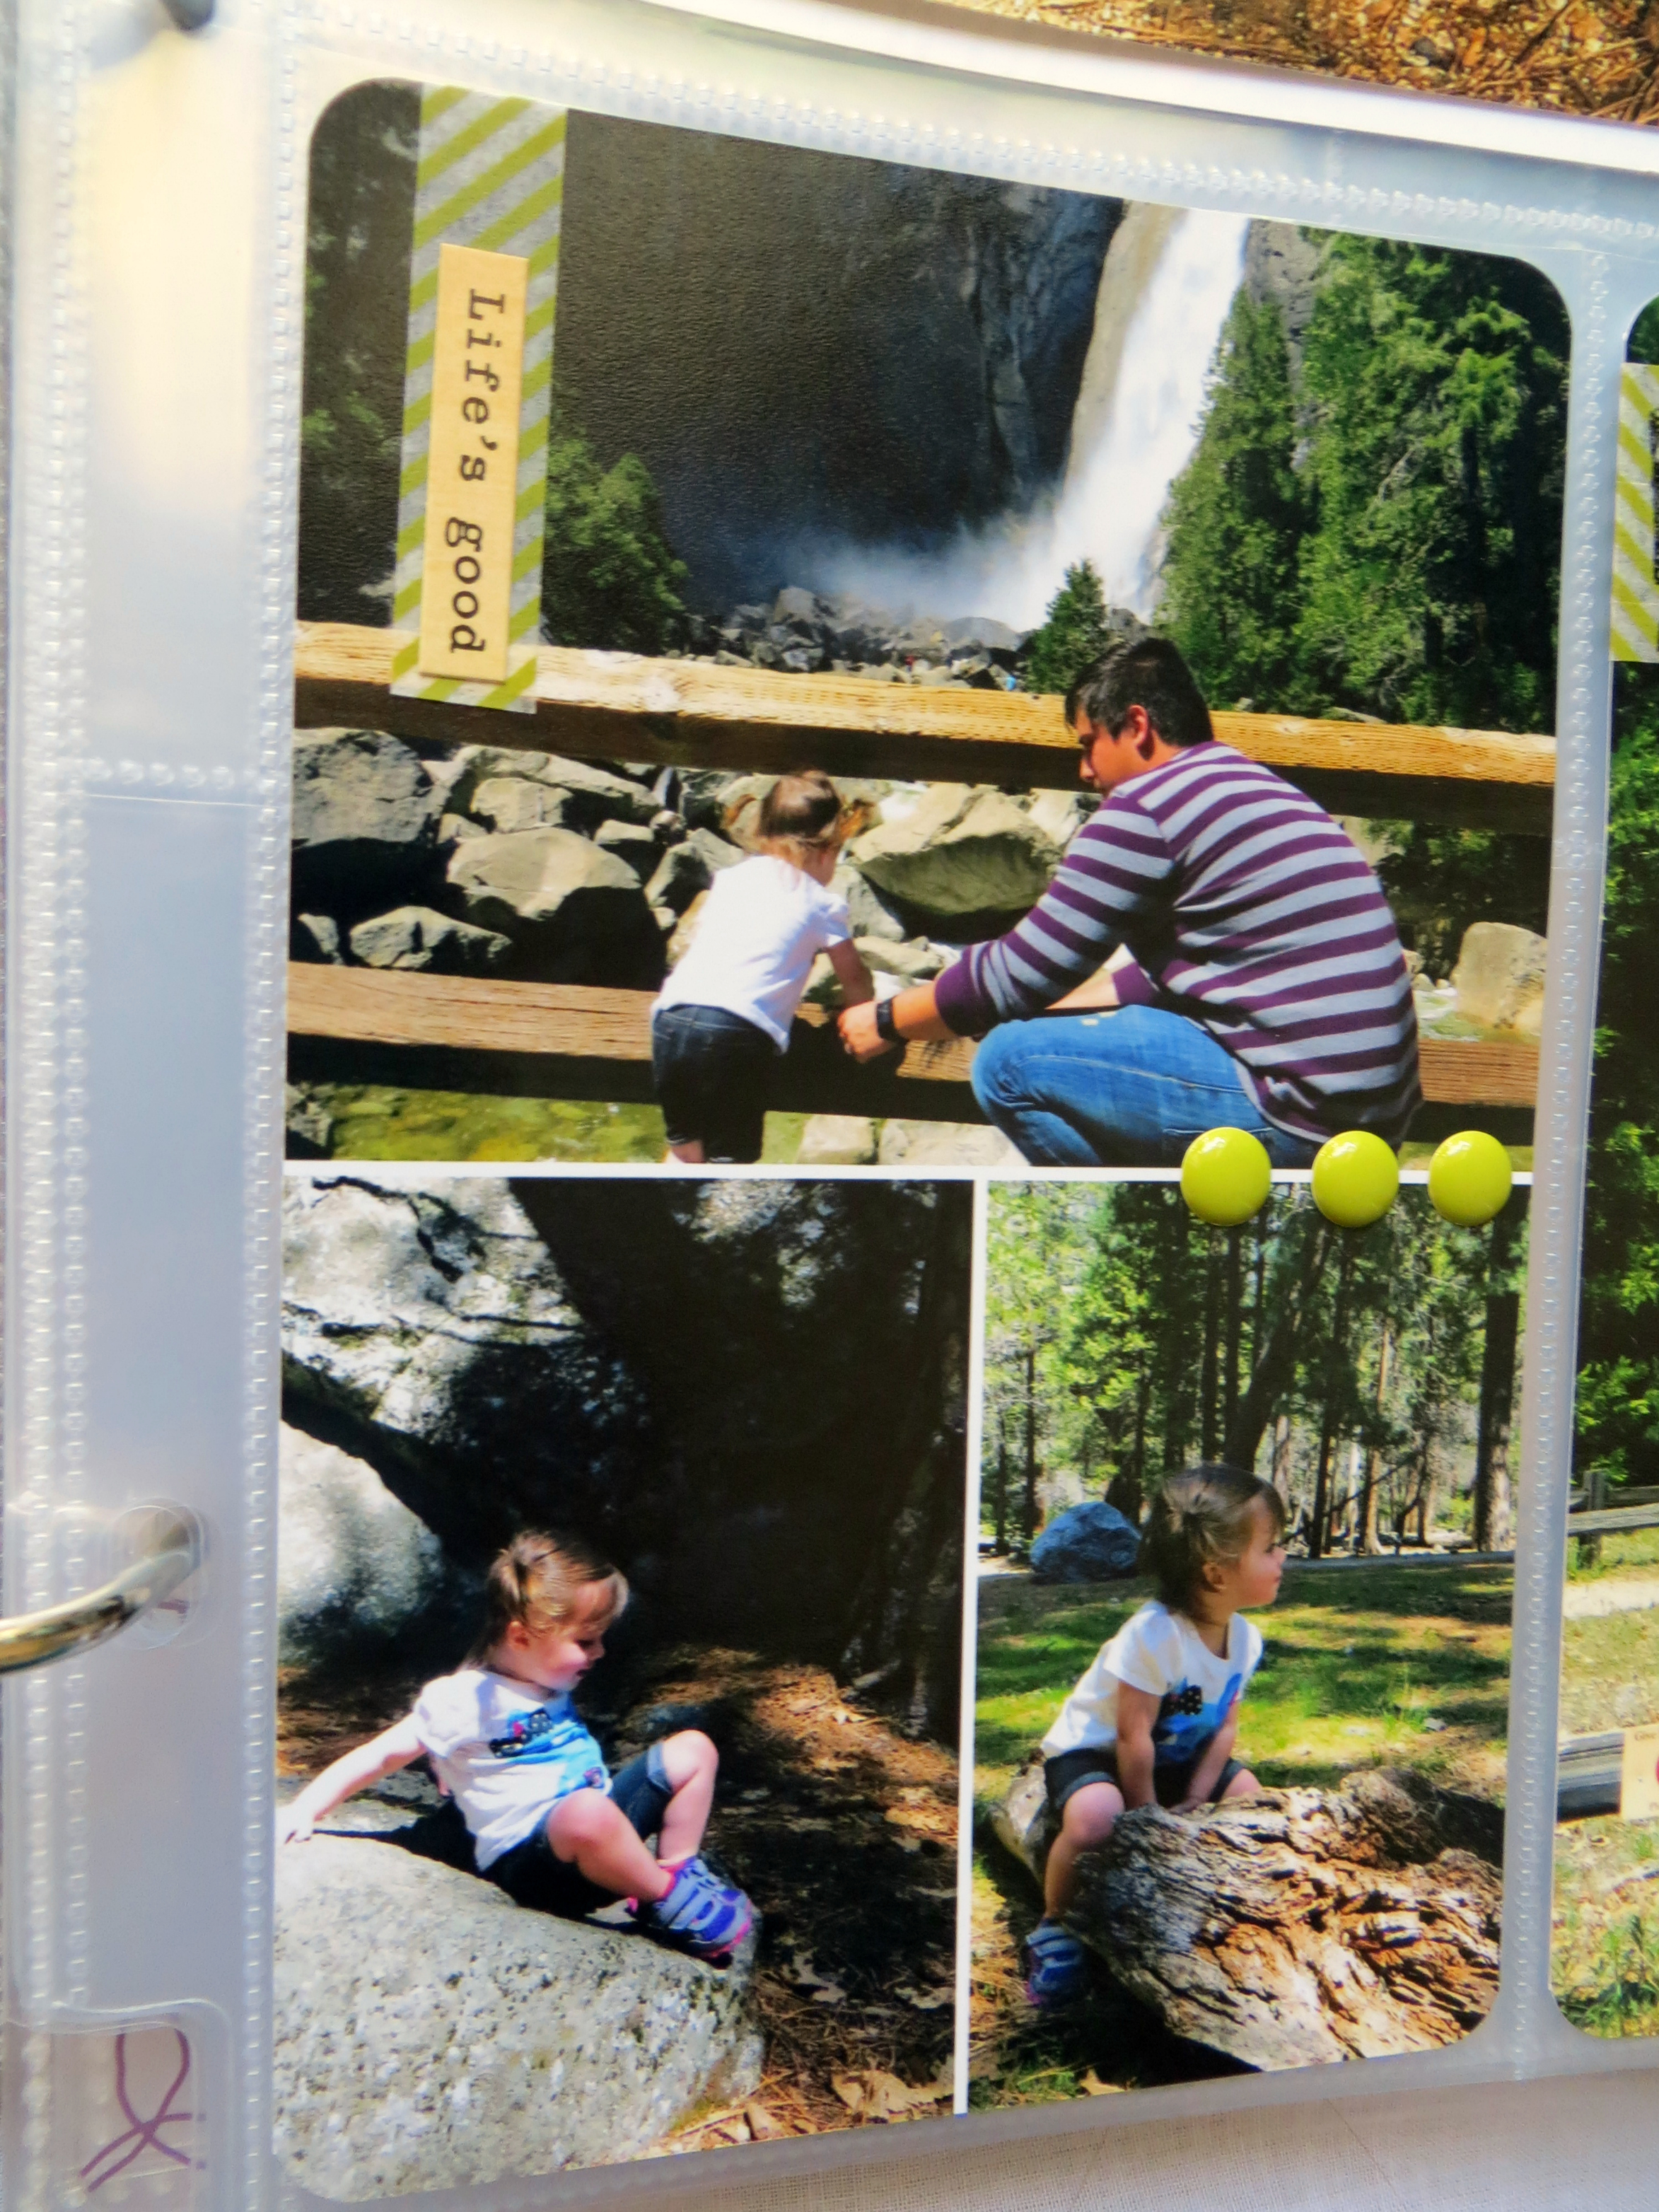
Last page! I love this picture that Mr. 246 captured of Luna and I sitting by one of the streams.
To embellish I added more
Tiny Text Stickers
to the bottom corner. Sometimes they're just so perfect...I think I'm addicted.
Surprisingly, below is my only photo collage I included. I was a bit lazy while editing photos to do more. Plus I didn't have a
ton of photos like you would expect me to. We live pretty close to Yosemite and have a year long pass so I'm sure we'll be back.
I embellished with more
Tiny Text stickers and some
enamel dots like this (can't remember which brand).
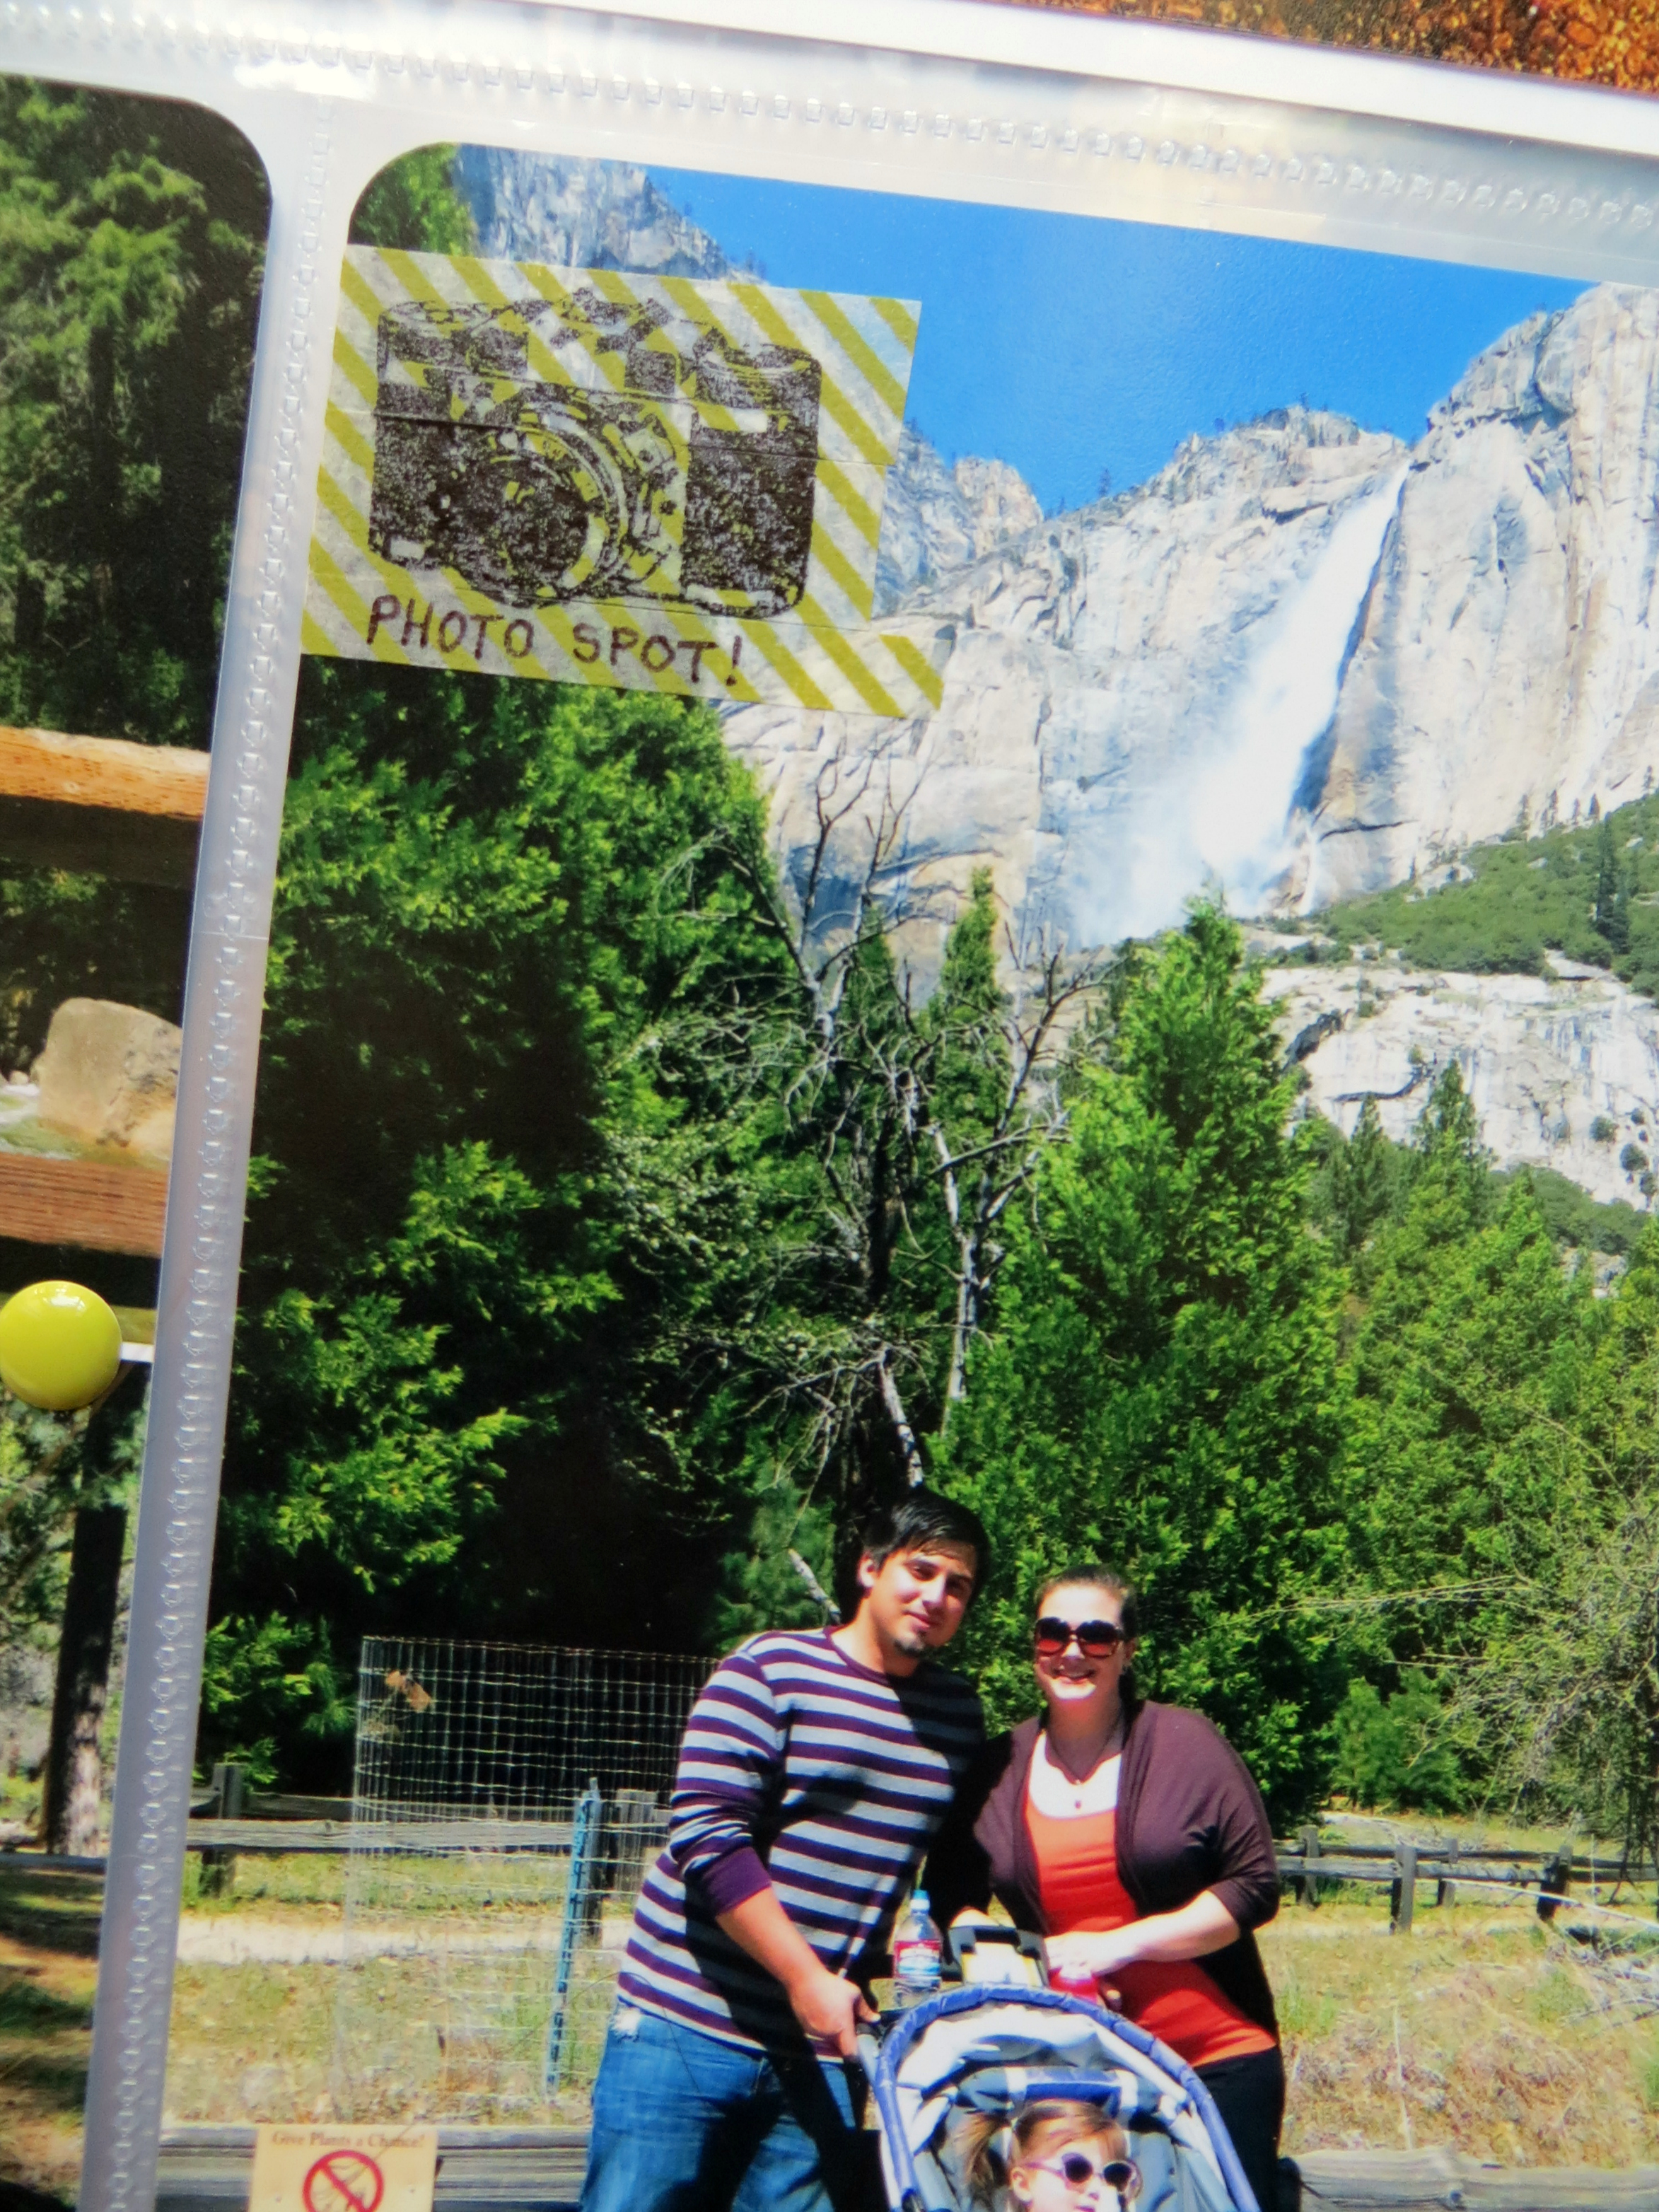
And one final one...I really wanted to use the camera stamp from the Heidi Swapp pack on this picture but I only have black ink and the picture's a bit dark anywhere I would want to stamp it so I lined up a couple pieces of my favorite washi tape and stamped it right on there. A little weird but I like it!
So, that's it...our Yosemite Trip in PL form. I think it turned out pretty alright. Since it was our first trip of the season I went for a large layout with inserts. I think next time I'll only do a page or so. Thanks for letting me share! I'll end this post with a question....
What's your go to embellishments and/or kits when scrapping a nature-y type outing like this? I'm always in the market for some new fun stuff. Thanks!
-Mrs. 246
Small Print: Amazon Affiliate links used where applicable. I have not been asked to endorse these particular products. They're just products I love and use. Opinions are always entirely my own. Two-Forty-Six will make a very small reimbursement on anything purchased through these links to you know maybe even buy me a cup of coffee! (Or pay off my library fines. Heh.) If you wanna check out more of my favorite items, check out my aStore. I'm still setting up but everything listed are actual items I use and enjoy. Again, a small percentage will go back to Two-Forty-Six...I might be able to upgrade that coffee to a grande. ;)






.jpg)
.jpg)
.jpg)
.jpg)
.jpg)
.jpg)
.jpg)
.jpg)
.jpg)
.jpg)
.jpg)
.jpg)
.jpg)
.jpg)
.jpg)
.jpg)
.jpg)
.jpg)

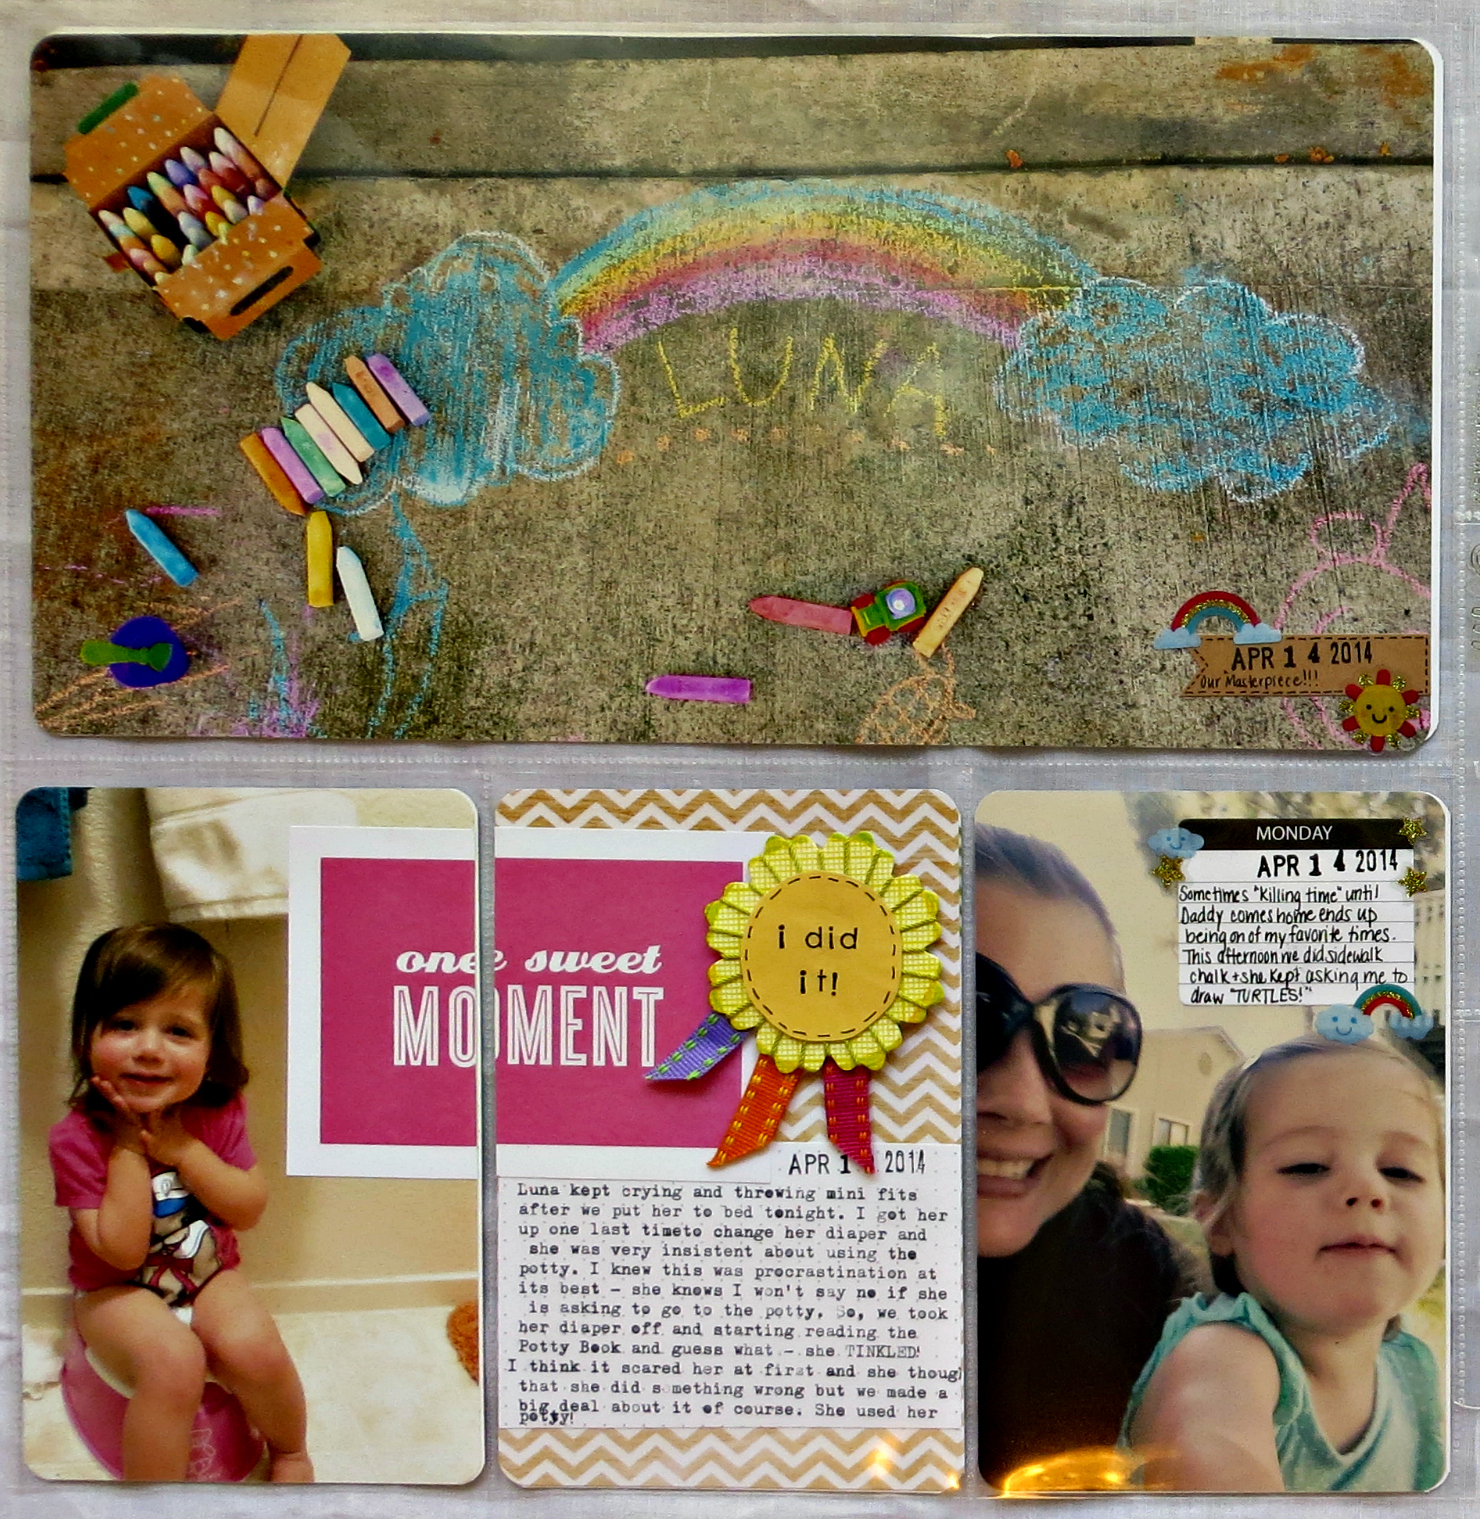
 . I like how it has pretty much ALL the basic colors in two different sizes/patterns so it's perfect if you like washi tape but don't have many projects where you can break out your
  .
.