1-Header1-Header-1-11-Header-1-21-Header-1-31-Header-1-41-Header-1-51-Header-1-61-Header-1-71-Header-1-81-Header-1-9
Showing posts with label sewing. Show all posts

Thursday, August 21, 2014

Ruffled Polka Dot Toddler Dress!


When I saw this pattern at Joann's I immediately fell in love with it. I had visions of Luna prancing about barefoot with flowers in her hair having a fairy tale childhood. Truthfully (and sadly), that's just not the type of life we live but I still made my attempt at the dress. And when it was all done she pranced about the zoo in tennis shoes just fine. Maybe not as magical I had originally planned but good enough!

I started this dress waaaaaay back in February. I did about 85% of it in a day or two -- the only thing I had left to do were the bottom ruffles. I finished the bottom last week. As you can see, there is only one ruffle. It caused me so much hatred that I refused to do the second ruffle for my own sanity.

I think I would enjoy sewing more if I had more patience. And skill. I always love having something nicely done in the end but the process, in my opinion, is more work than relaxation. I don't think my skill or experience makes it for a relaxing time.

Luna's Play Dress:
  • Fabric: Stone Hill Dot Green and white leftover fabric I had.
  • Time: 5 hours total (Estimated.)
  • Size: Supposed to be about 2T but it fit a tad bigger.
  • Fun: 6/10. I honestly think I just don't care for sewing that much. The only reason it's a 6 is because Luna looks so gosh darn cute in it. Buuuut, I did learn alot while making it!
  • Techniques I Learned: I always learn as I go. In this project I learned: how to make ruffles/gathering, how to do a lined yoke, and afterwards I learned I should have used some sort of rolled/folded seam on the bottom ruffle because there is some major fraying after washing. :(
  • Pattern: McCall's All-Sizes-In-One-Envelope Toddler Tops/Pants/Dress/Shorts/Capris
  • Help: Google. I am not the one to ask for help. Haha.
Thanks for looking! If you (or someone you know) has made any cute super easy toddler girl dresses and have some sort of tutorial online leave a link and let me know! I'm open to trying new patterns!

- Mrs. 246

Thursday, March 13, 2014

Personalized Toddler Pillow!

Pillow 3


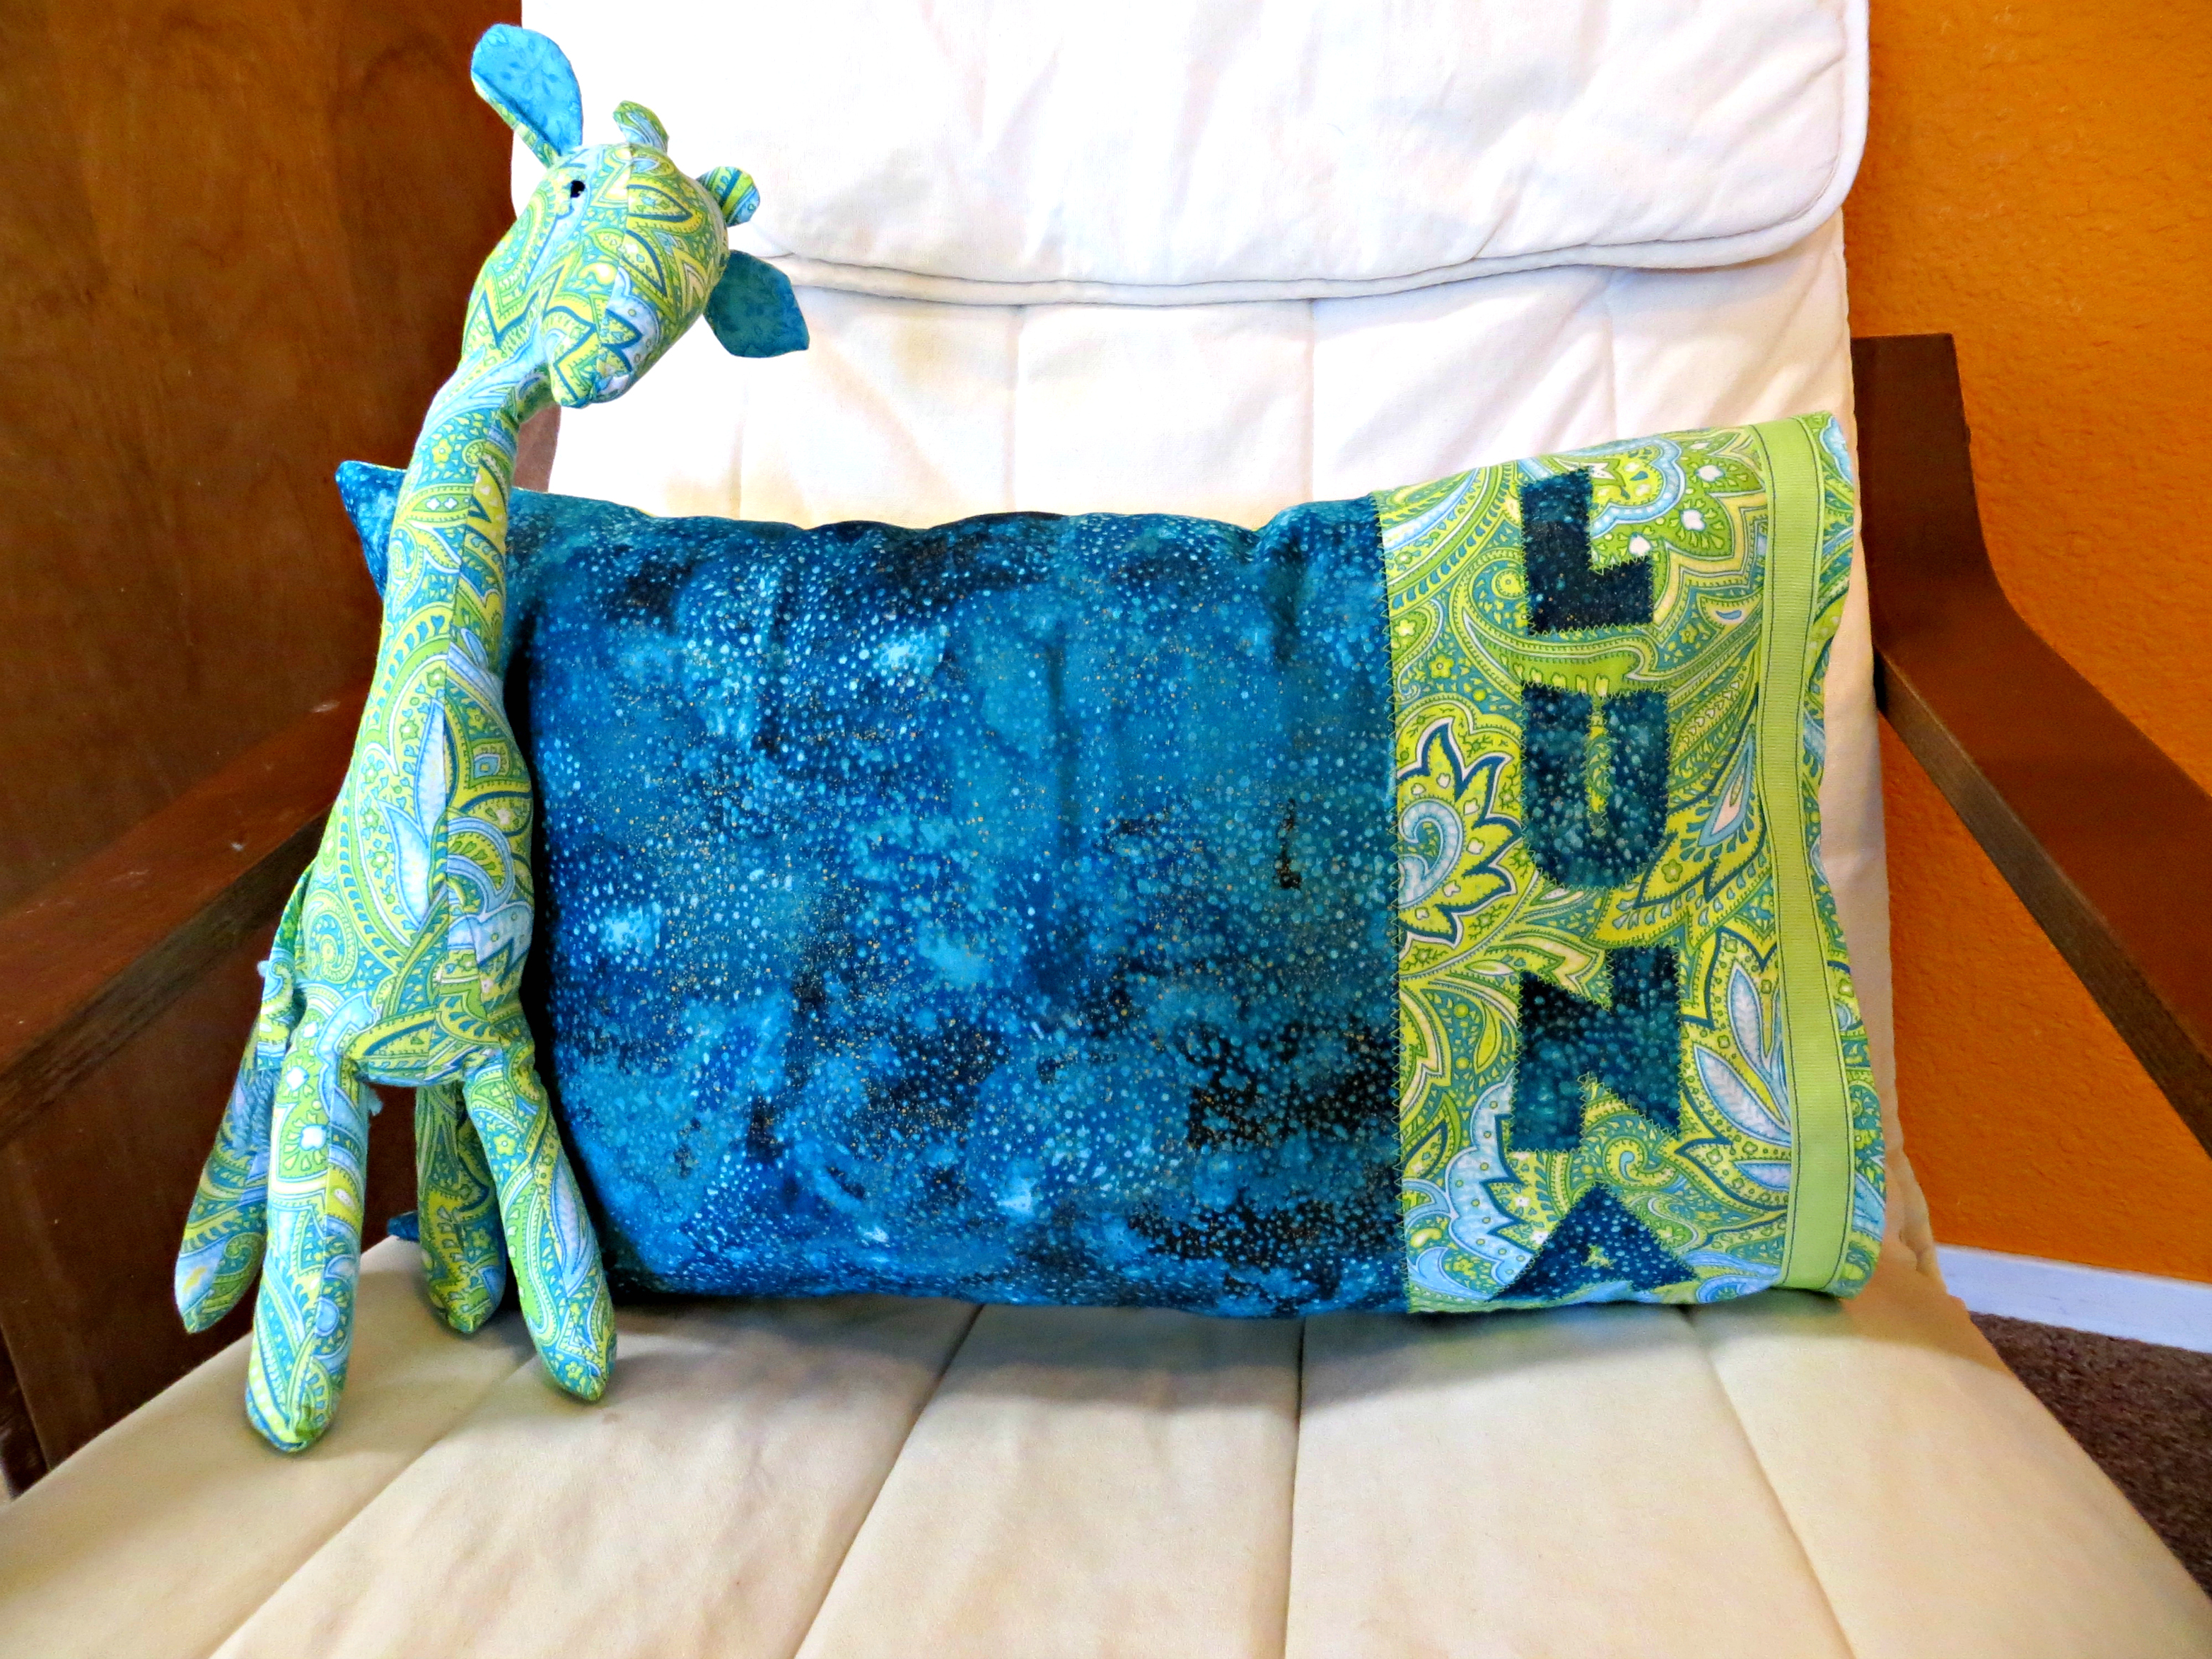
Remember that pillow that Luna and I just had to get yesterday? Well, here it is!

Luna's had a pillow in her crib for some time now. It was just a random throw pillow that she liked but I was thinking about it a day or two ago...she's actually been using a pillow recently and that, to me, meant it was time she had her very first pillow. We tried a couple up but ultimately decided on a really nice travel pillow. It is the perfect size for her and she loves it. (No action shots - my model was not cooperating whatsoever. Haha.)

We got the pillow at Target but they didn't sell any travel sized pillow covers. Weird, right? So I consulted my fabric stash, got to work, and got a little carried away.... (With such an easy project, a pillowcase, it's way too easy to snazz it up.)

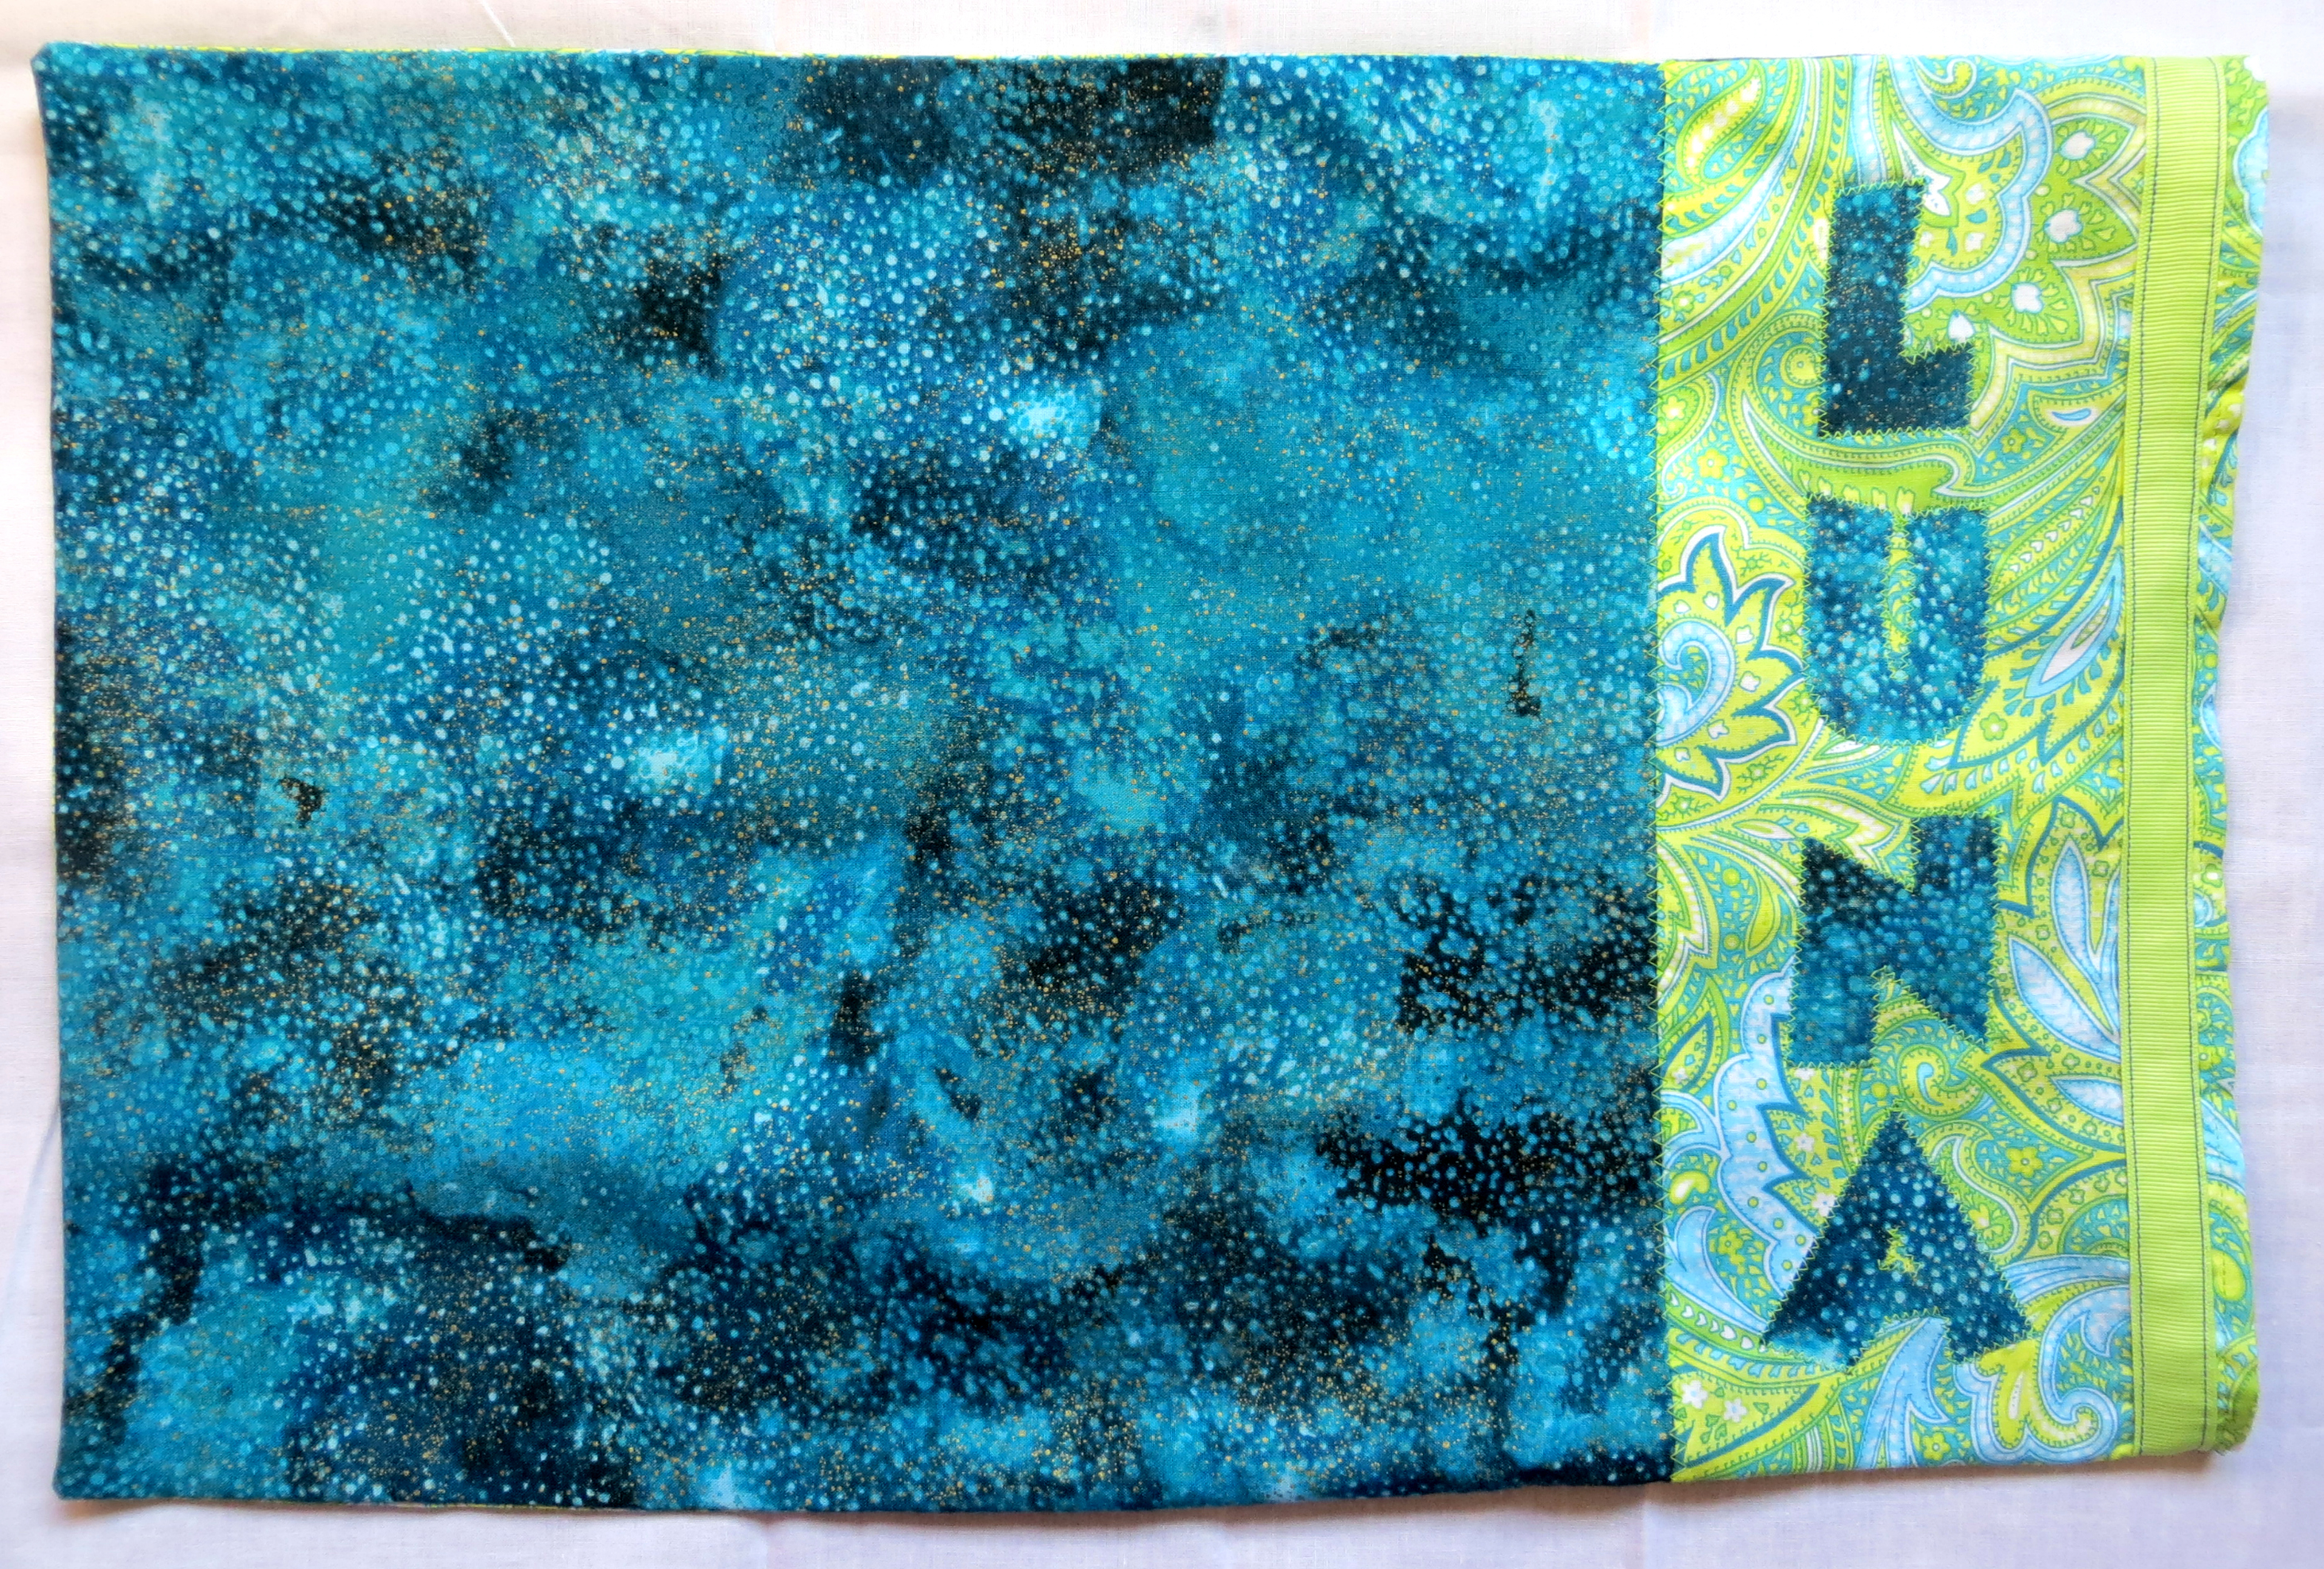
Here's the front:
Pillow 4


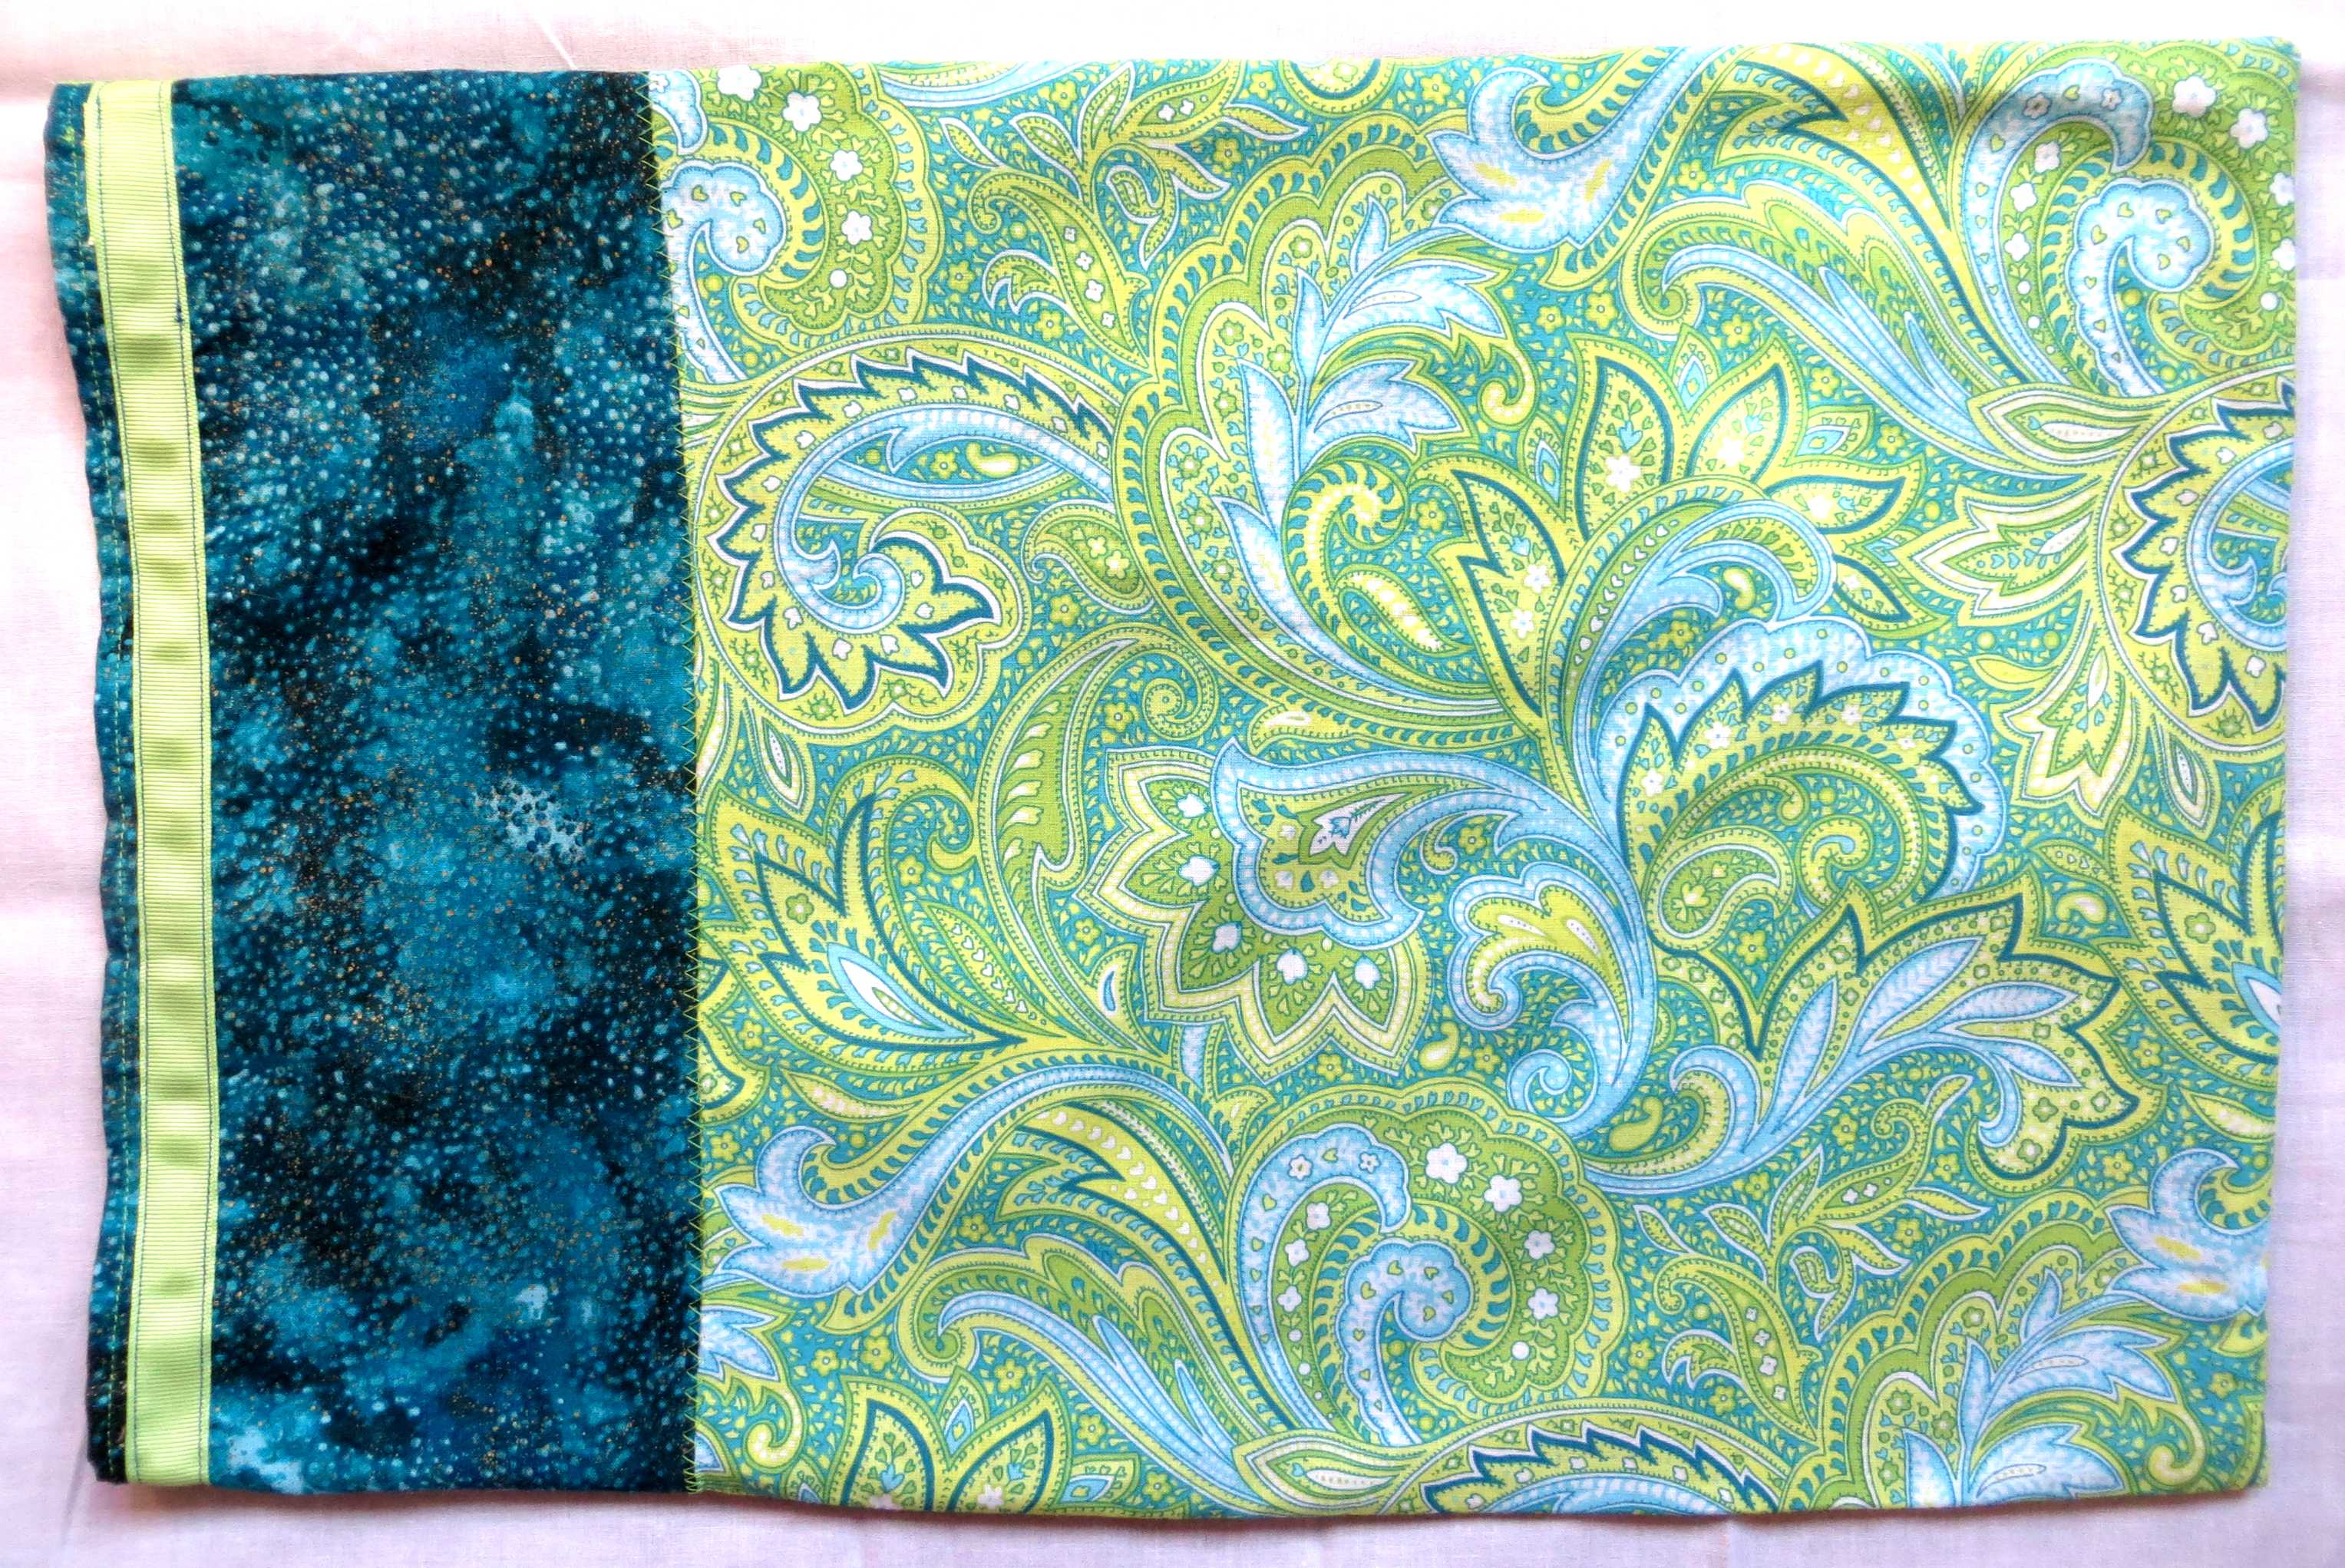
And the back...

Pillow 5


Zig zag! Always a favorite to make things fun...

Pillow 6


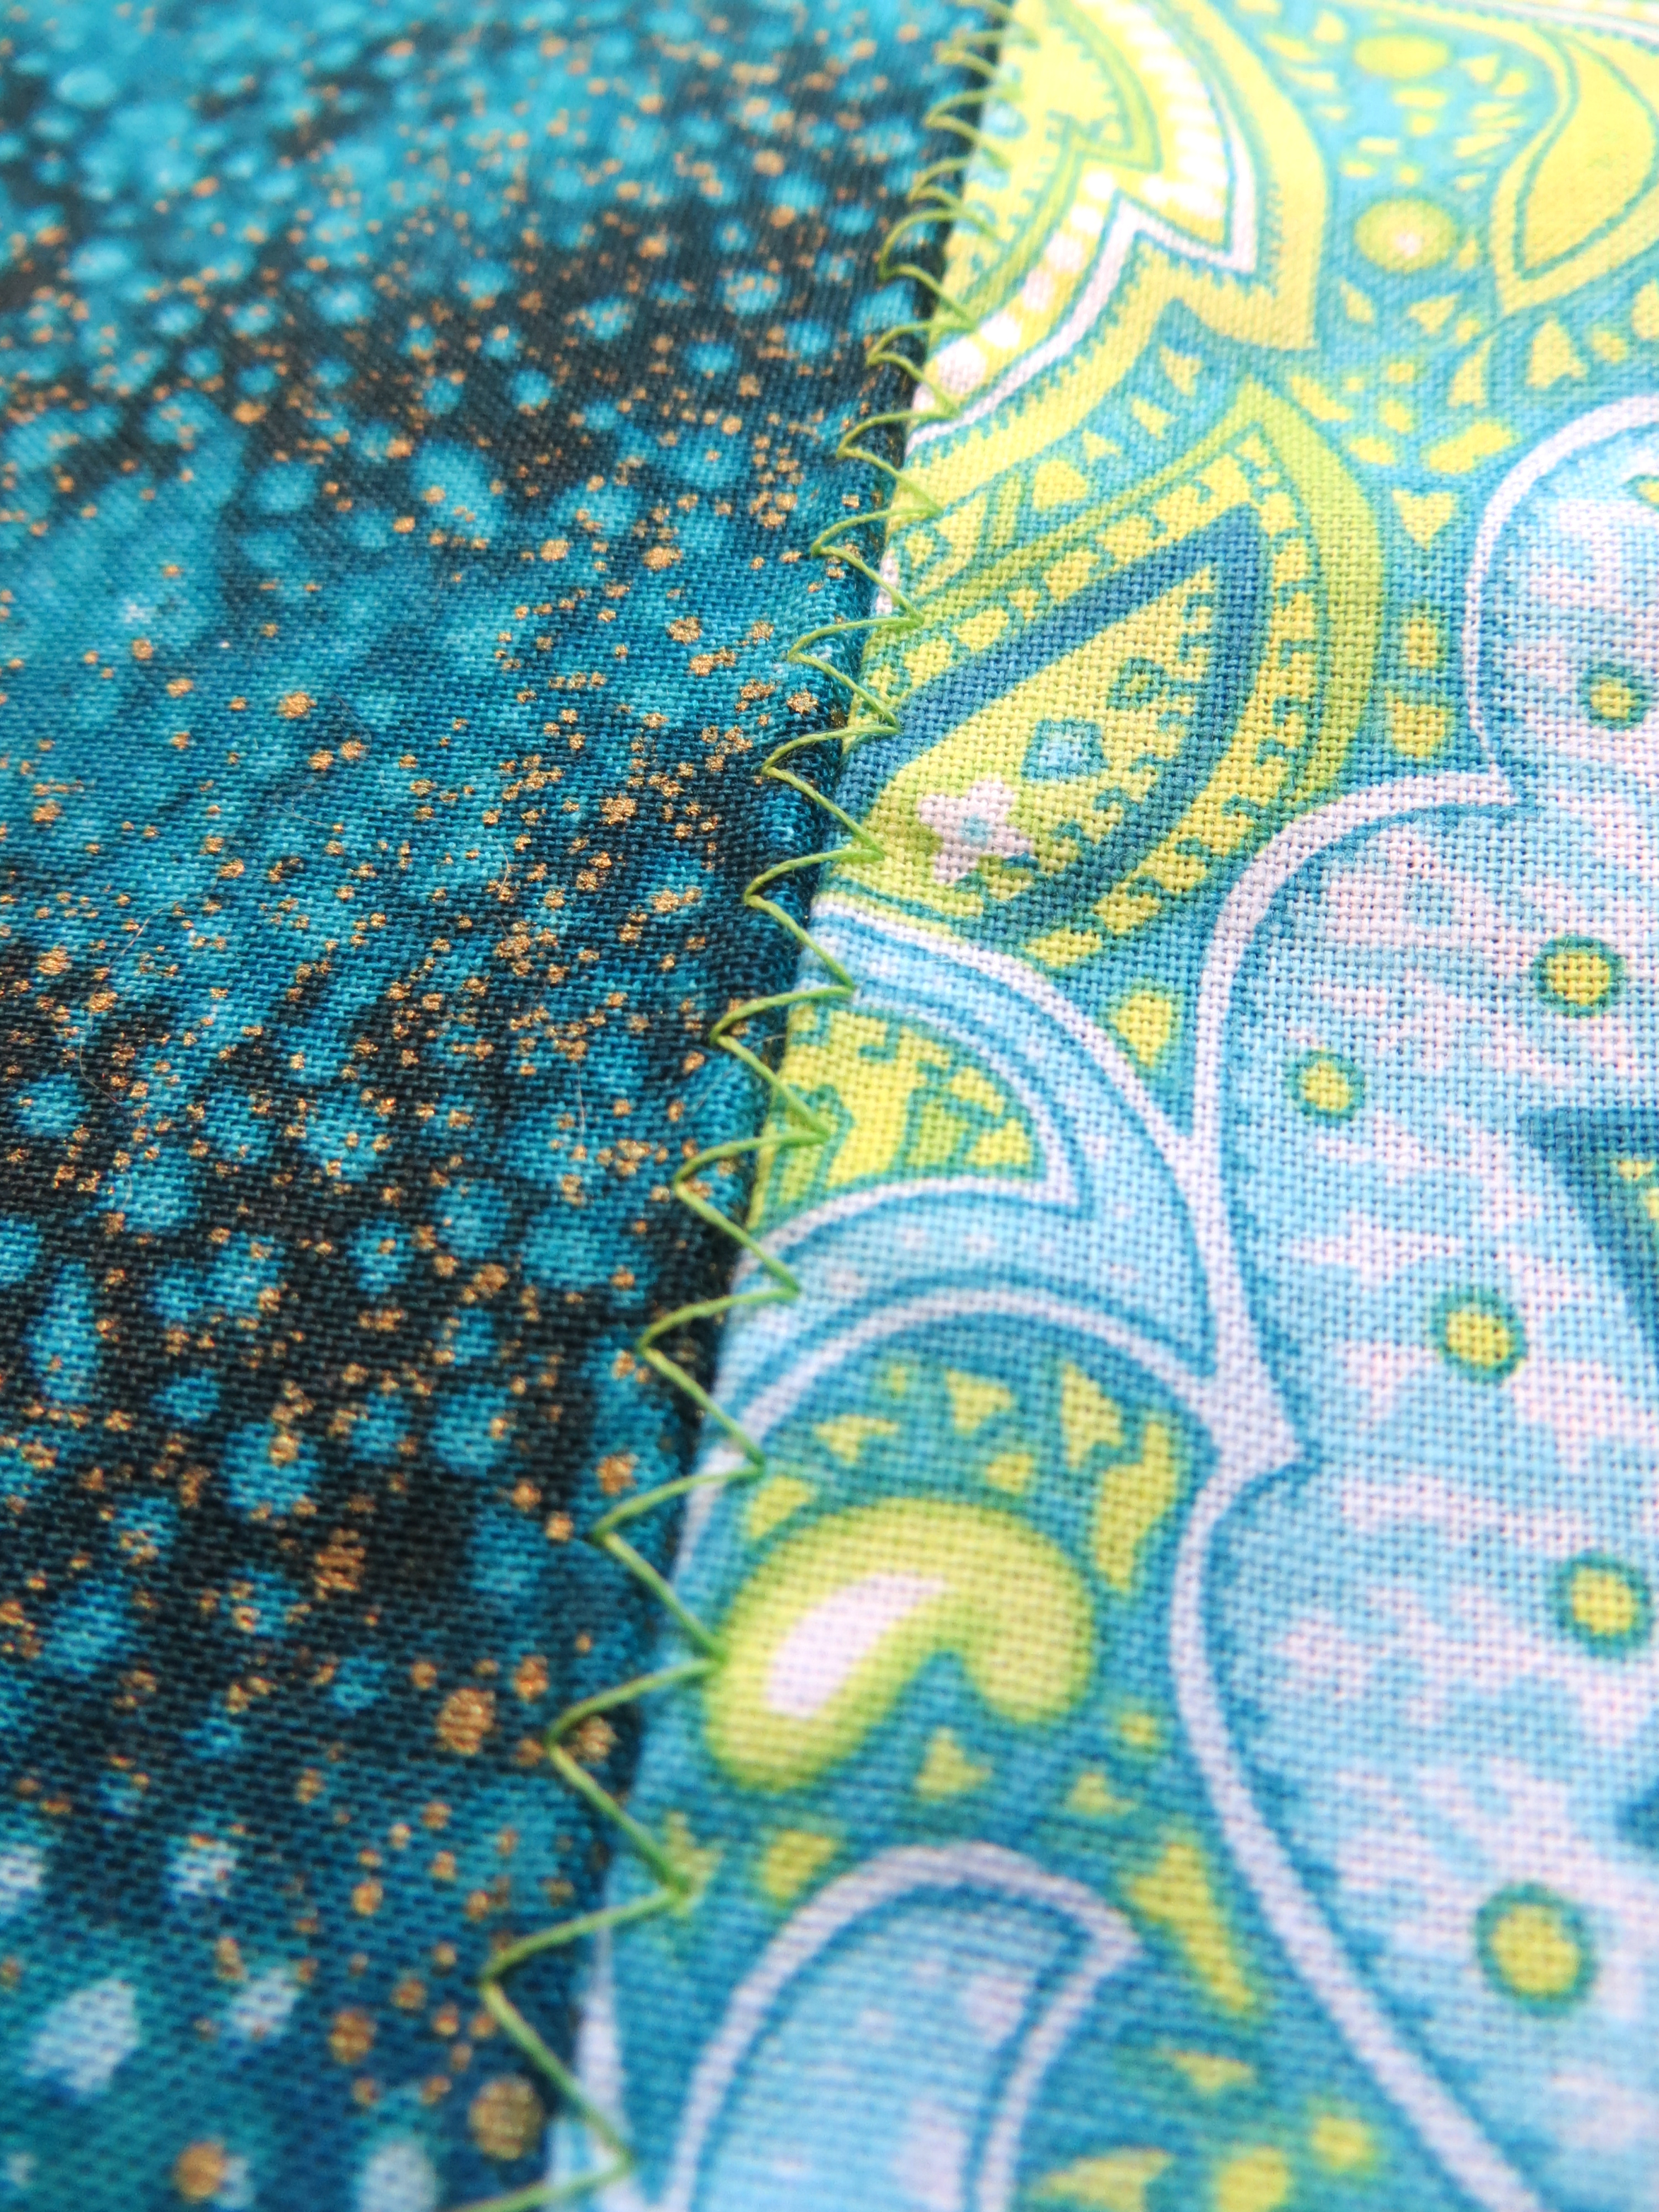
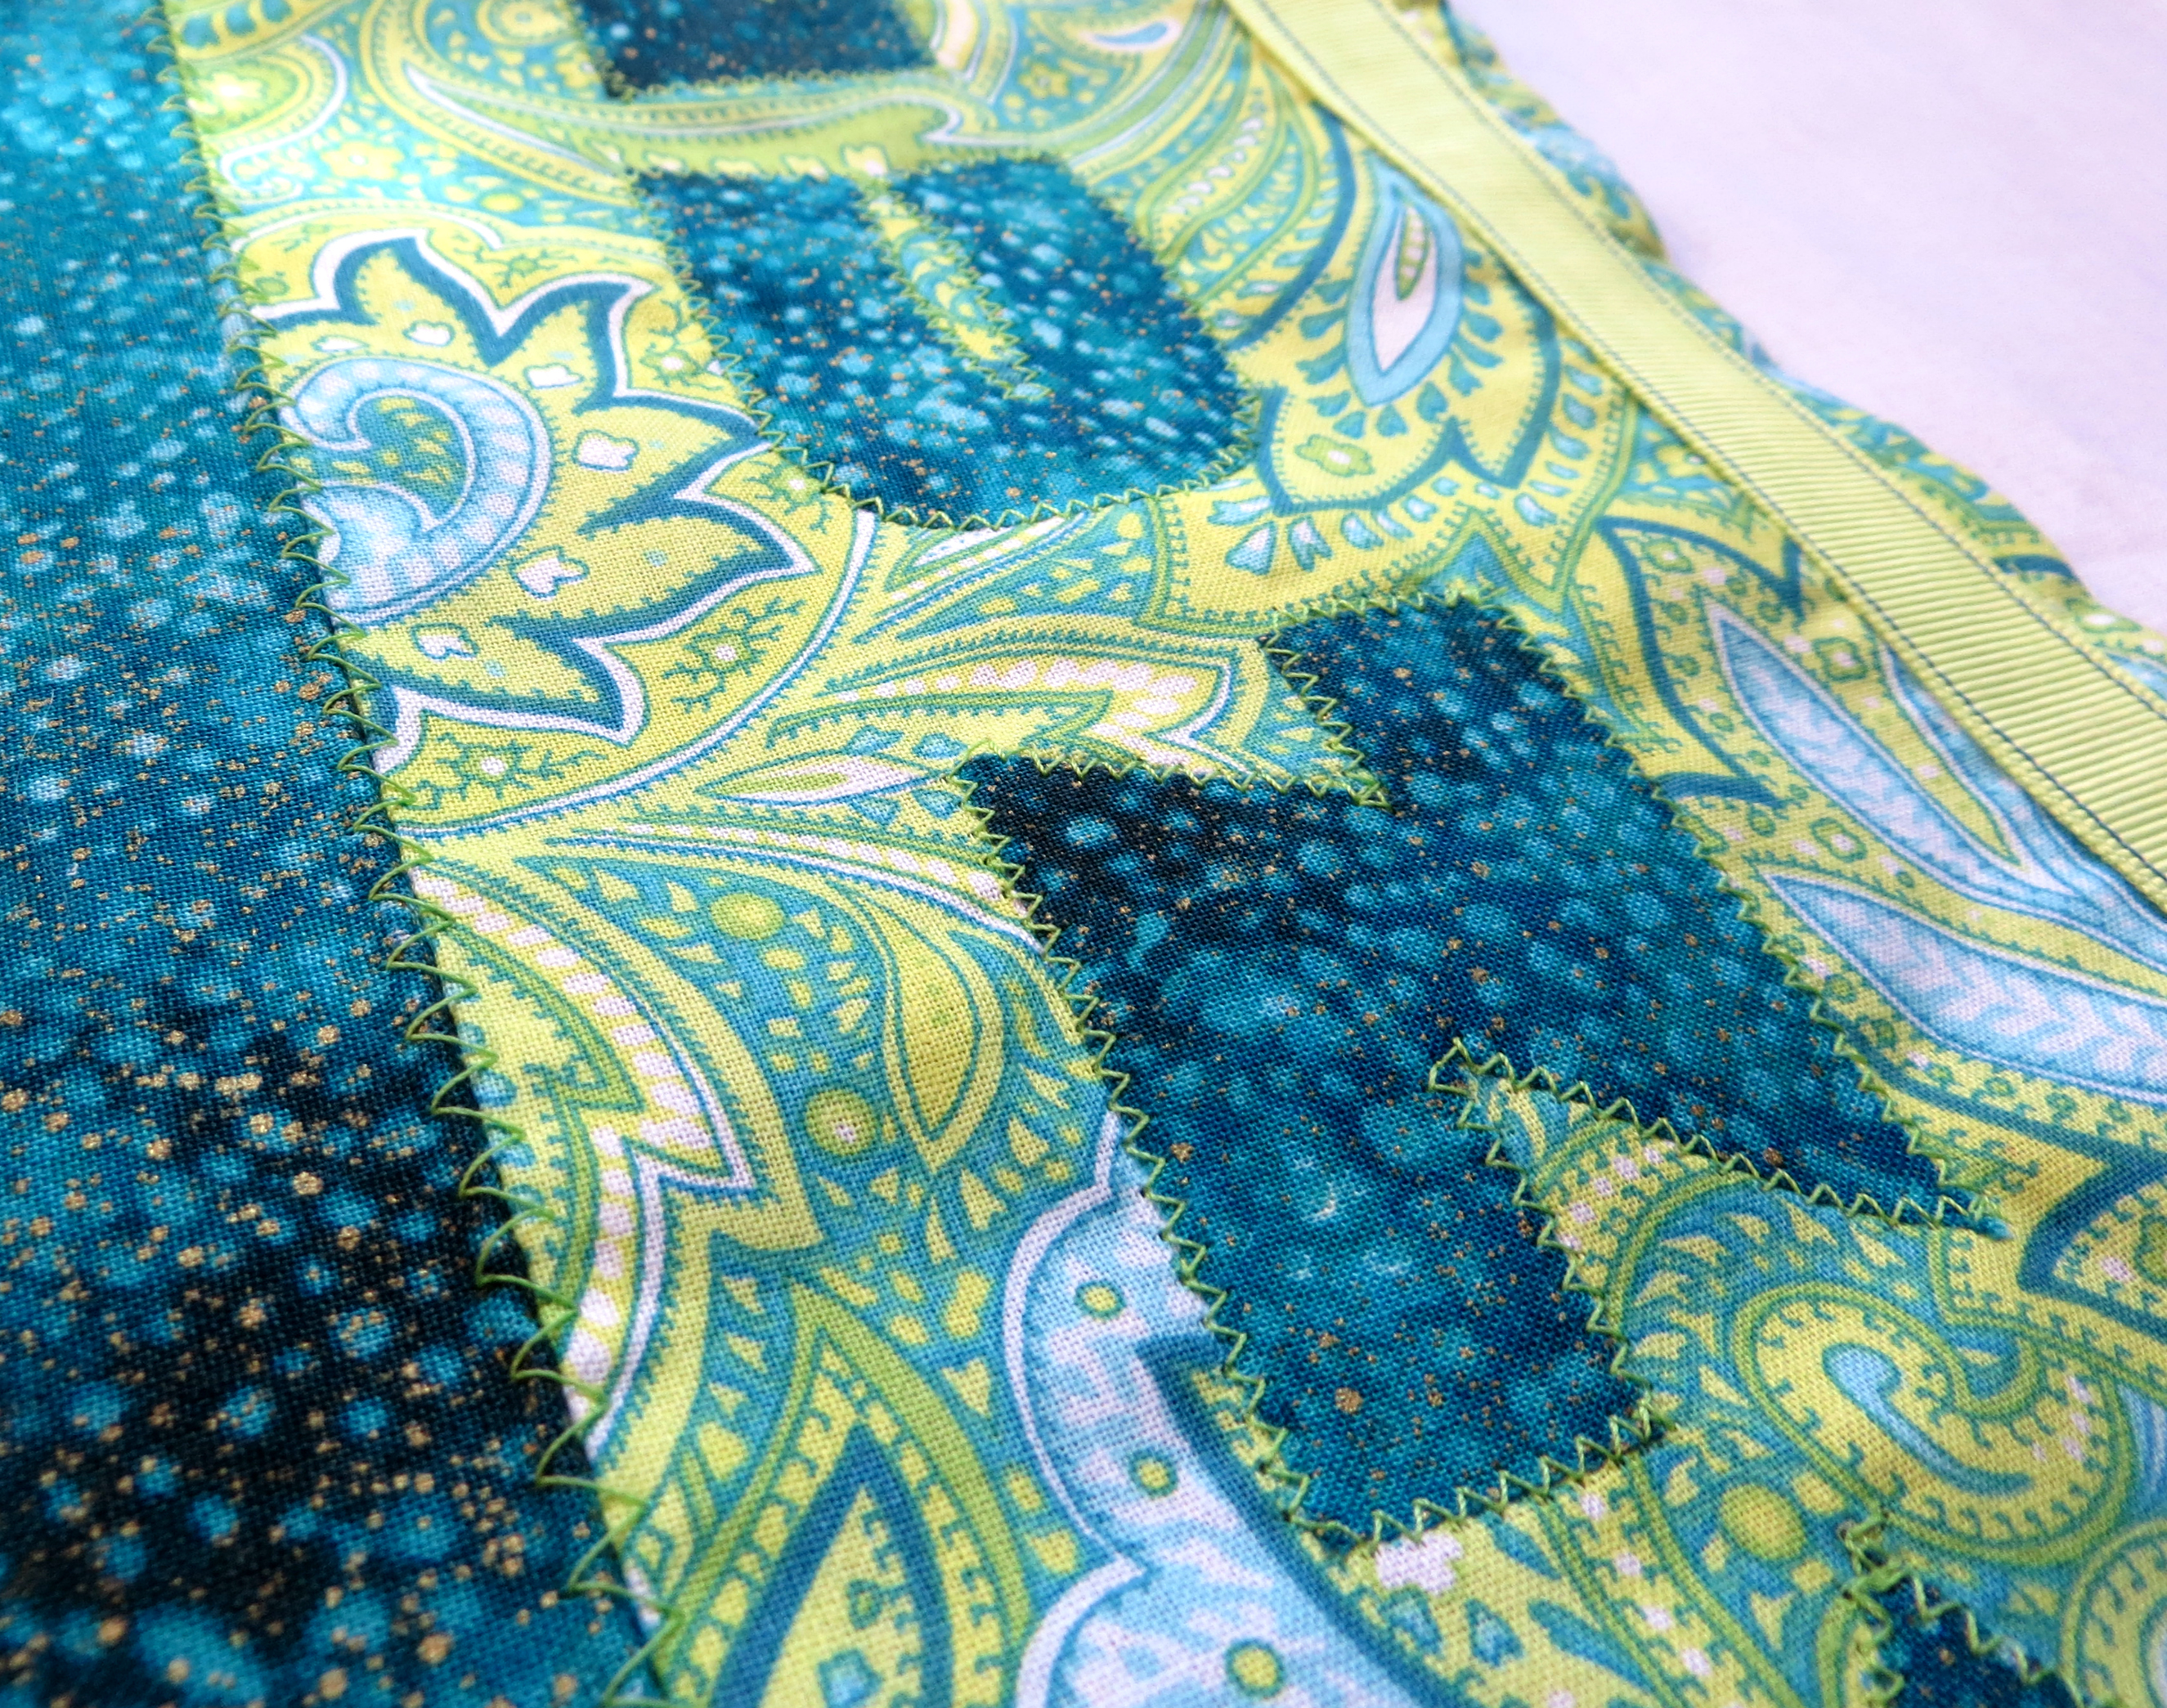
I got a little carried away on zig-zaggin her name on as well. (At the end of this post you can find instructions on how to do the lettering/applique.)

Pillow 7


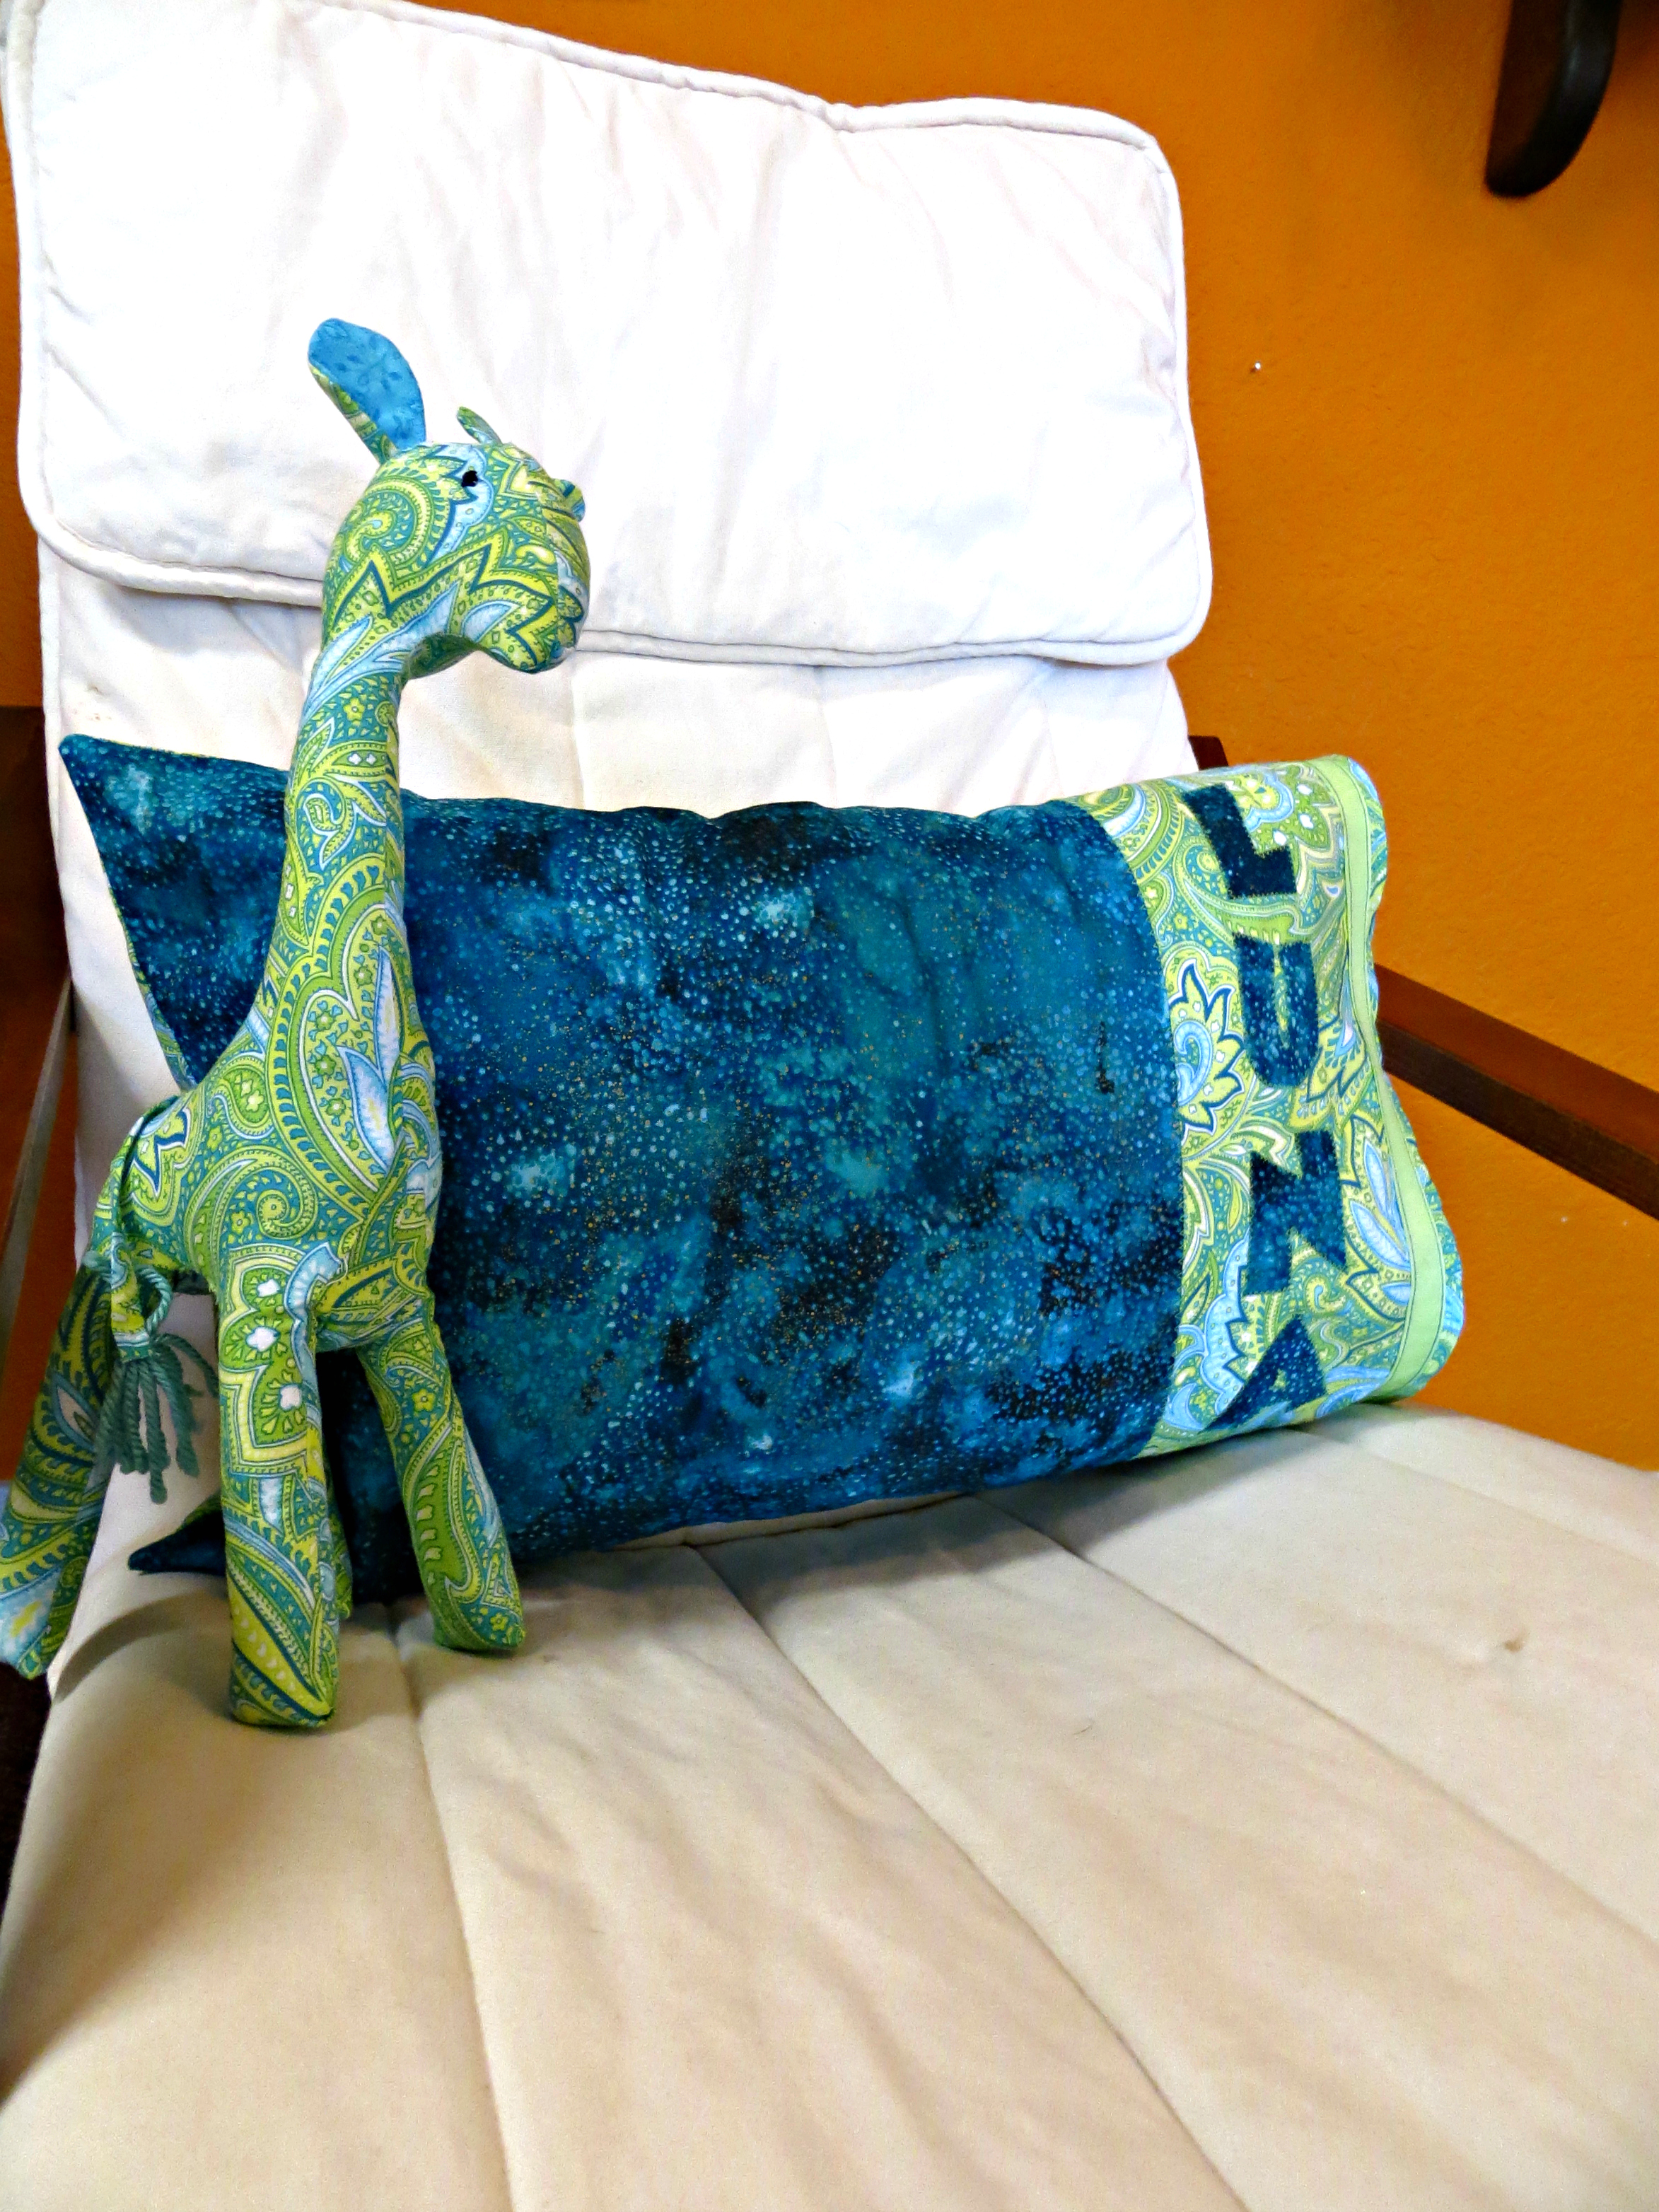
Another final look...I just love it. And I love the left over fabrics I had lying around. The paisley is from the pictured giraffe I made when Luna was a wee little thing (or maybe before she was born, I can't remember). I thought they looked darling together.


Thanks for looking!
- Mrs. 246


___________________________________________

How to do the applique letters: 
  • Use a product similar to HeatNBondDraw the letters backwards on the smooth side of the HeatNBond. (To do this I just made the text to the proper size on my computer, reversed them, then traced it, right from the computer screen. You could also hand draw them as well if you're good at drawing letters backwards!) 
  • Iron the HeatNBond to your letter fabric (no steam!). 
  • Cut out the letters.
  •  Peel off the HeatNBond backing. 
  • Place letters onto your fabric where you want and iron them on. (Again, no steam!) 
  • Voila! Your letters are attached. 
You can either leave the letters plain at this point or sew around the edges to ensure that they will stay. Some HeatNBond type products say you don't have to do this but I've never tested it for durability. Plus, I like the way sewing over it looks.  Keep in mind there are different types of HeatNBond. The "Lite" version I linked to is sewable. If you're going to sew over it, make sure you're using the sewable kind otherwise your sewing machine will be quite upset with you.

Sunday, October 28, 2012

50 Projects in 2012 (Part TWO!)

Alright folks, I'm back. The countdown to 50 projects for 2012 continues...25 more. I haven't counted in advance, but I'm trying to see if I can or have already hit 50 craft projects for 2012. Read more about it and see the first 25 projects in this post. Let's get back to it...

#26: Baby crib quilt - Purple border, yellow background
#27: Baby crib quilt - Pink border, orange background
(Again, I apologize for the crappy picture.)

Does a pinterest fail count? If so...
#28: "Rainbow Sugar Cookies" These things made me resort to drinking with how horribly it all turned out. Every time I go to bake I seem to forget that I can't stand baking.

#29: Tie-Dye Onesies - I made a couple, some others were made by friends for my baby shower.

#30: Re-Upholstered dining room chairs. Mr. 246 helped with these. They were originally that brown swede and we chose a green/yellow swirly pattern. So freaking easy. I may have to change them again and again.

#31: Crocheted squares for Knit-A-Square charity project. An organization sews them all together to make blankets for AIDS orphans in Africa. Inspired to make these due to the S.P.E.W. (HP Charity Crafting) craftalong on Craftster.

#32: Small Cuddle Texture Blanket out of a scrap I had. Sewed it all up nice for Lunabeaners.

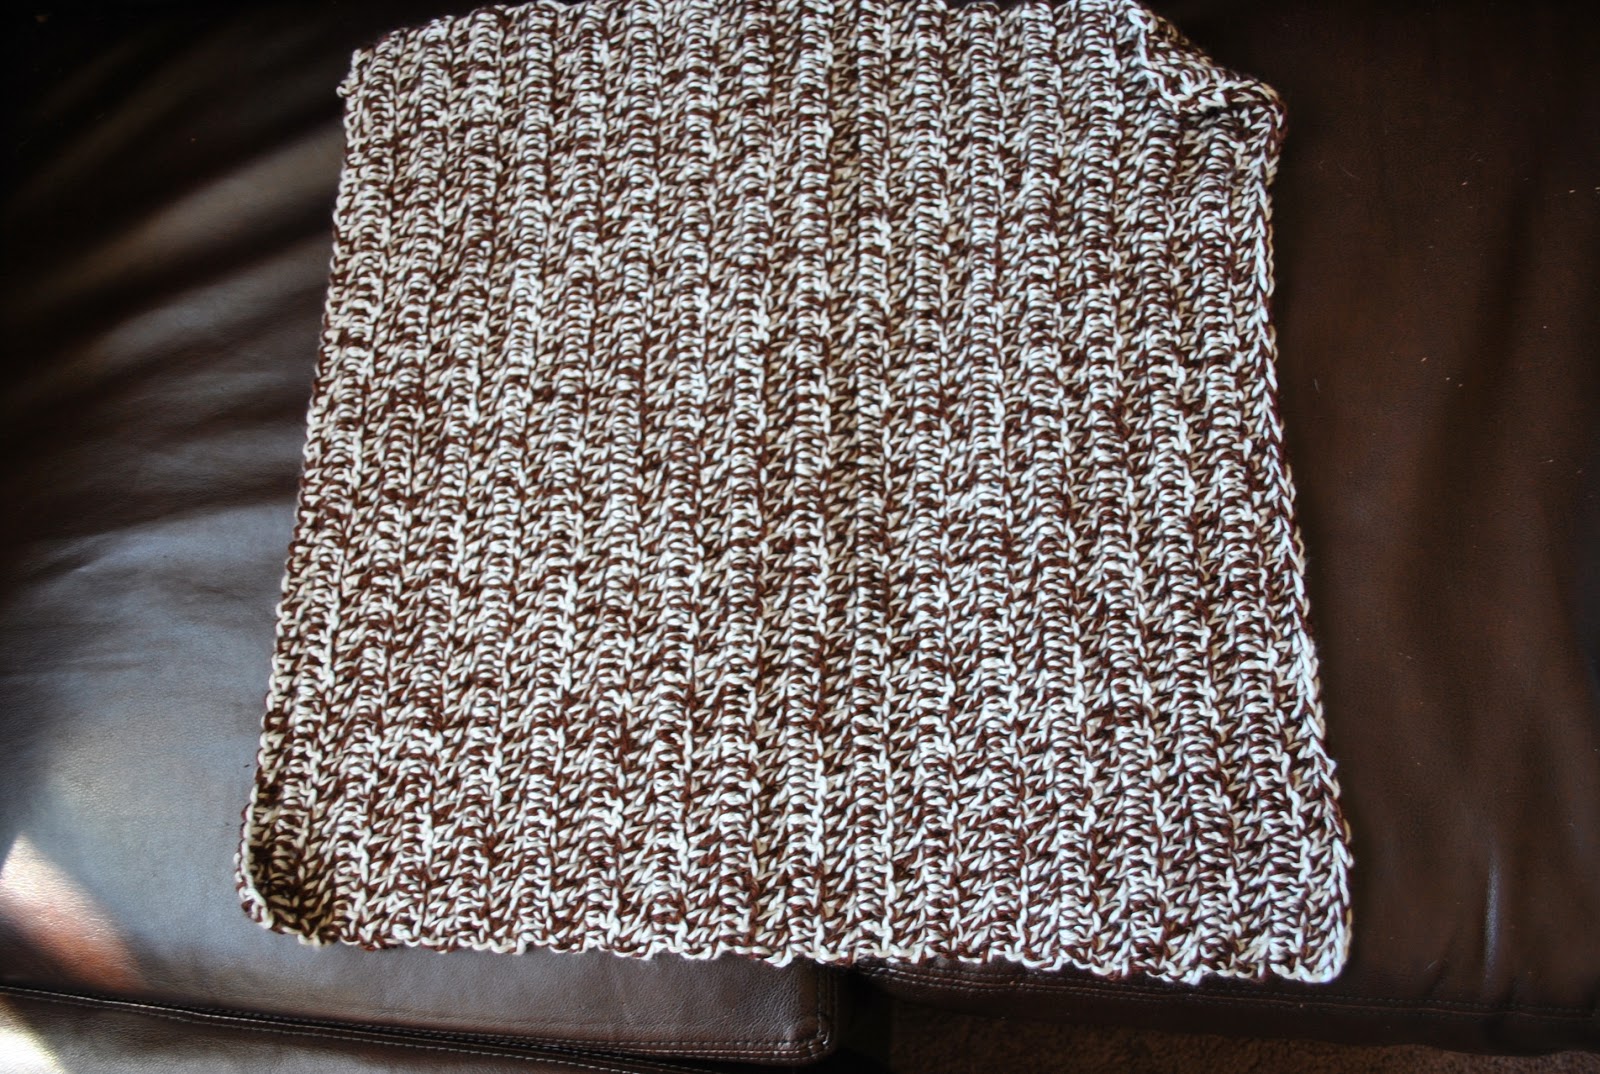
#33: Another S.P.E.W. Project. This one was for Snuggles. You make soft snuggly blankies for shelter animals. :( The way that this lady feels about cats is how I feel about shelter dogs.)  It's a double-stranded crocheted mini blanket. I think it's about 30x30 inches.

Another shot at the blankets brings us...
#34: The second blanket in the pile is a blanket for Lunabean. (I had originally gotten the fabric on clearance to make blankies for the doggies, but it was so lovely and Luna liked it a lot so I made her one as well.)
#35: The "snuggle" on the bottom of the pile is for the Snuggle project as well.

#36: Set of "Defense Against the Dark Arts" HP ornaments made for the "Back to Hogwarts 3" swap on Craftster. They include (from left to right kind of):  A boggart trunk with a boggart of my partners worst fear - losing control, Mad-Eye Moody (Mr. 246 helped since unless I have therapy before hand I cannot work with clay), a set of three mini chalkboards with lessons on the Unforgivable Curses, in the back there are two DADA textbooks, a small Scabbers in the middle, two hand painted, decoupaged Prof. Umbridge kitty plates, set of three "In case of dementor attack" chocolates.

#37: Another project for the "Back to Hogwarts 3" Swap based on my partners favorite store - Weasley Wizard Wheezes.

#38: We nicknamed these "Jackson Pollock's Balls", but they're really Oreo Truffles. Quite delicious but also quite decadent. You definitely can't eat a lot of these.

#39: Crocheted Owl Bag - Made for my pseudo niece (my brother's girlfriend's child) since she was starting kindergarten (and it was her birthday). Her mommy said she loved it and was carrying around socks in it. Yea....I don't know. Haha.

#40: Crocheted Infinity Scarf: Modeled by Mr. 246 who now wants one of his own. ("Is this a girl thing? Can guys wear cowls?" "I think so!") Based on a pattern I found on Ravelry which I can't find again at the moment.
#41: Tiny Pumpkin - Made just yesterday in honor of Halloween.

#42: Chalkboard Calender - We are lost without this calender. It's kind of fun 'cause I get to decorate every month.

#43: Moon and Stars Baby Hat - Followed directions for a newborn size and unfortunately it never fit.

#44: Ear-flap Baby Hat - mentioned in previous post

#45: Slouchy Crochet Hat - not pictured. Made for a friend for her birthday and I forgot to take a picture.

Whew...so I've made it to 45! I'm impressed. There's probably a thing or two I'm forgetting, but I'm still impressed. I have a couple long-term projects that I work on from time to time - a granny square blanket which I work on when I have nothing else to work on. Here's a sneak peak (sorry for the picture quality, it's from my phone):
It's got about another half row currently. I know it doesn't look terribly wide, but once it's done (It's going to be 12 squares x 12 squares) I'm going to made a pretty wide border. 
The other in progress project I'm working on is my Harry Potter quilt. I'm following the pattern here from HP Paper Piecing. I must admit, though, since Luna's been born I haven't broken out the sewing machine too much. I don't have a designated spot to sew so I just set up at the dining room table. When I do paper piecing there's a bit more involved because you have to iron so much and it's just a big production I feel like. I can't wait for the day I have a craft room.

Well, I think I can make 5 finished projects by the end of the year. I'll update as I go. Then I get to start planning crafts for next year. First I must get through the holidays. (I finally feel like an adult because I am somewhat dreading the holidays. Not enough time to get things done, we have to travel with an infant, there's too much to fit in in too little time. It's just forced. I'm dreaming of a relaxing Christmas, but I have a feeling it won't happen this year. Anyway, this topic can fill a whole other post. I'm just being a Scrooge about Christmas today. Hehe.)

Thanks for looking!
Kindest Regards,
Ms. 246
Sunday, March 18, 2012

birthday bunting

March has been fickle this past week. I get entirely too excited that "Spring has sprung!" and then it decides to rain this whole past week. At least there's been a glimmer of sunshine today. My snow crocus' have decided to make an appearance finally. When I planted them, I didn't know they were such tiny little flowers/bulbs and I have them planted in one of the biggest pots....oh well. I'm a "learn-as-you-go" type gardener.

I finished Ryan's (the boyfriend) sister's birthday present yesterday and I'm quite pleased. Since I've been feeling so crafty and in the mood to hand make everything, I decided I'd make her some bunting with her name on it for her room at college. Like everyone else online lately, I'm also quite on board the bunting craziness train. Here's some of the springtime bunting I did:
 I just love the mini-bunting on the branches! It makes me smile every time I pass it. :) Anyways, onto zee most recent project....
Here's the fabric I picked out. She said her room has maroon with some light pink, white, gray in it. You can't see well from the picture but the white fabric has a faint light gray design. I like all things bright and colorful, Ryan's sister, however, is quite classy so I had to try to tone down any kitschy-ness.
 Although I hate the tracing, I absolutely love little piles of fabric all cut out and looking perfect. One of life's joys. Then I traced the letters (have to remember to flip the letters backwards!) onto some Heat N Bond (one of the best inventions ever)...
Then, cut them out and iron them on...
Why aren't these triangles cut out you might ask?
So I can embroider around them. The Heat N Bond works well, you don't have to sew it on or anything, but I like the detail of embroidery and I haven't done it in a while. Oh, yes, you can't embroider without a good snack, hence the jelly beans.
I discovered that Boo actually likes jelly beans. After he figured out how to eat this first one he kept trying to get more. Anyways, so after embroidering, finish cutting out, I sewed them all up. Here again, love little piles of fabric - all perfect and same-sized. Oh, and after my first attempt at bunting I looked a tutorial (I unfortunately don't remember which one to give proper credit) and learned 2 easy bunting "shortcuts": leave the tops alone while sewing them up, and then get double bias tape (so it's already pre-folded over, pin the little flag part sandwiched between the bias tape and sew on up. Super easy and super quick...
The final product:
Ta-da! From far away the font kind of makes the whole thing look medieval, but in good way. Hopefully the colors will match her room. I do hope she likes it. (She's nice enough to pretend anyway.) I had to guess on the proper colors since I've never seen her room at college. In real life I don't think it looks so Valentine's-y. Oh, and I love the wrap job I did to:
I cut a brown paper bag into an envelope thingy and tied it off with a strip of left over fabric. All we have is Christmas wrapping paper and I attempting to spend less money on random unnecessary things. Truth be told, I love this much more than store-bought anything. :)

Of course, I can't go a day currently without having some kind of project to work on. I'm feeling a bit slow and have the pregnant-lazies currently, here's a sneak peek of what I'm working on now:
Crochet, super-awesome, lovely, happiness time. Just what I need. :)